Headlines:
How to access the administration view?
Administration view
1. View
2. Slide Information
3. Preview the Slide
4. Edit the title
5. Assign new language
6. Delete translation
7. Apply to all slides
Save
In this article you will learn how to manage the translations of slides.
Slides that have been translated in presono can now be managed individually or collectively. You can either manage the translation of one slide, or you can select multiple slides and manage them together. Languages can be assigned, exchanged or deleted.
How to access the administration view?
There are several ways to get into administration:
1. Mark several Slides in the Content Structure and click on "manage translations" at the top

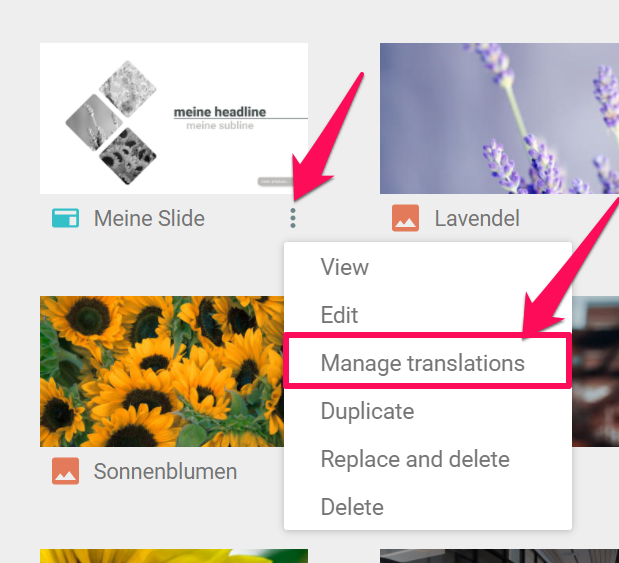
2. Click on the three-dot-menu at a single Slide and select "manage translations"
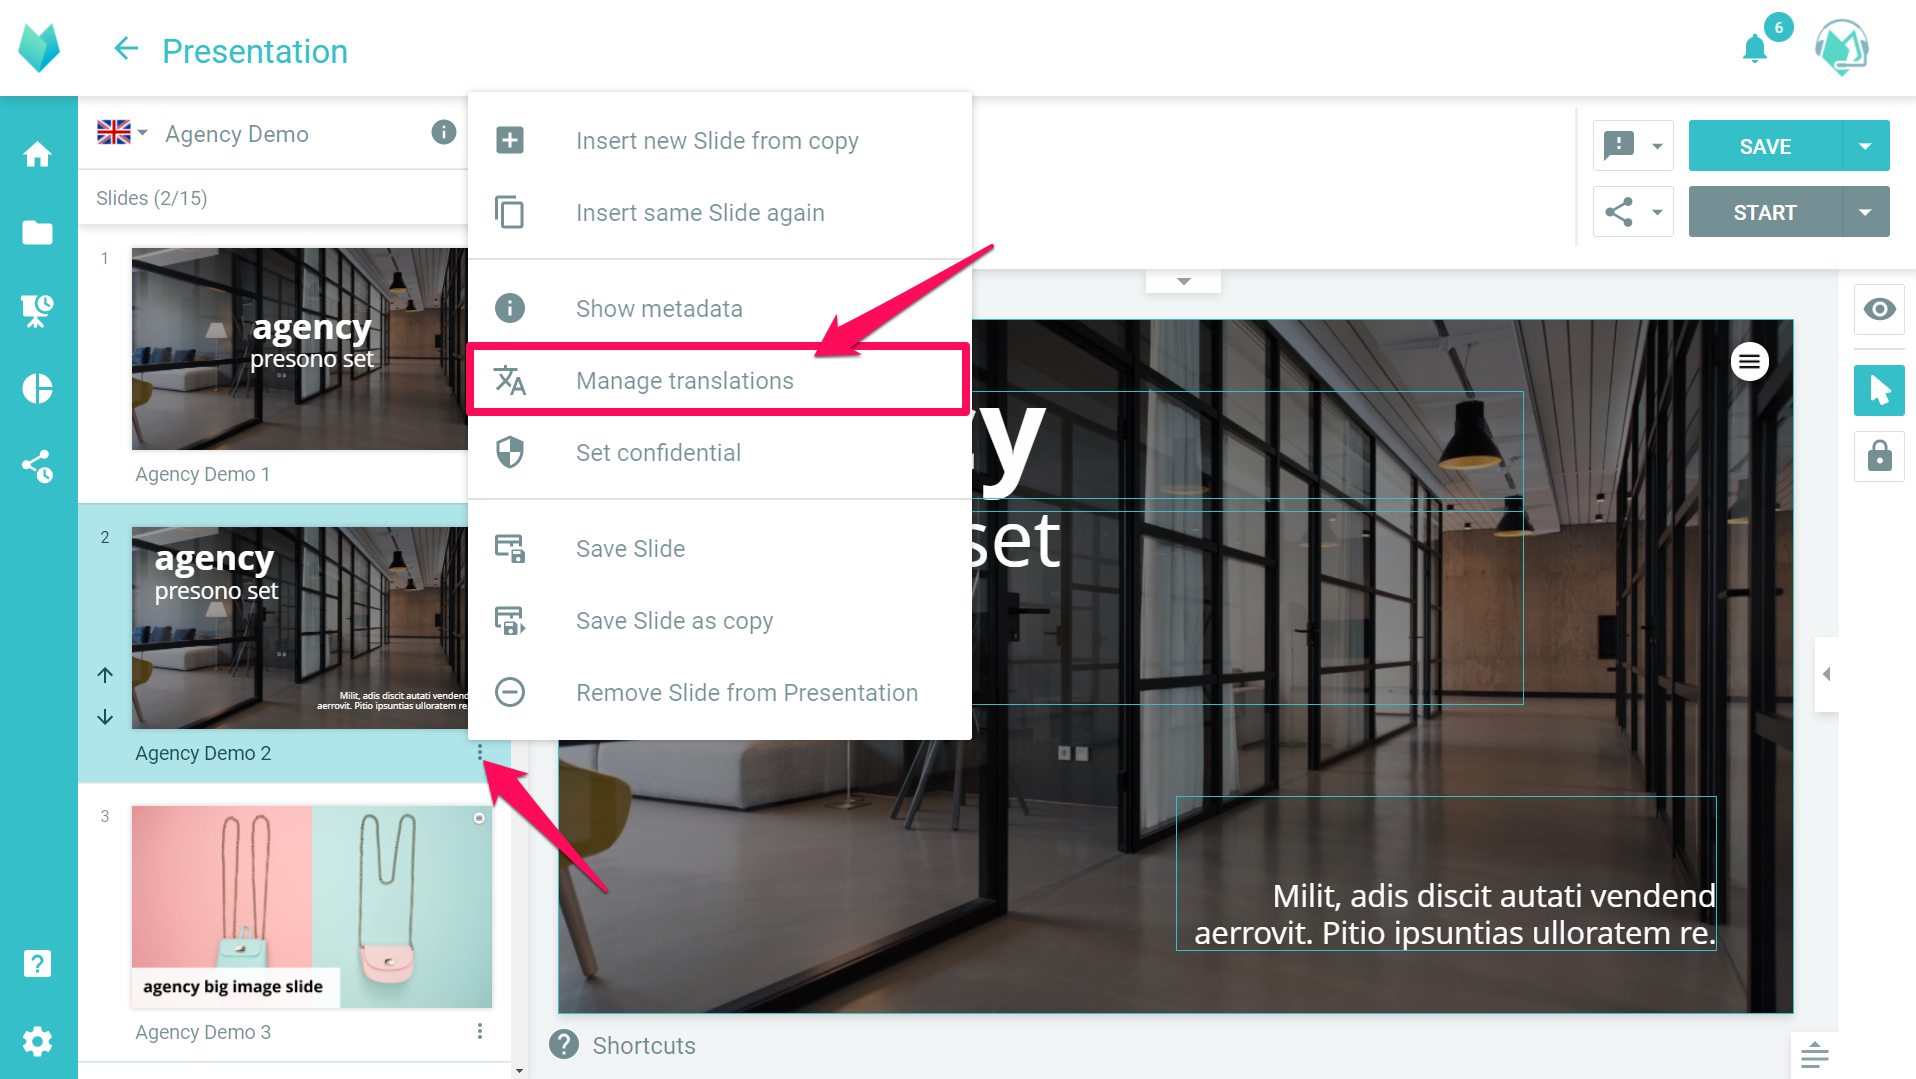
3. Click on the three-dot-menu at a slide in a presentation and choose "manage translations"
4. Open a slide and select "manage translations".
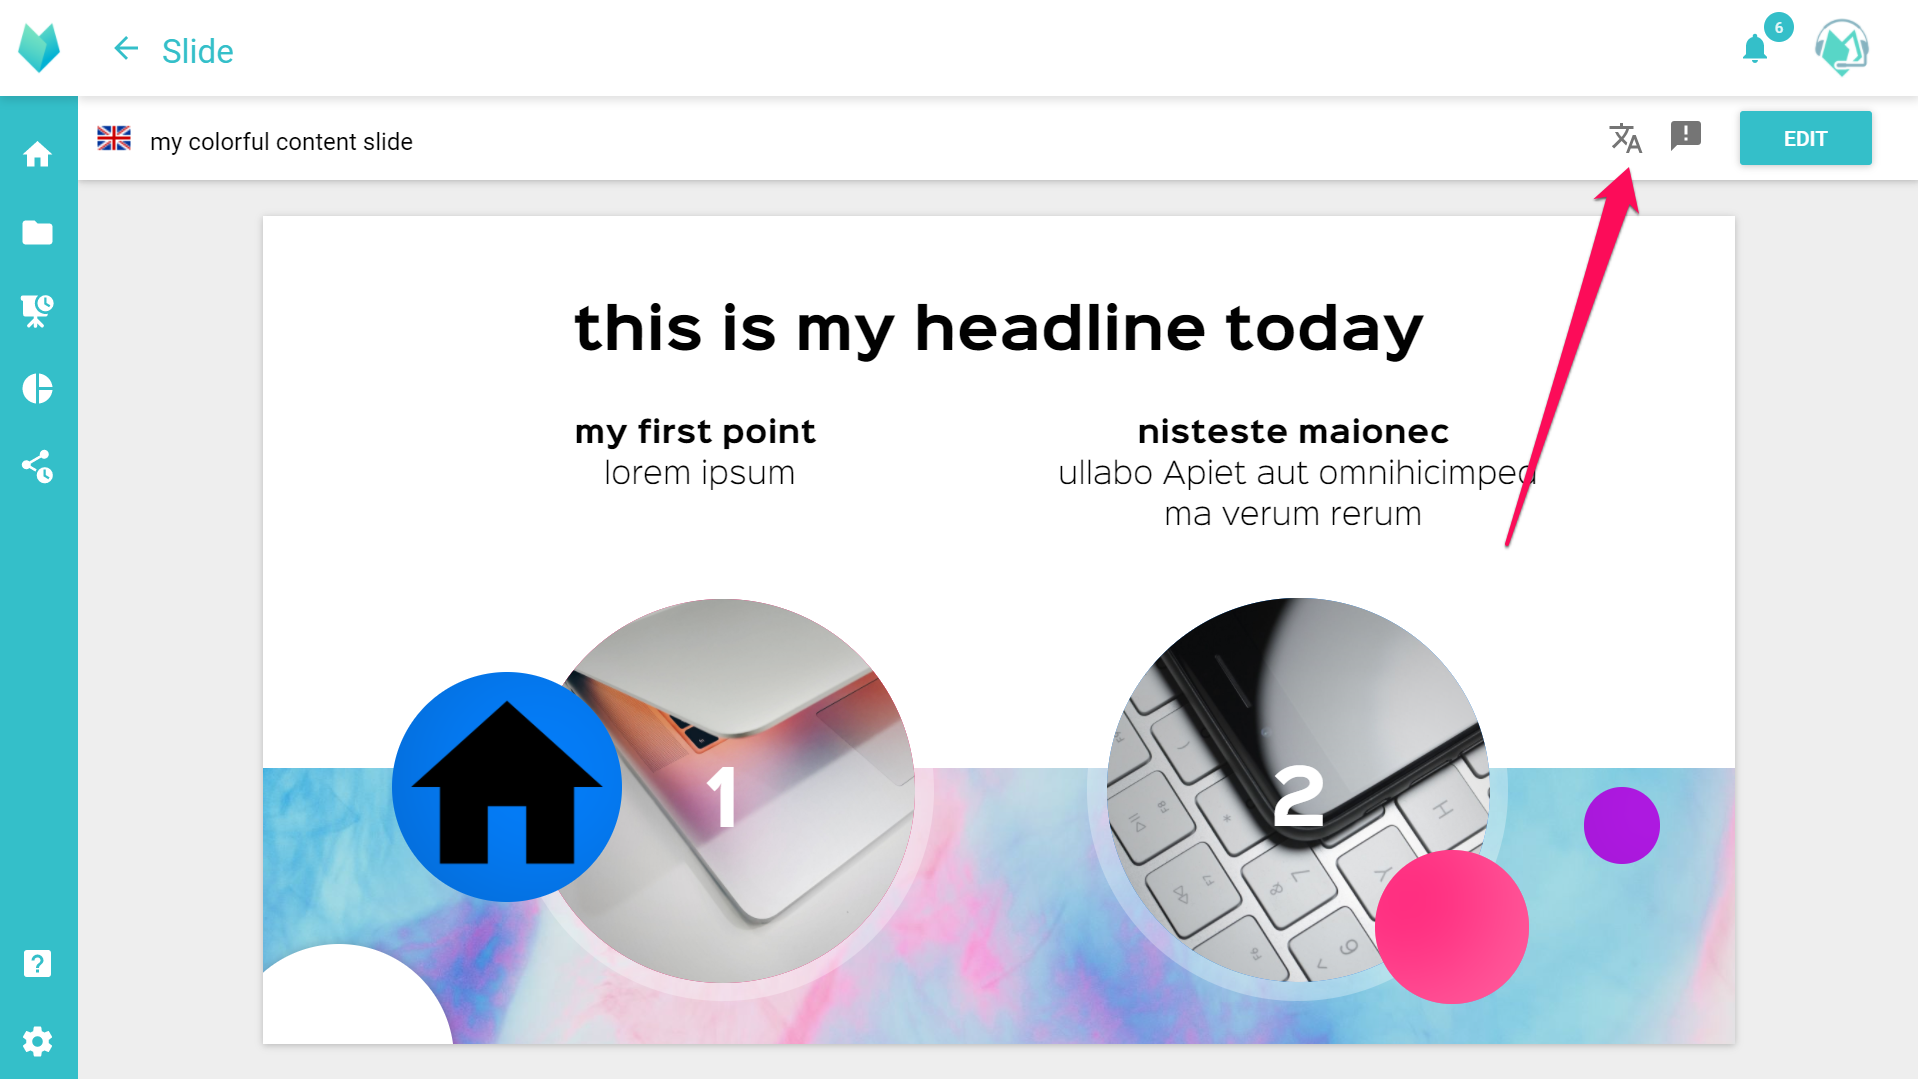
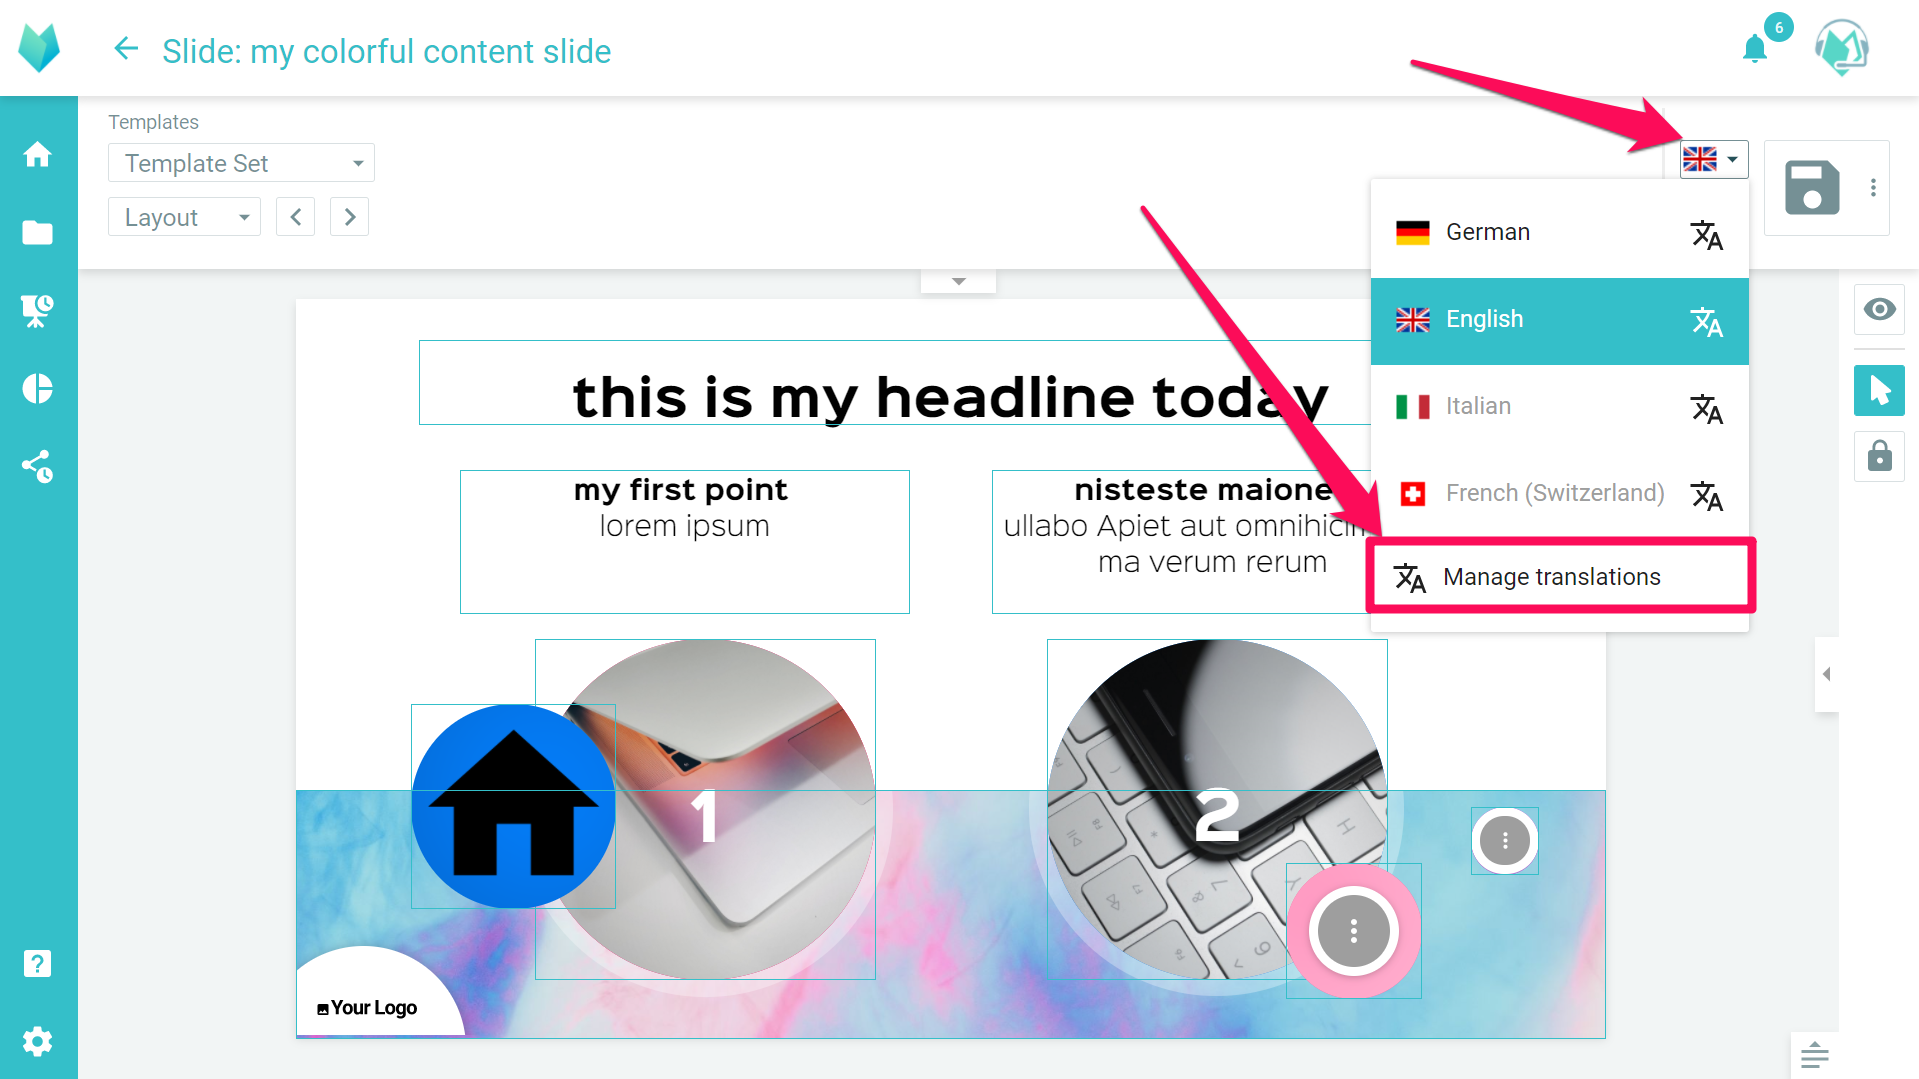
5. Open a Slide and go to editing. Click on the flag icon and select "manage translations".
Administration view
In the management view the following options are available to you:
- View
- Slide information
- Preview the slide
- Edit the title
- Assign new language
- Remove translation
- Apply to all slides
These are described in more detail below.
1. View
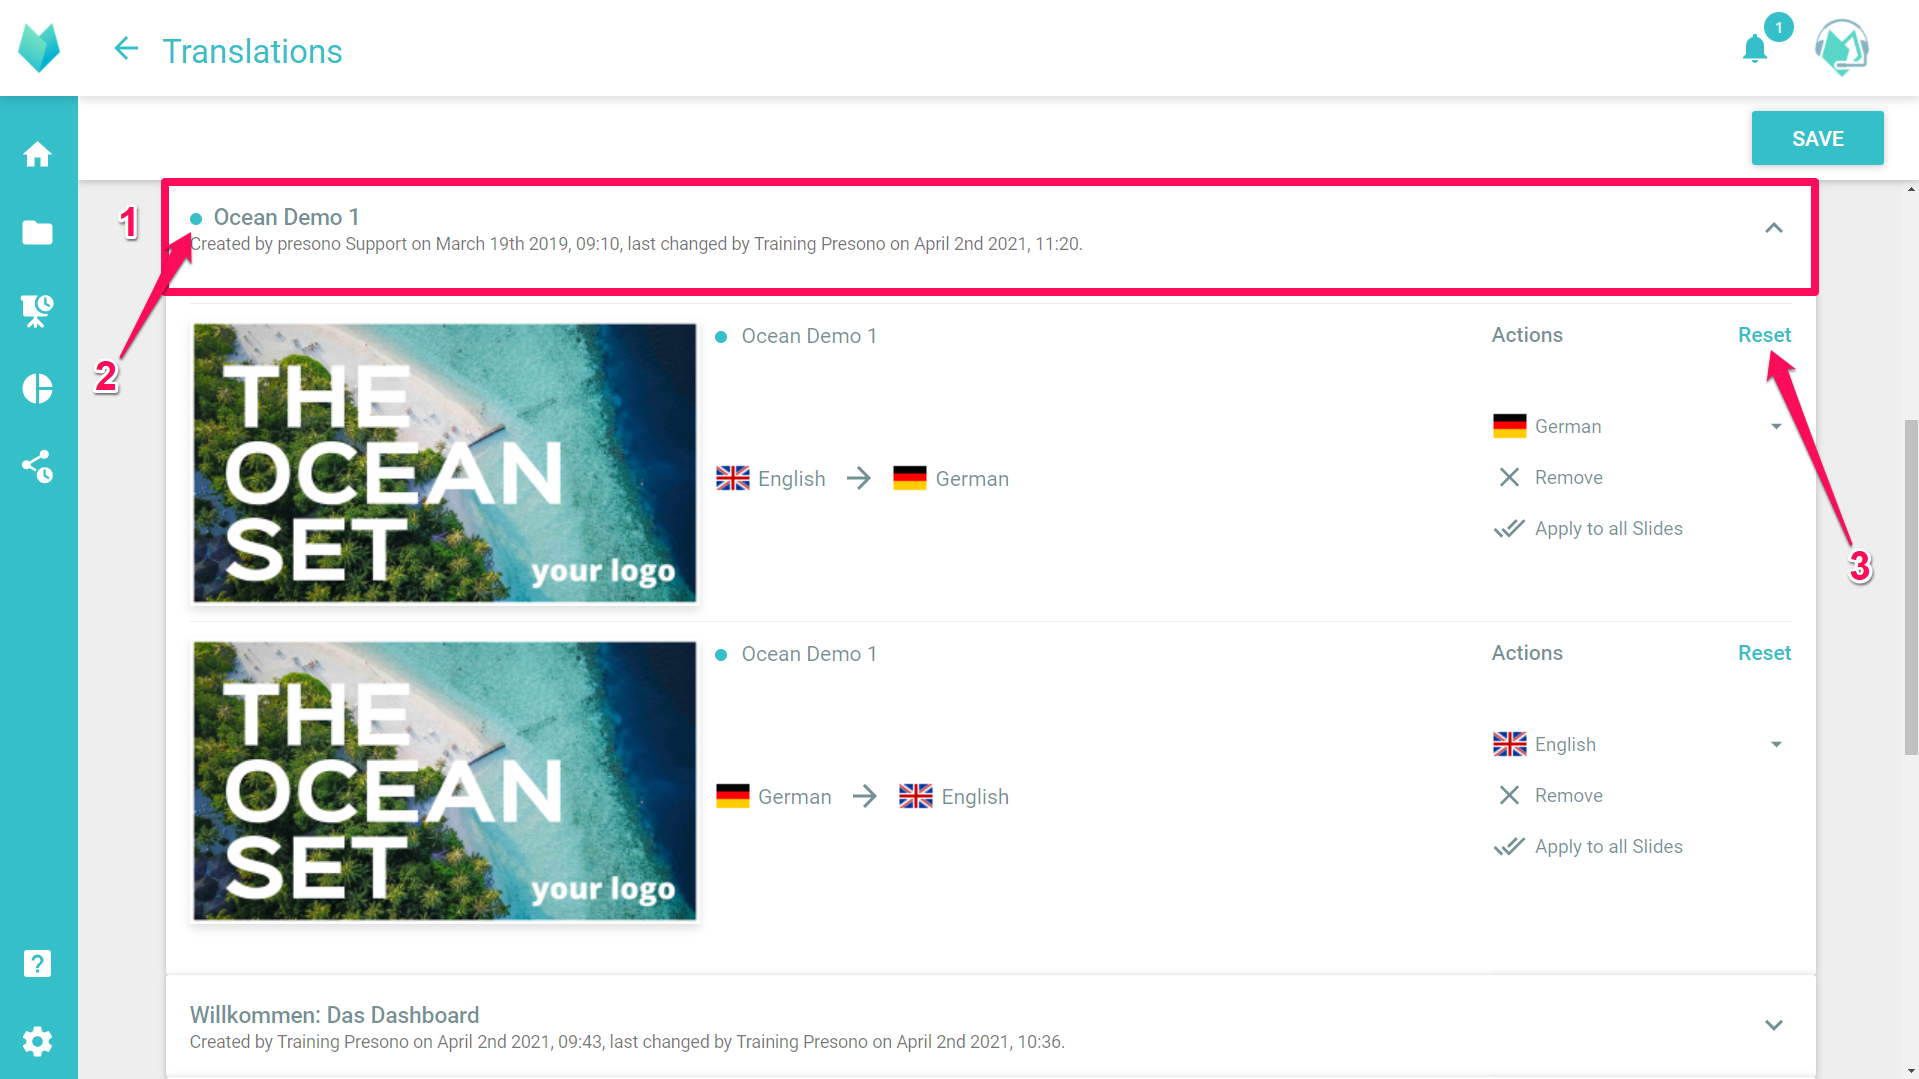
If multiple slides are selected, they can be collapsed and expanded individually by clicking in the upper area (1). As soon as a translation has been edited in any way, a colored dot (2) will appear right next to the title to make this easier to see even in the collapsed overview. As soon as an action has been selected, a button will also appear that allows you to reset everything (3).
2. Slide information
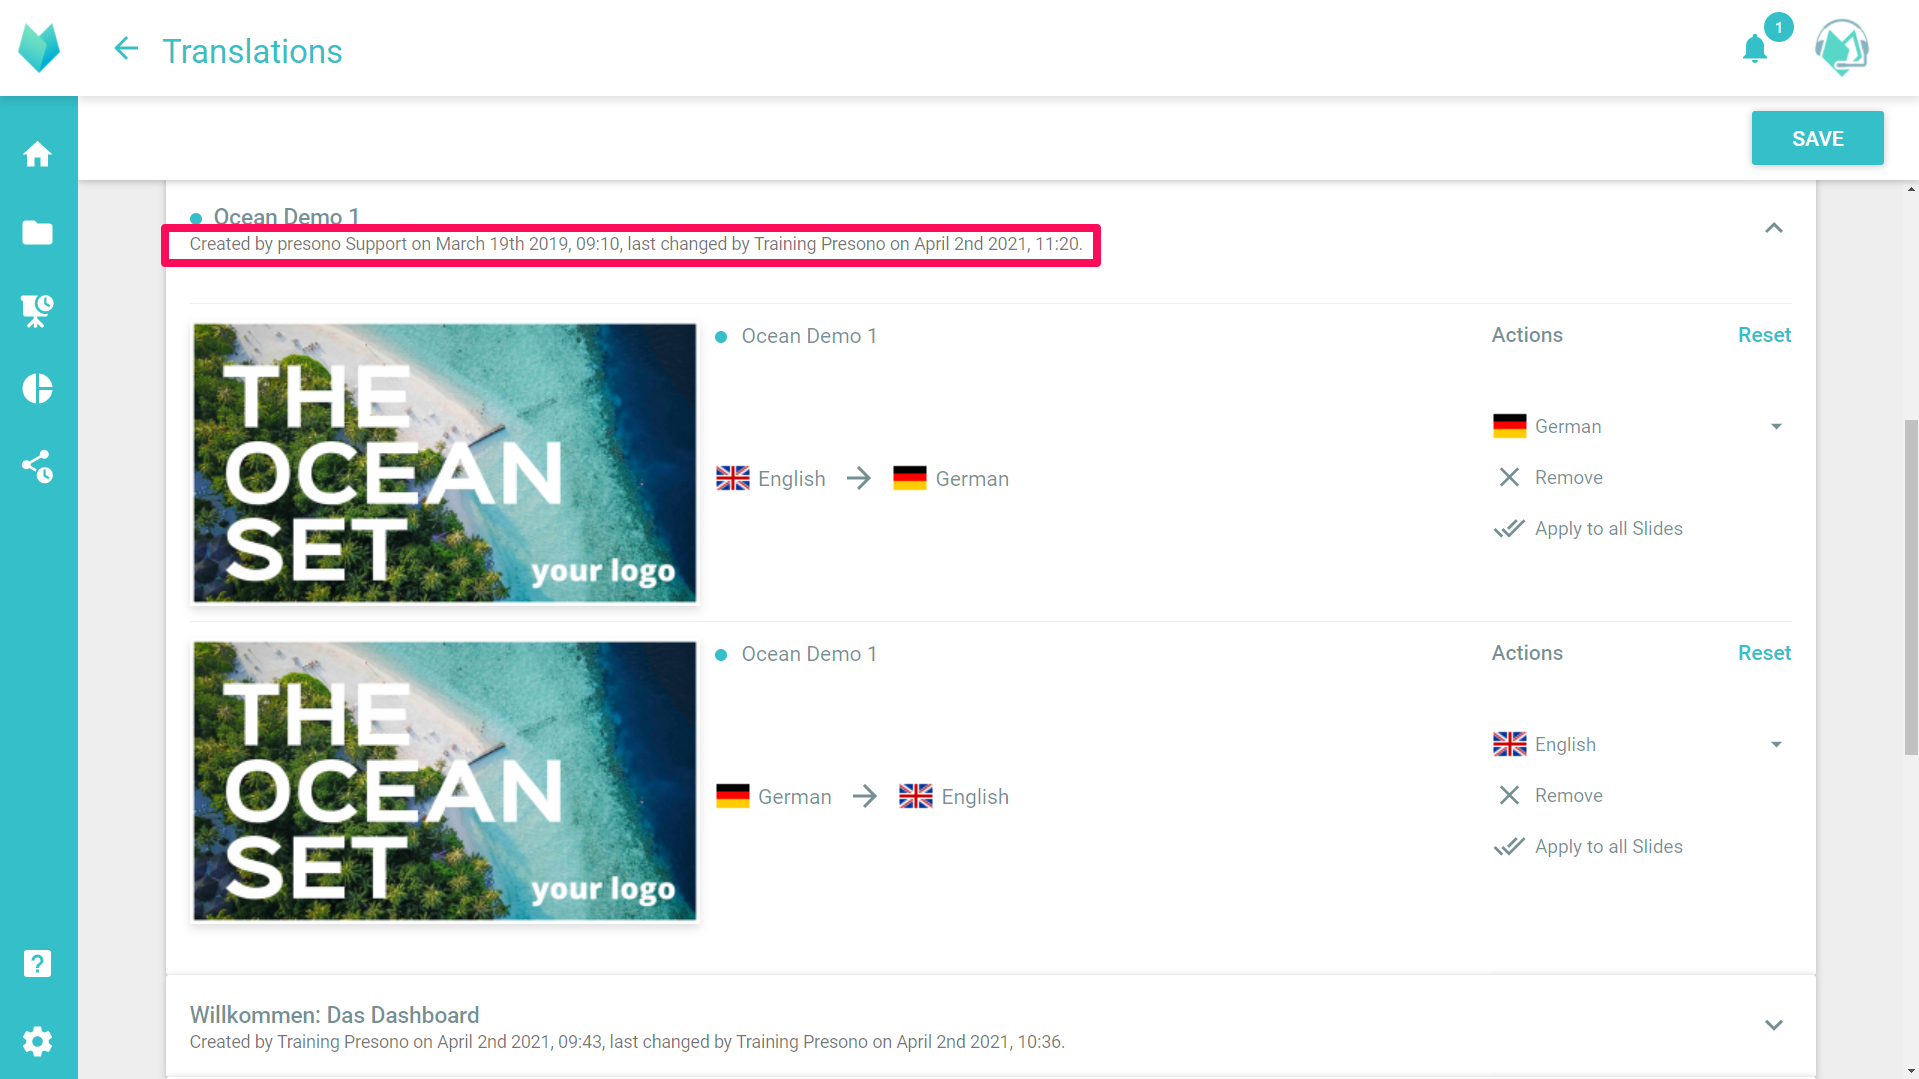
Right below the title, you can also see who created the slide and when. It's also displayed when and by whom the slide was last edited. This information is visible when the editing options of this slide are expanded, but also when the slide is collapsed.
3. Preview the Slide
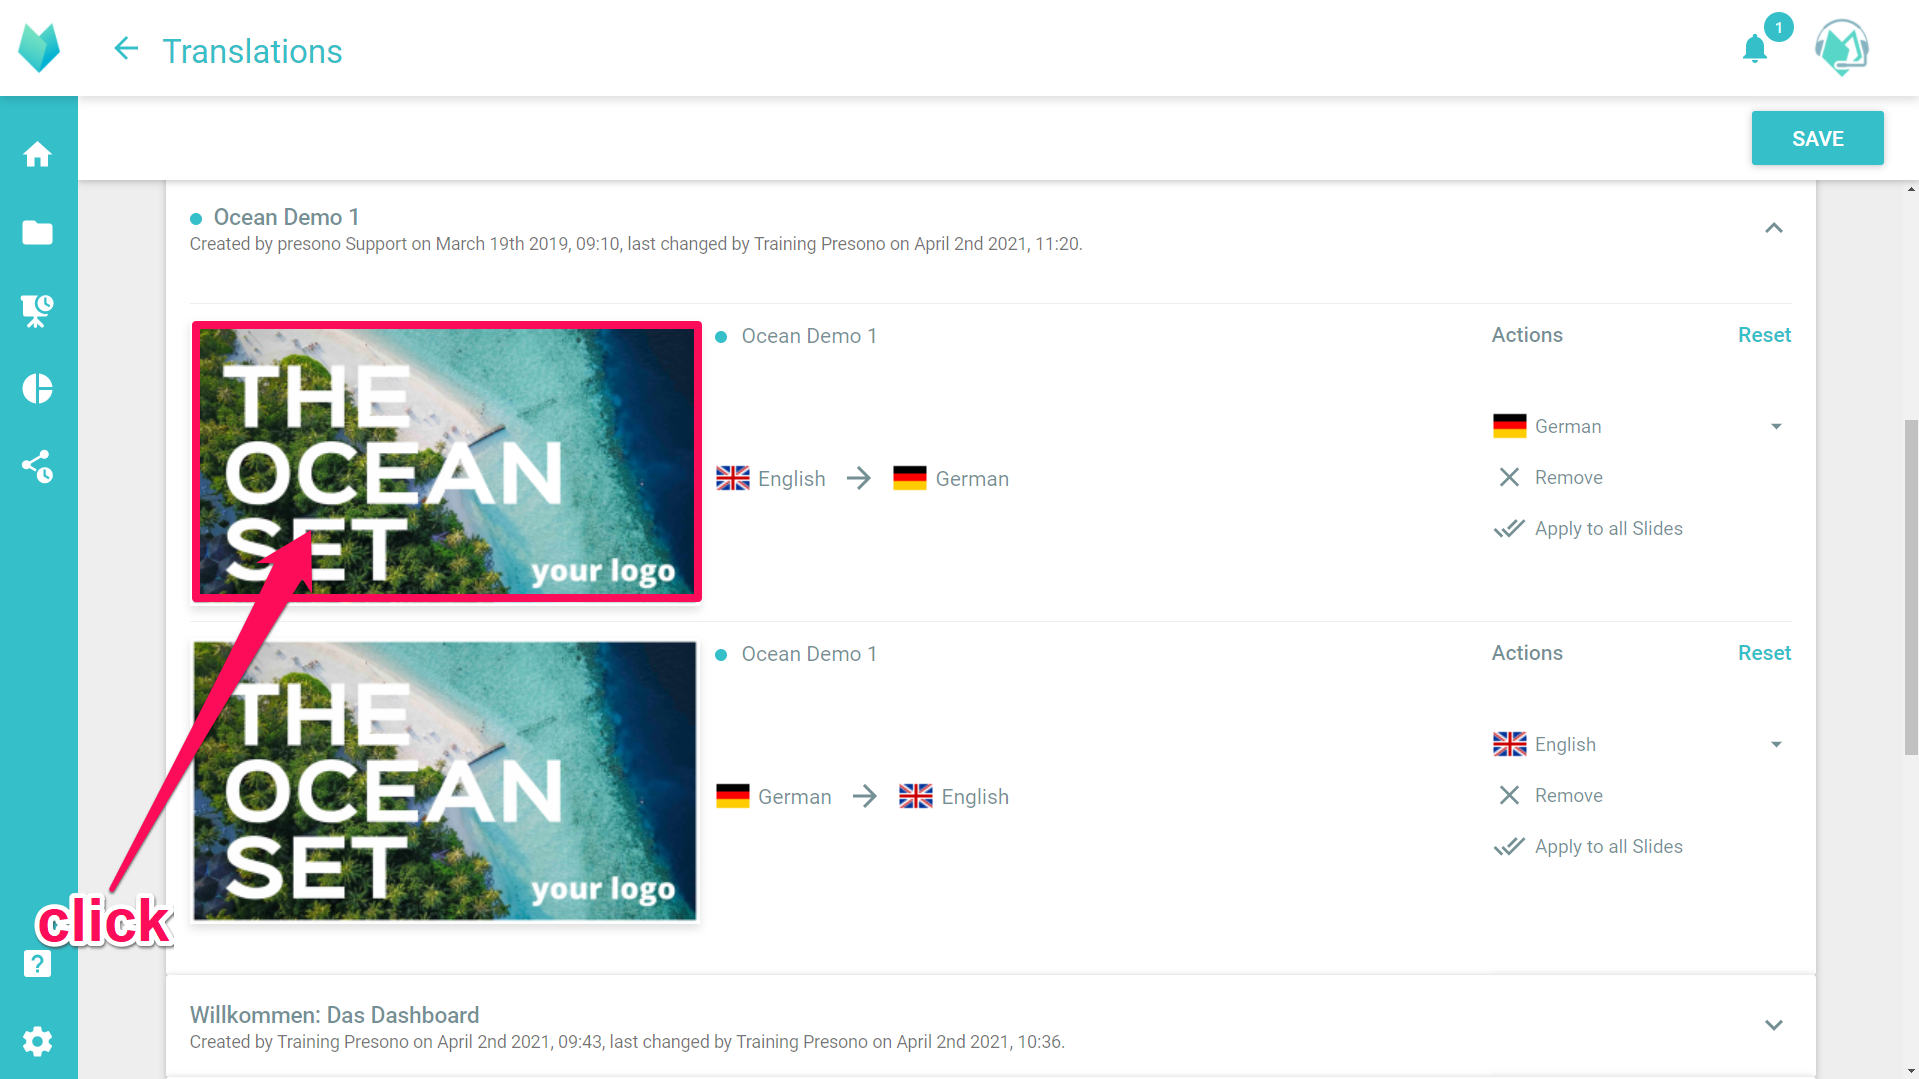
To get a better view of the Slide, you can click on the respective thumbnail. The Slide will then be enlarged. The preview can be closed again by clicking directly in the slide or by clicking the "Close" button at the bottom right.

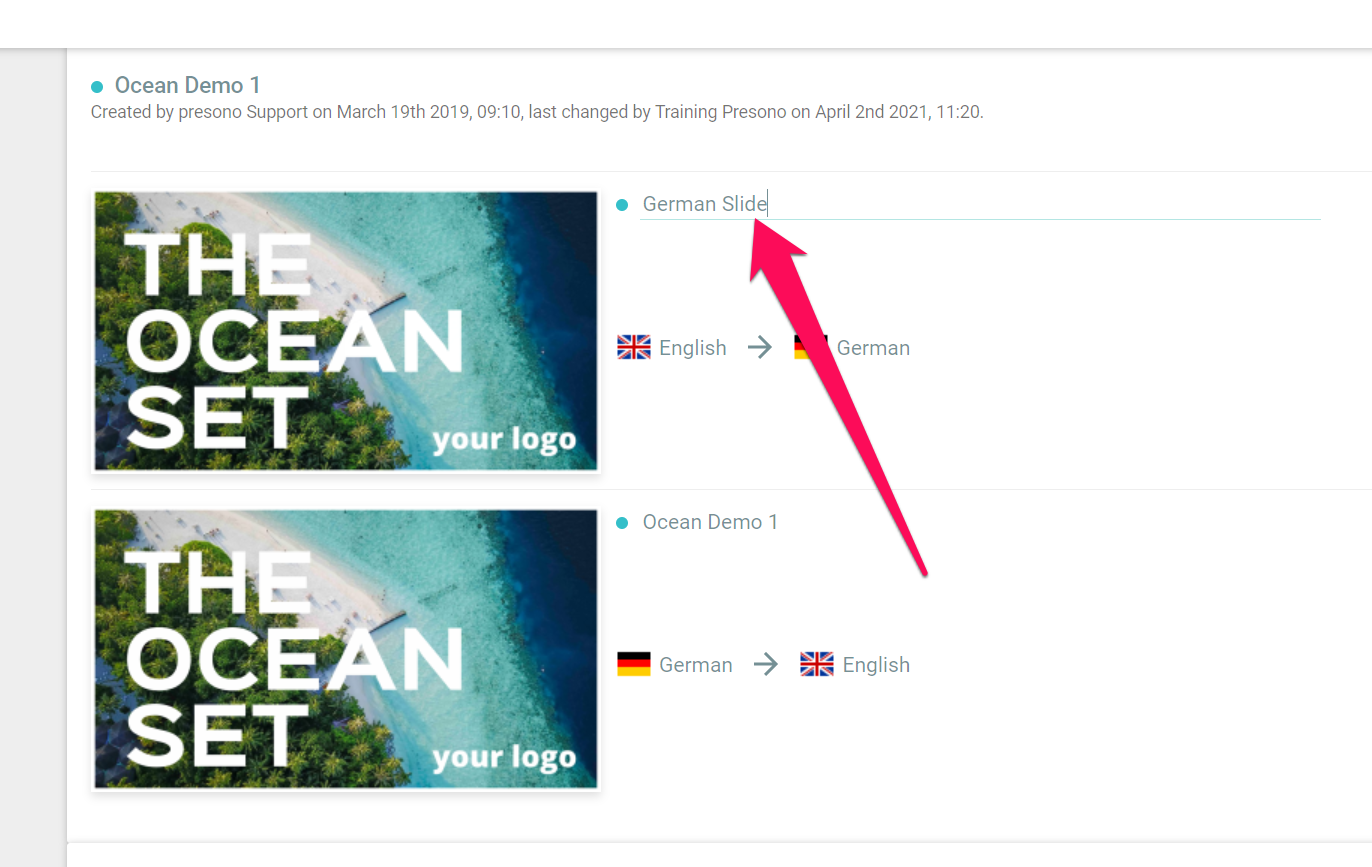
4. Edit the title
In this view, the title of each translation can be edited as well. Just click on the title of the translation and change it.
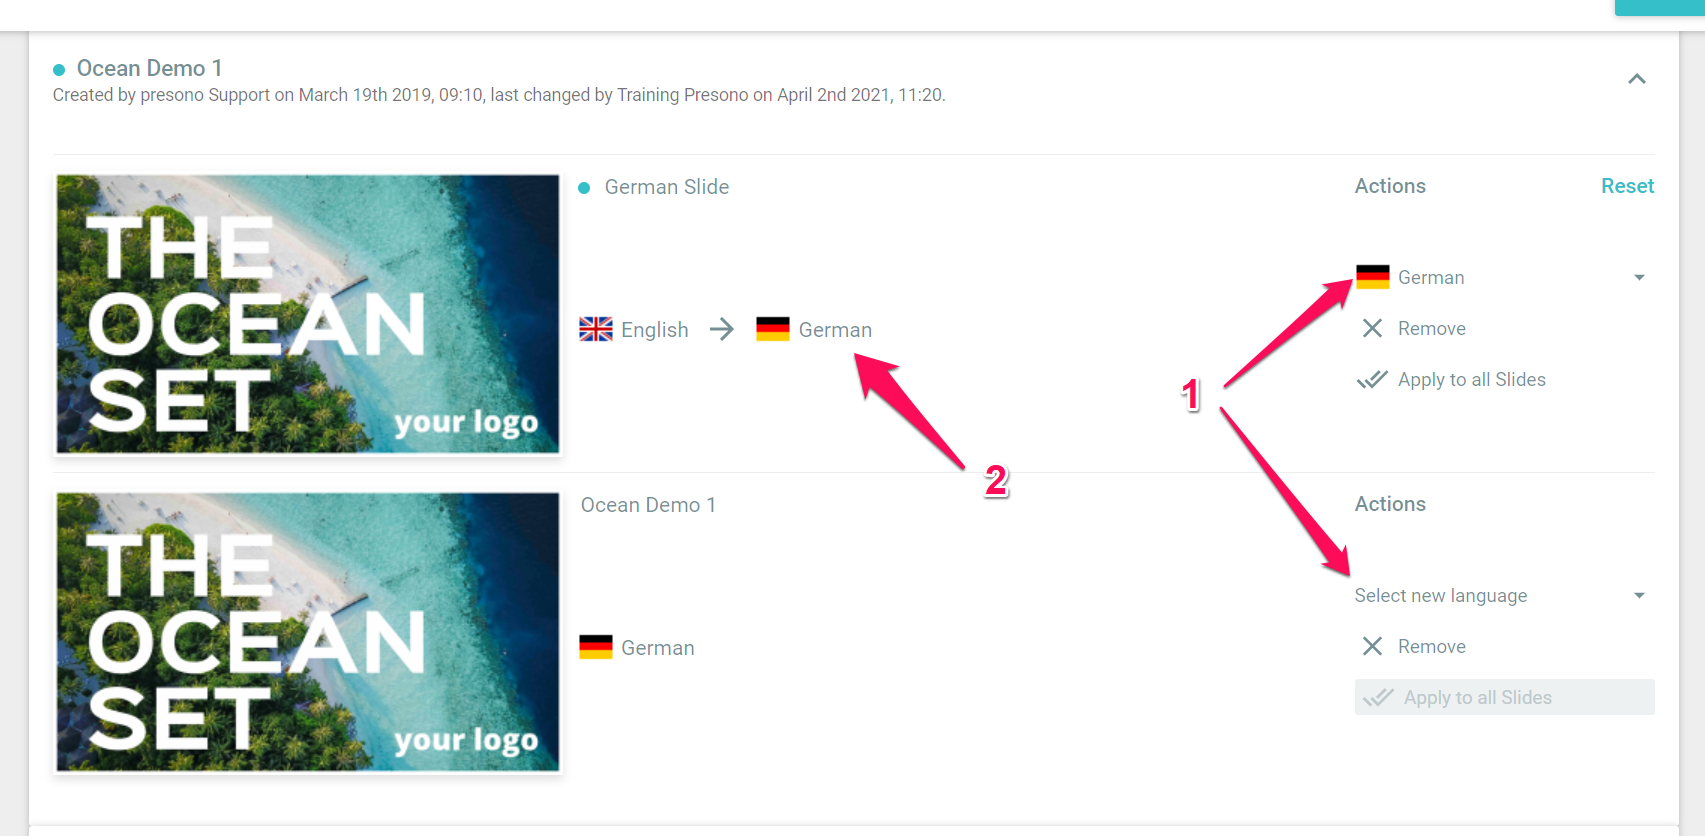
5. Assign new language
If you want to change the current language, click on "Select new language"(1) on the right. There you can select one of the preset languages and assign it to the slide. For example, you can exchange translations by selecting English for the German slide and German for the English slide. As soon as you have made a change, it will be displayed (2).
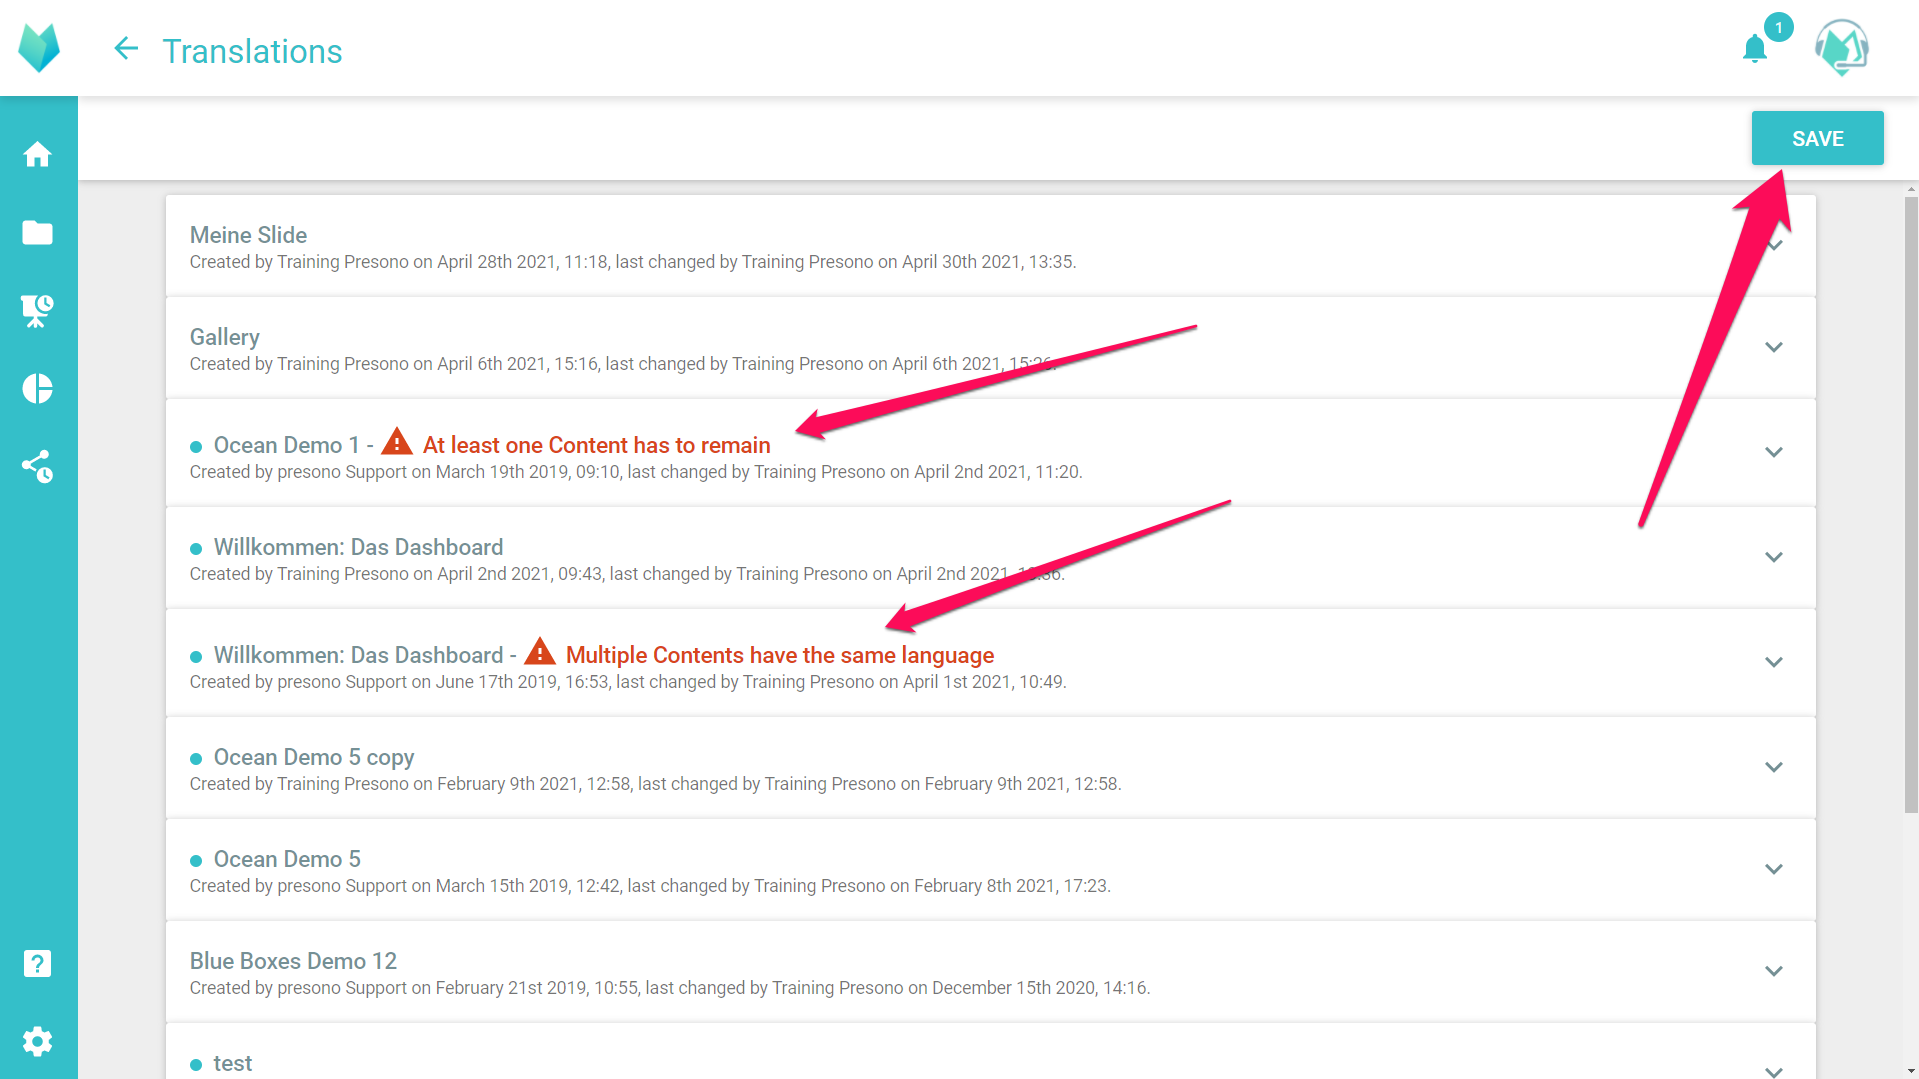
There will also be a warning when you click on "Save", for example, if you have set the same language twice for a slide.
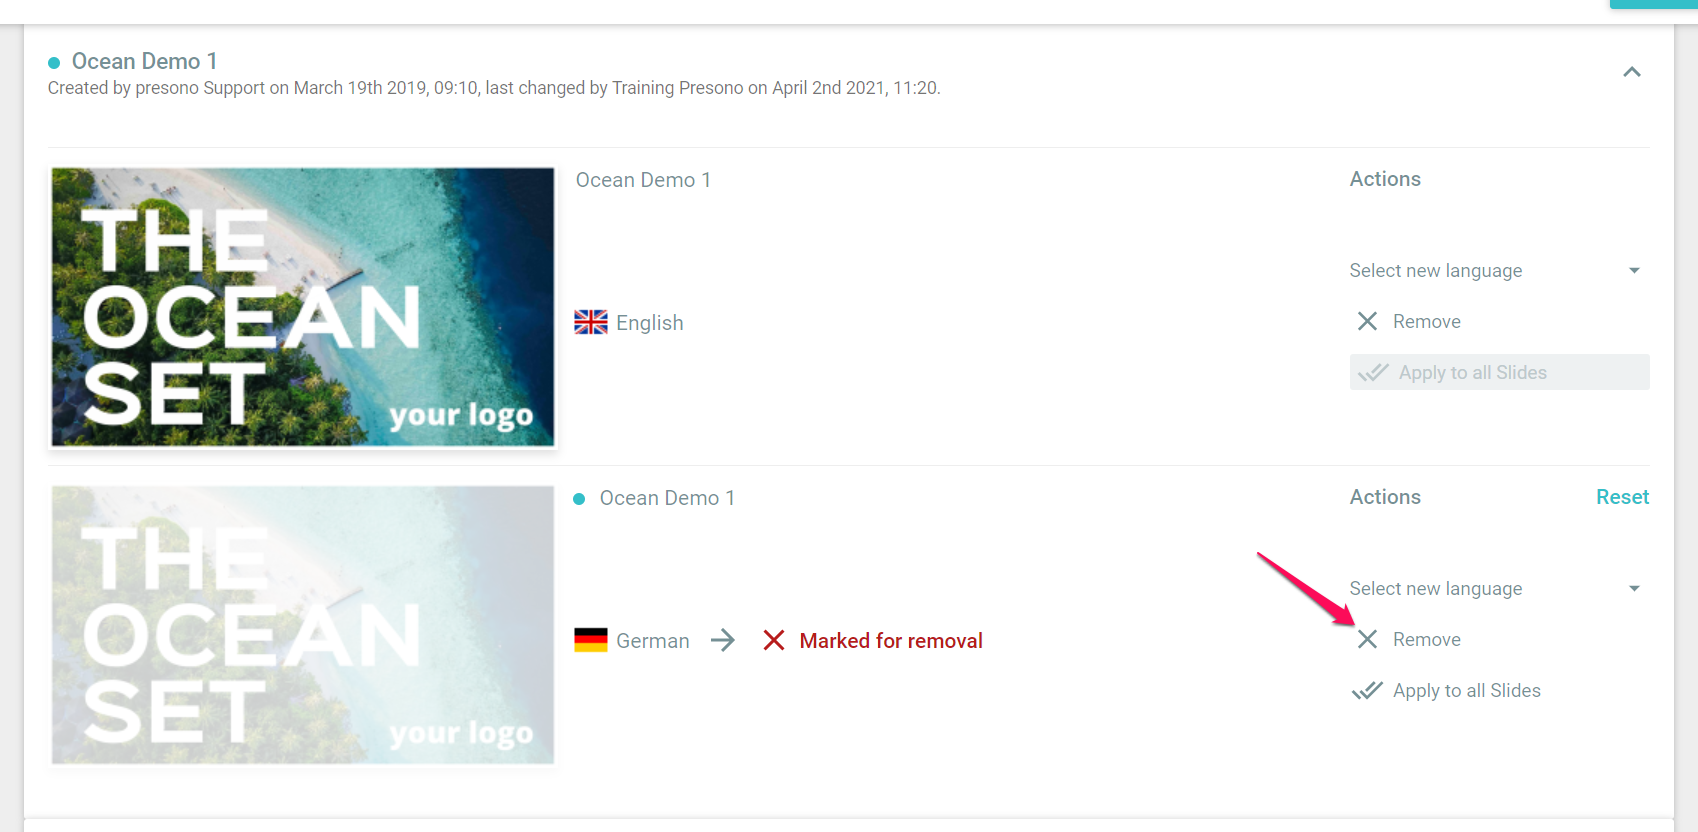
6. Delete translation
You can also remove translations. To do so, select "remove" for the corresponding translation.
Again, there is a warning when you save, for example, if you delete all translations, because at least one language version must remain.
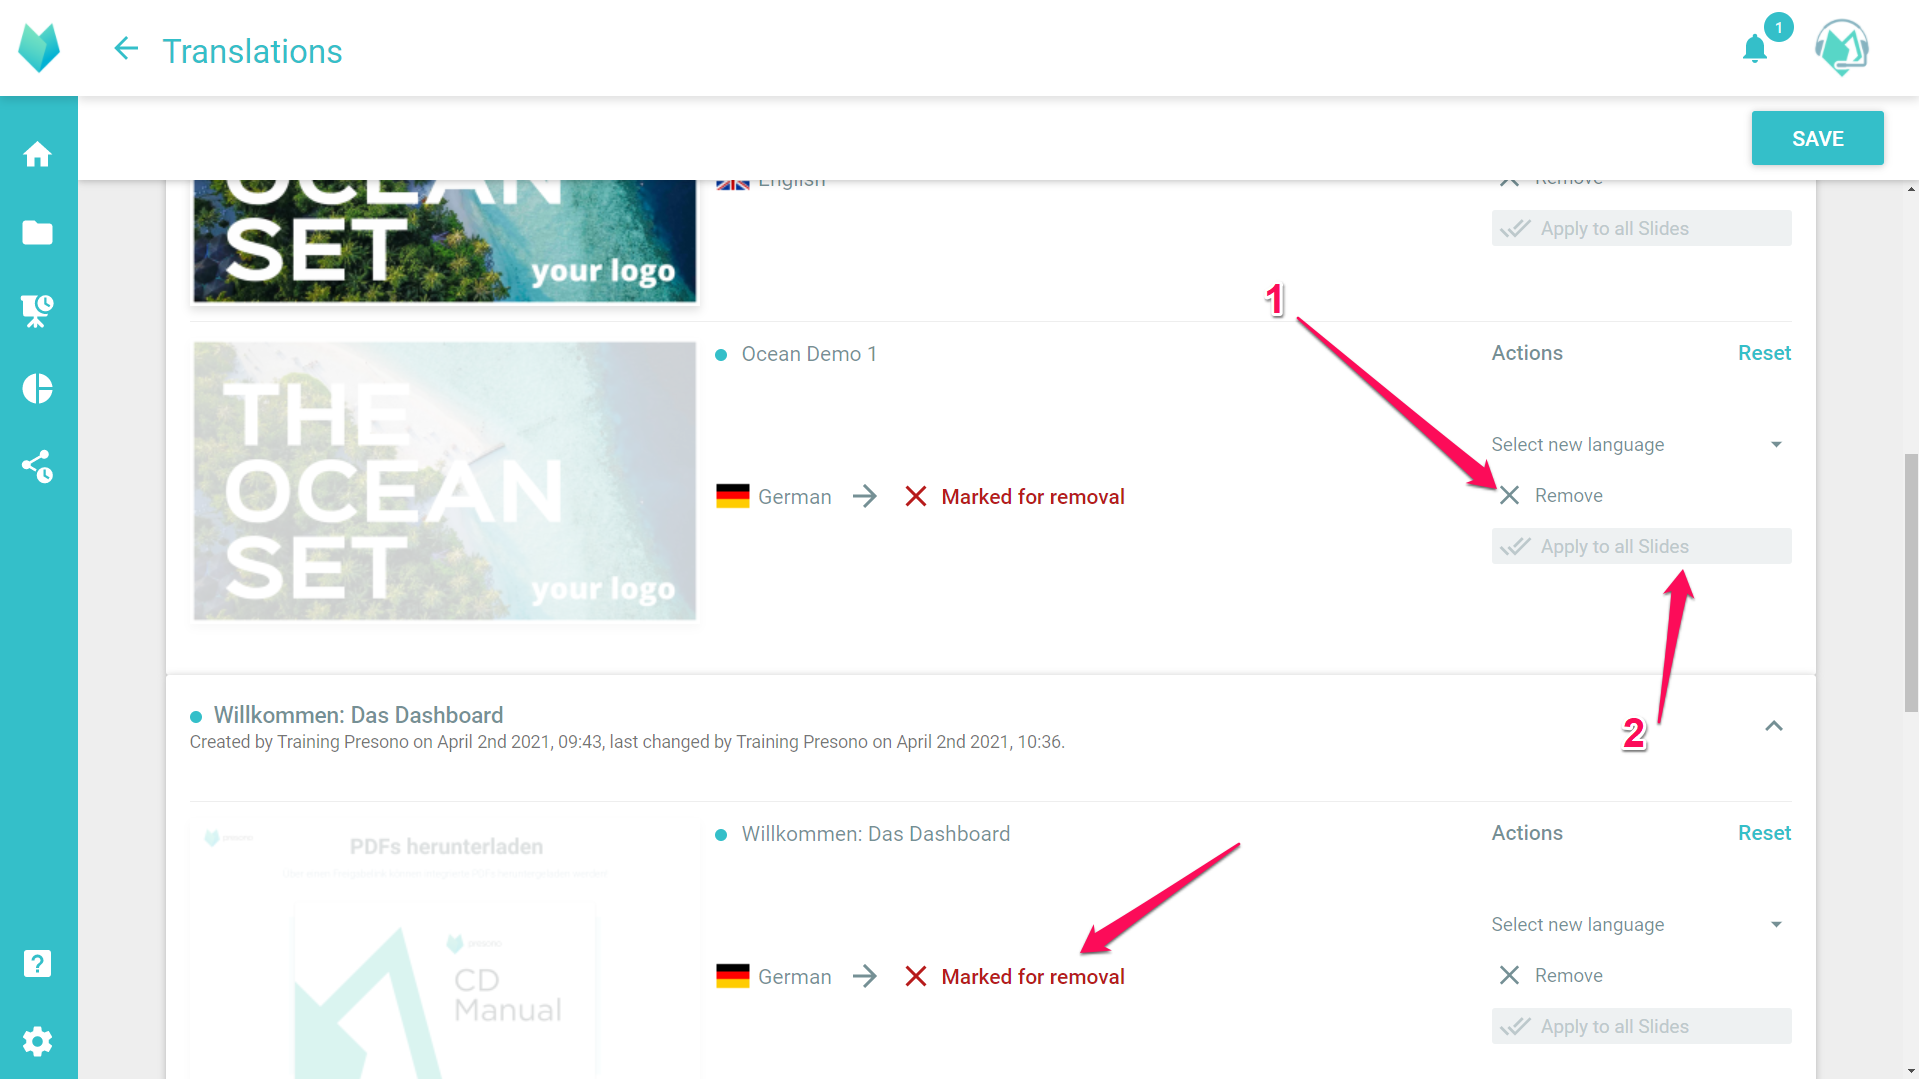
7. Apply to all slides
Right below, there is a button that allows you to apply the settings of this slide to all slides that are exactly the same. Click on "Apply to all slides". Then the selected settings will be applied to all slides with the same initial situation. For example, if you delete the English translation for one slide and then select "Apply to all slides", all slides with an English translation will have this translation deleted as well. If you change from British English to American English, this will be applied to all British translations.
Save
When you are done editing your translations, click "Save" in the upper right corner. If there are any problems, various warnings will appear next to the corresponding slide titles. For example, if all translations are to be deleted and thus no variant of the slides would remain. Or if the same language was selected twice for the same slide.