Headlines:
Creating a Background Template
Creating a Layout Template
Overlays Linking
In this article you will learn how to create and link your own overlays.
For an overlay you need special templates, these will be created in the template editor, the background template will have an area with the close function.
Creating a Background Template
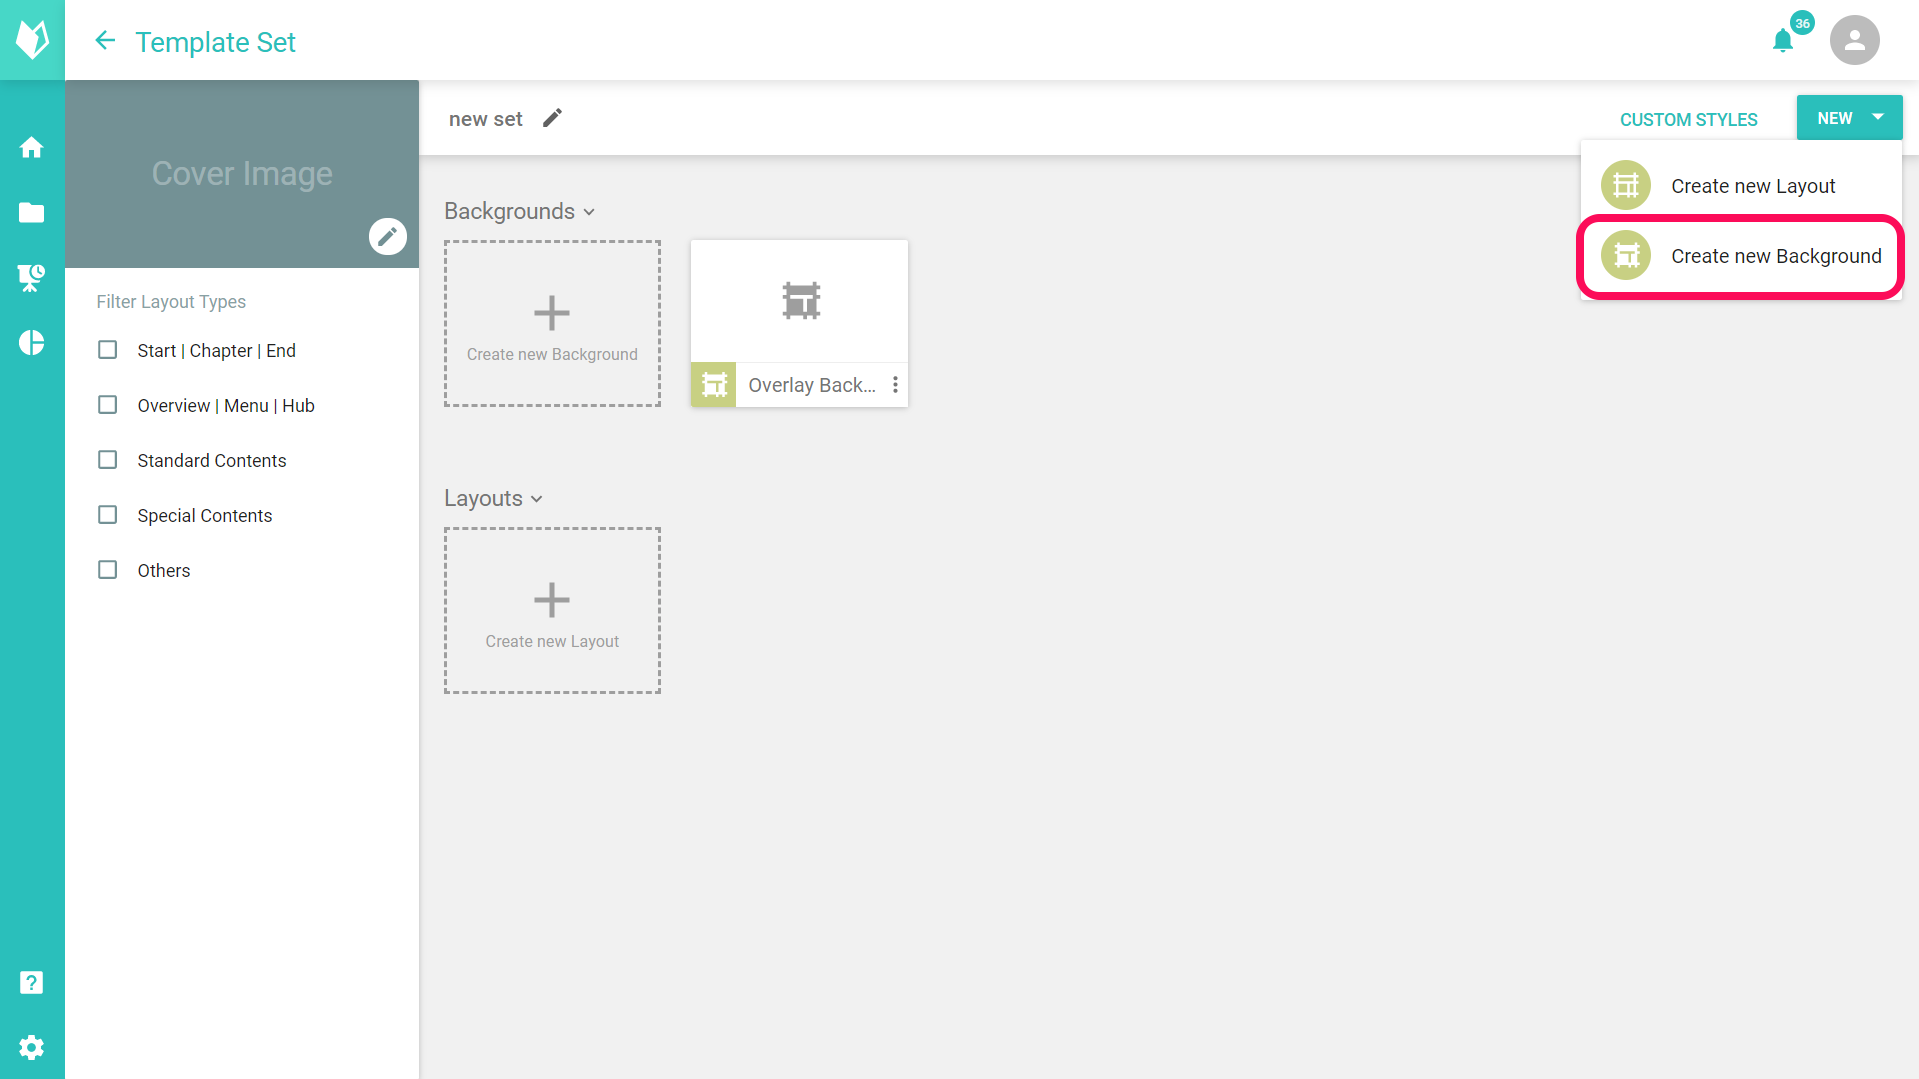
First you either open an existing template set in the content structure or you create a new template set. Then click on "New"(1) and then on "Create new background" (2).
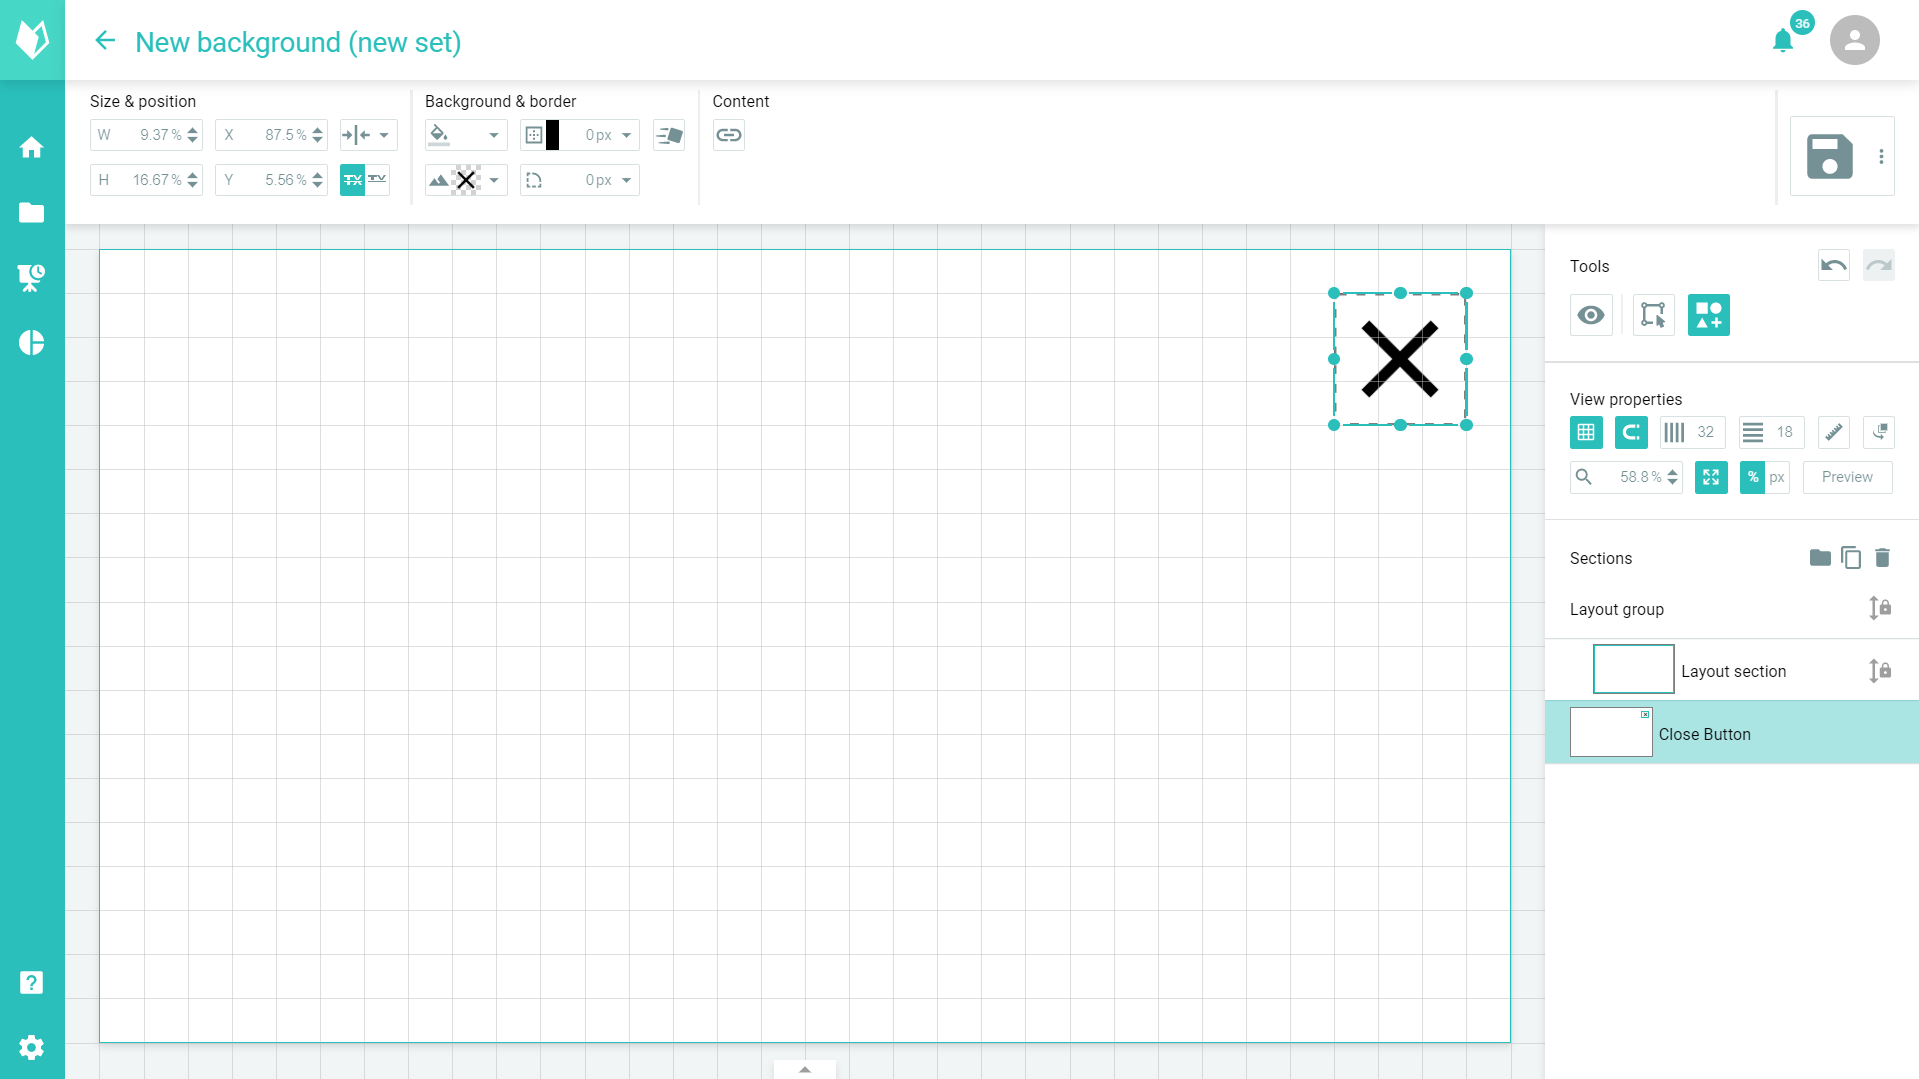
Now the editor for the Background Templates opens. Now you can create a new area with the area tool. This area will become our overlay close button later.
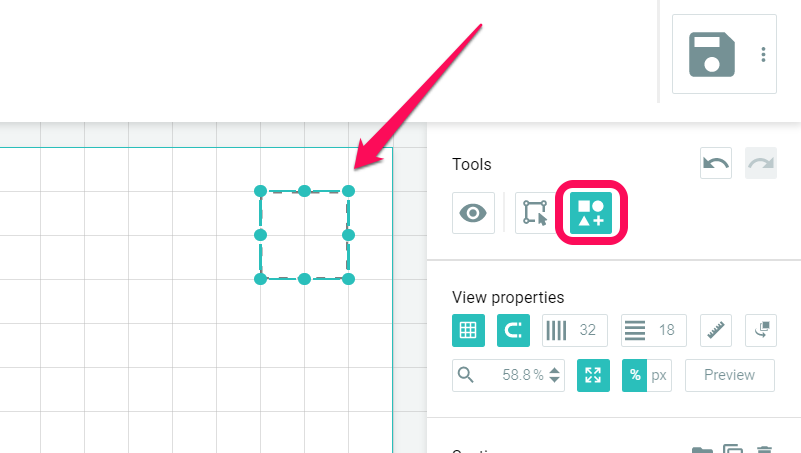
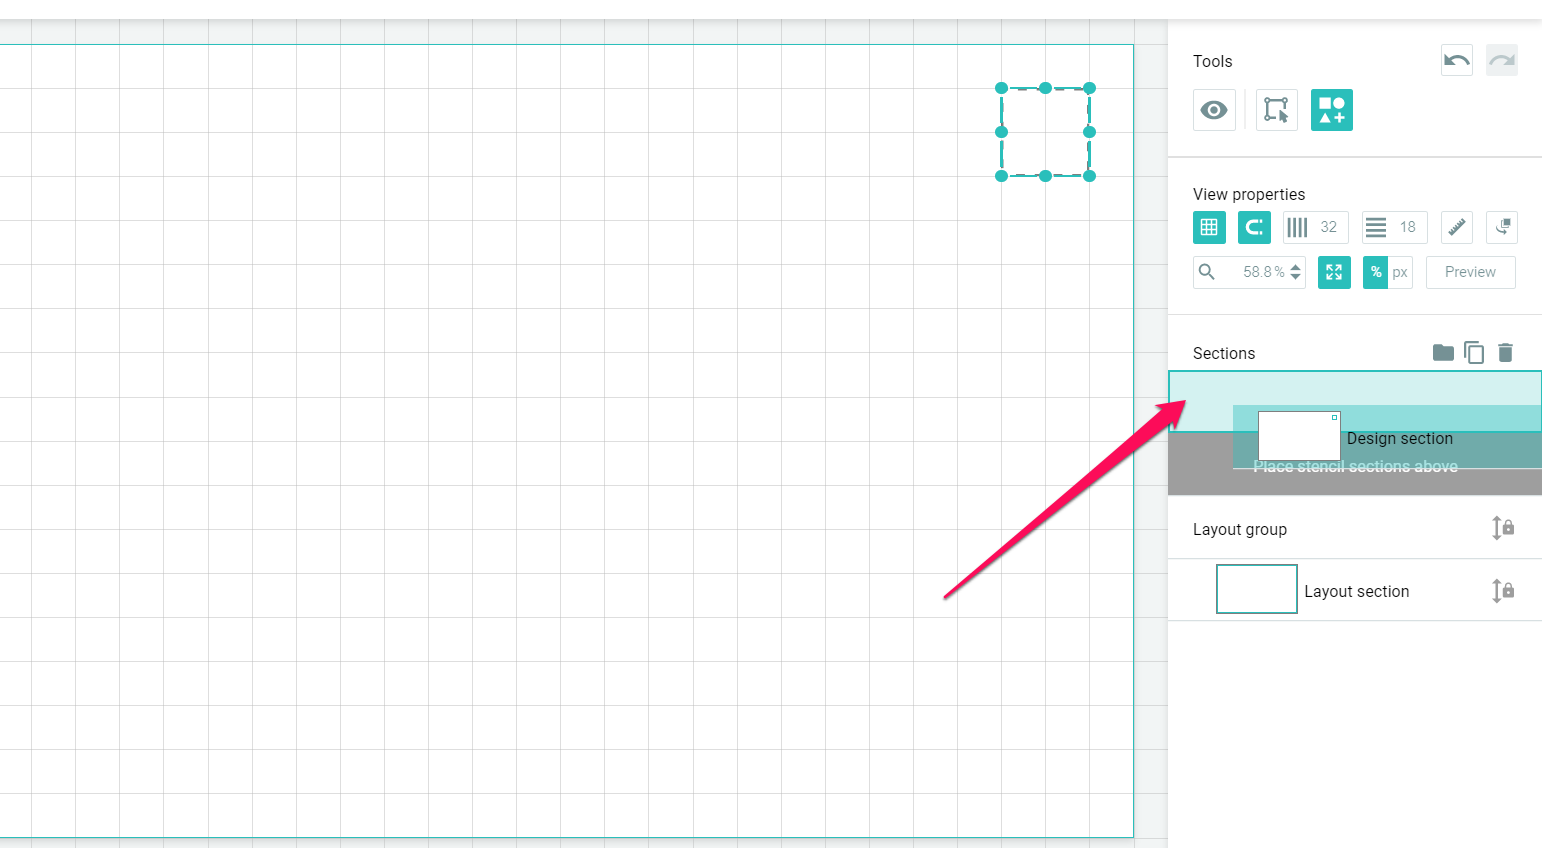
This new area can be moved in the list on the right with Drag & Drop. You should move an overlay close button all the way to the top so that it becomes a stencil/cut layer. Then this area will always be displayed at the top and no content can be placed over it.
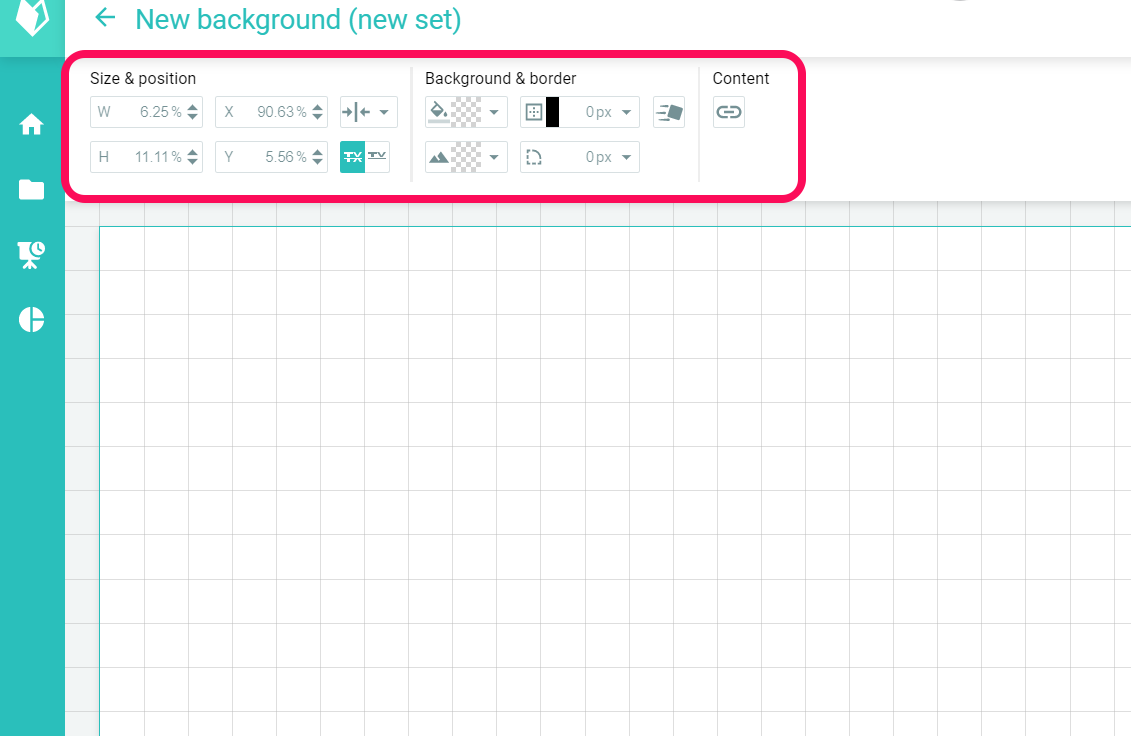
In the toolbar you can define size, background color, background image and frame.
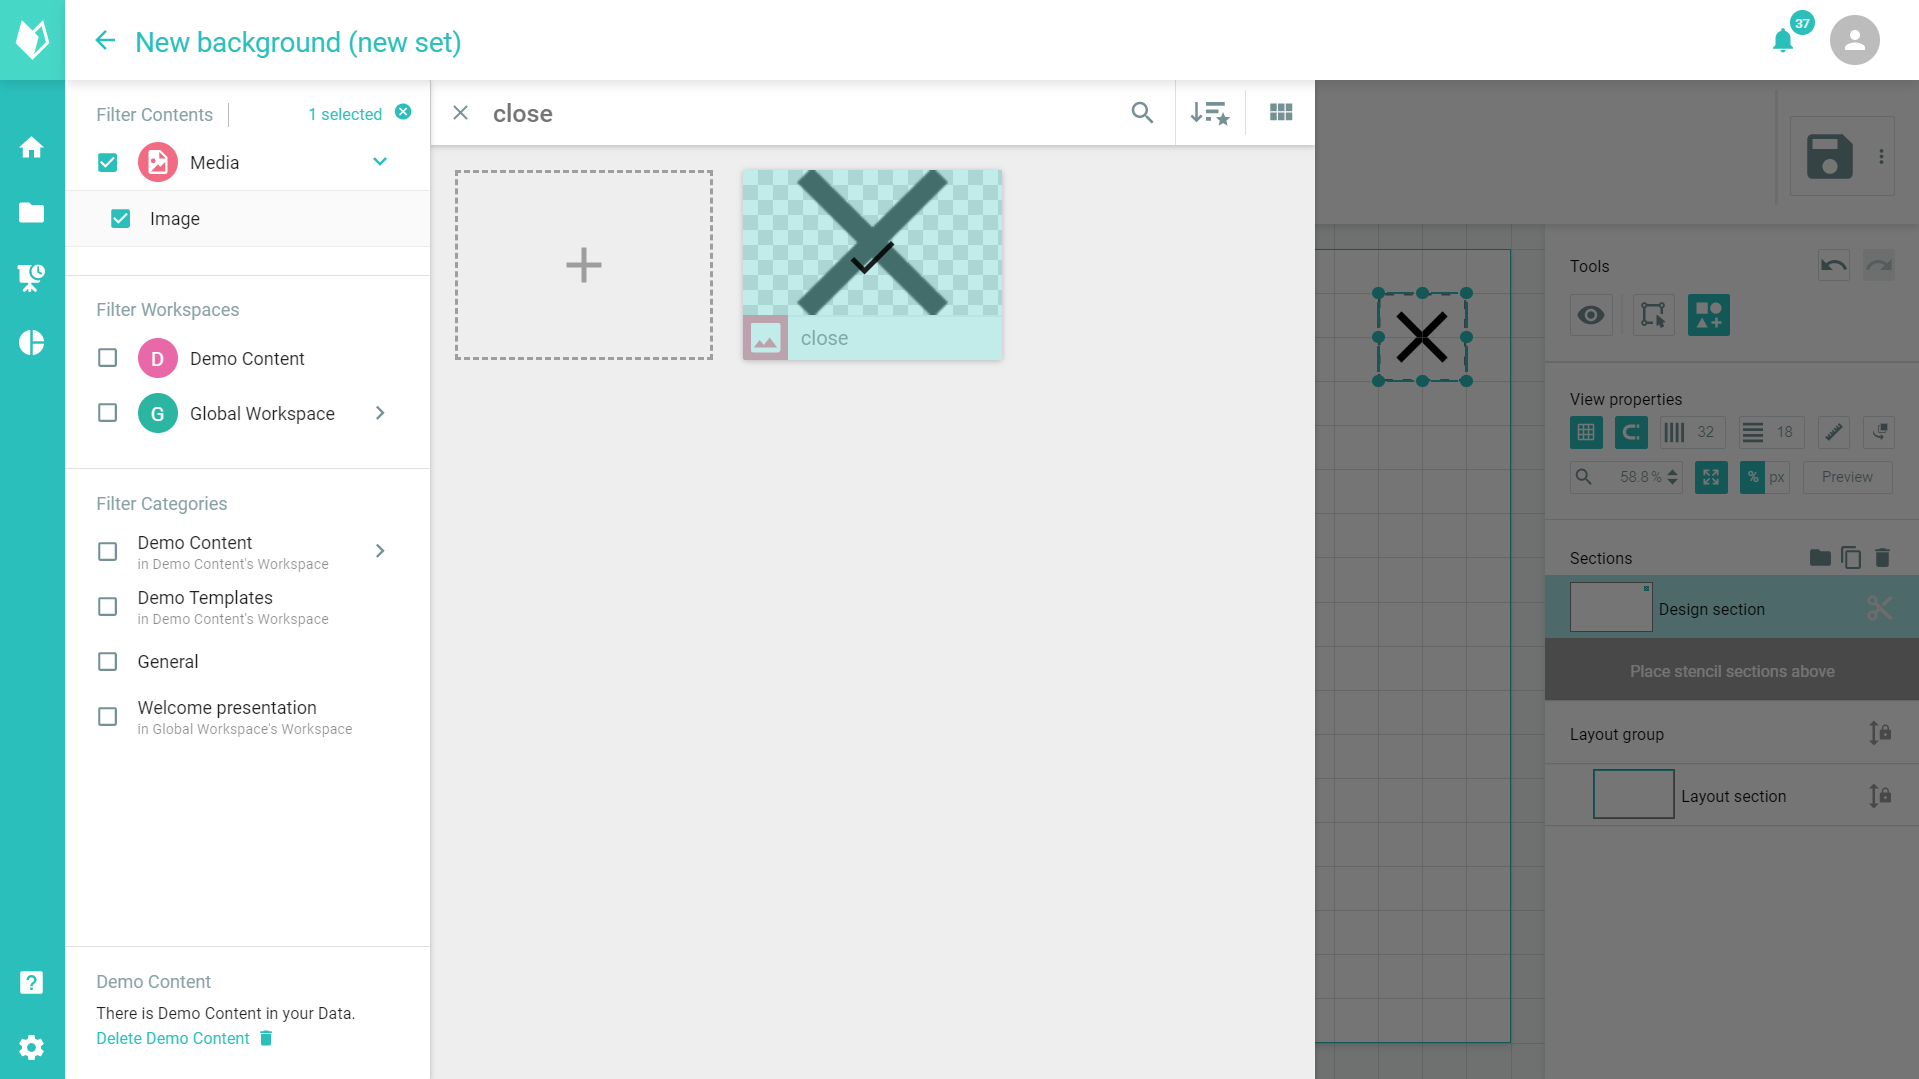
To create the overlay close button, you need a suitable background image. For example, you can upload an image from an x-icon. To insert the image click on "Background image" (1) and then on "Select image" (2). The content structure will open again and you can insert your picture.
presono's tip:
If you don't have an X icon, you can also open the custom code below and type an X into the area on the right. You can then format this X with the text formatting options at the top of the toolbar.
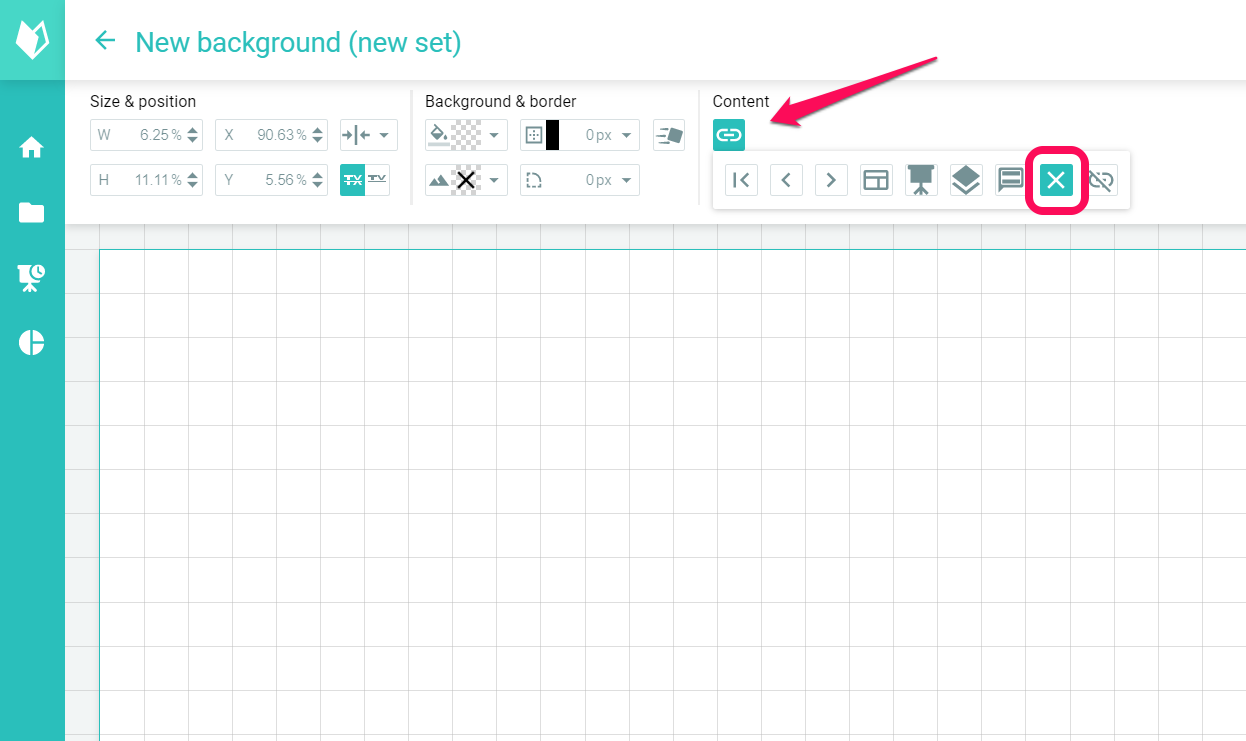
After you have positioned and formatted the area, it still needs the functionality to close the overlays. To do this, select the area (1) and click the link icon (2). Then you can select the X symbol (3).
If you like, you can now add design layers and give your overlay a background color, for example. Then you can save your background template.
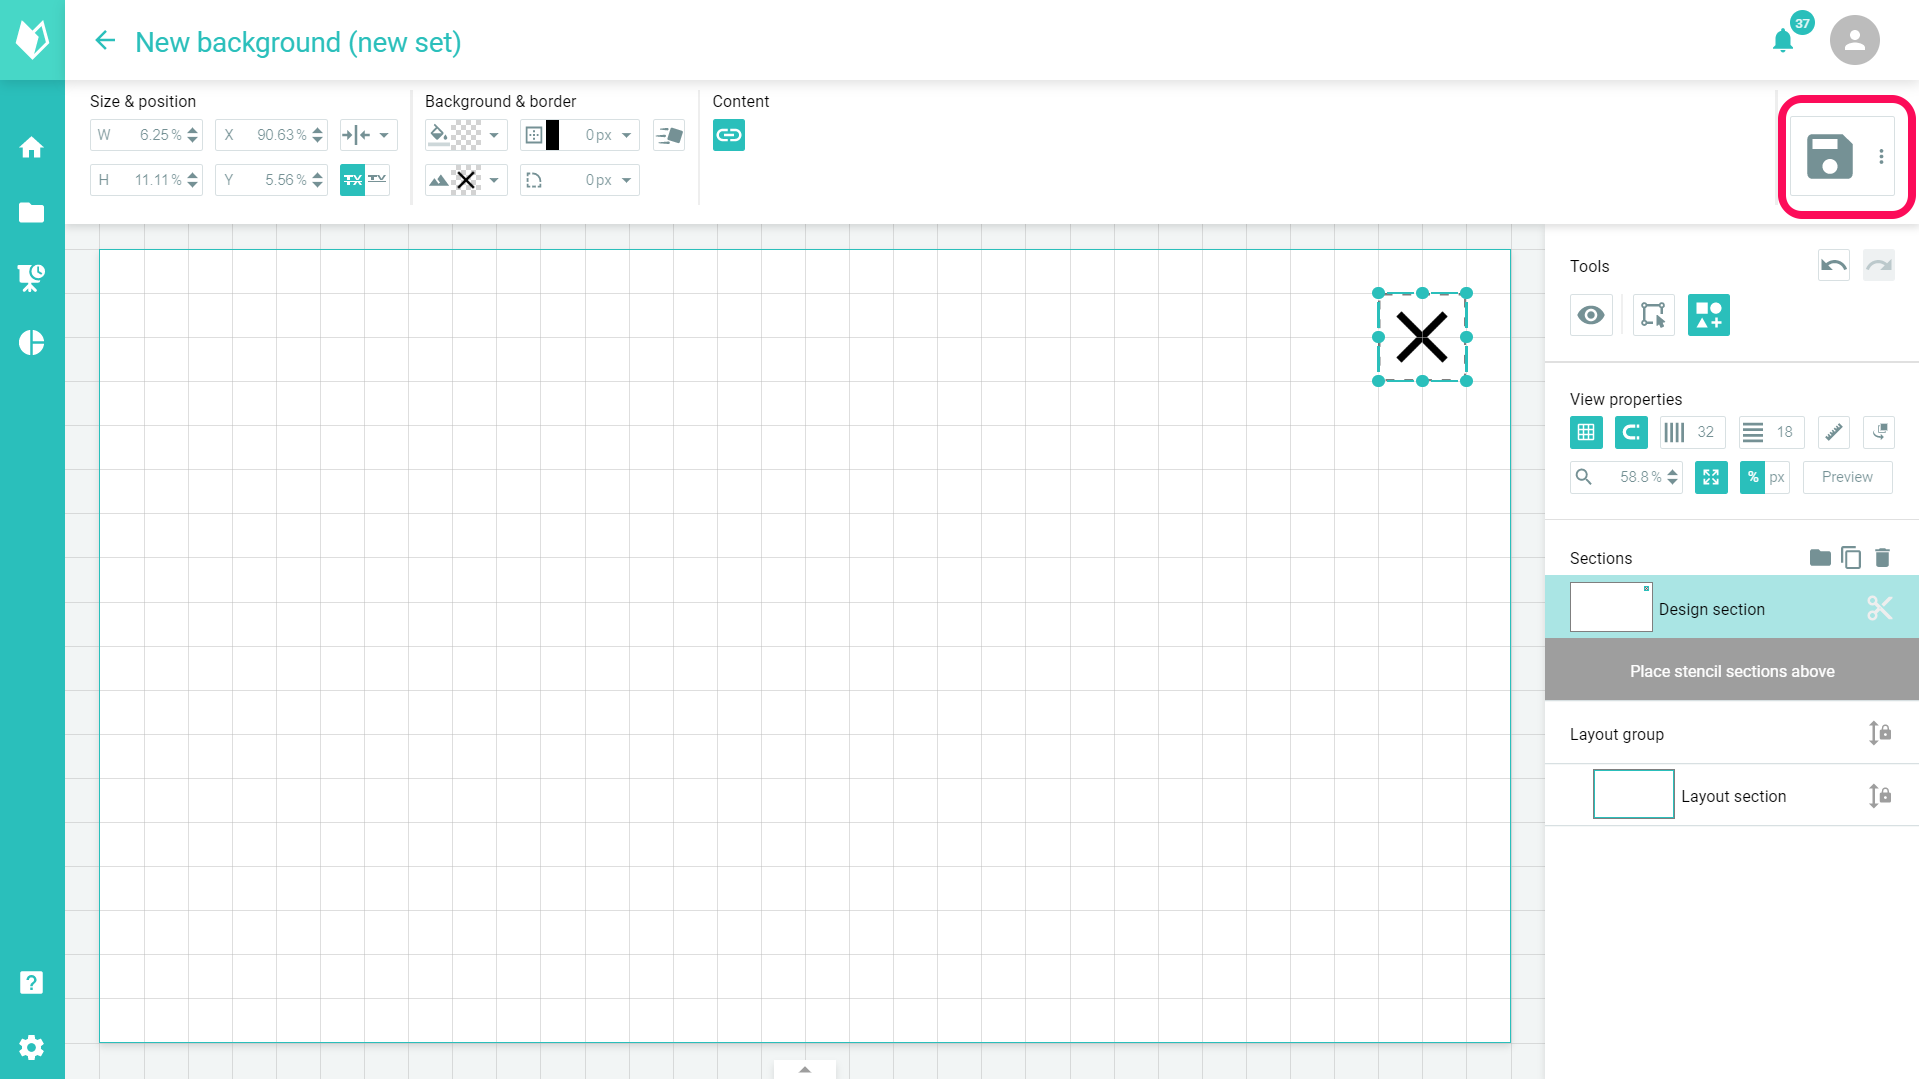
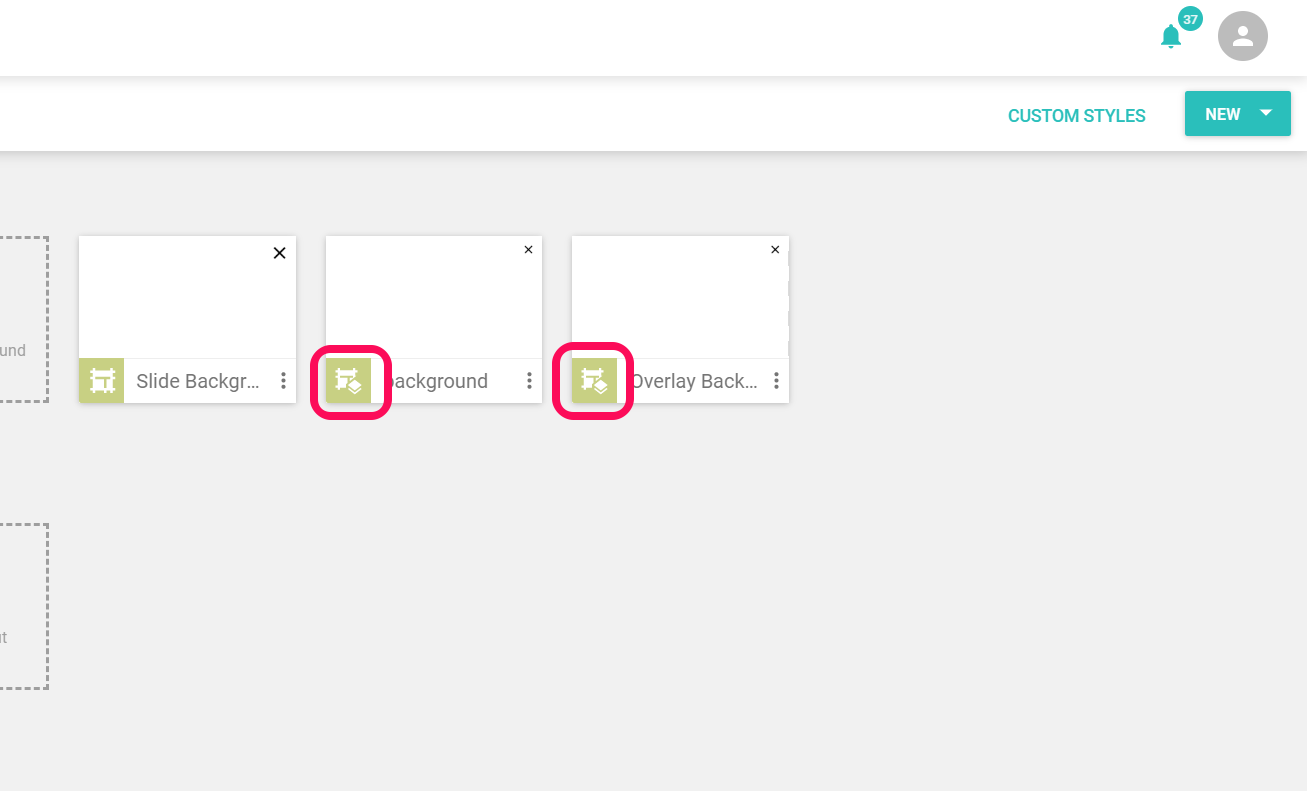
Back in the template set you can see your new background template, it is clearly marked as a template for overlays, because the symbol differs from other background templates. (For layout templates the symbols also differ for overlays)
Creating a Layout Template
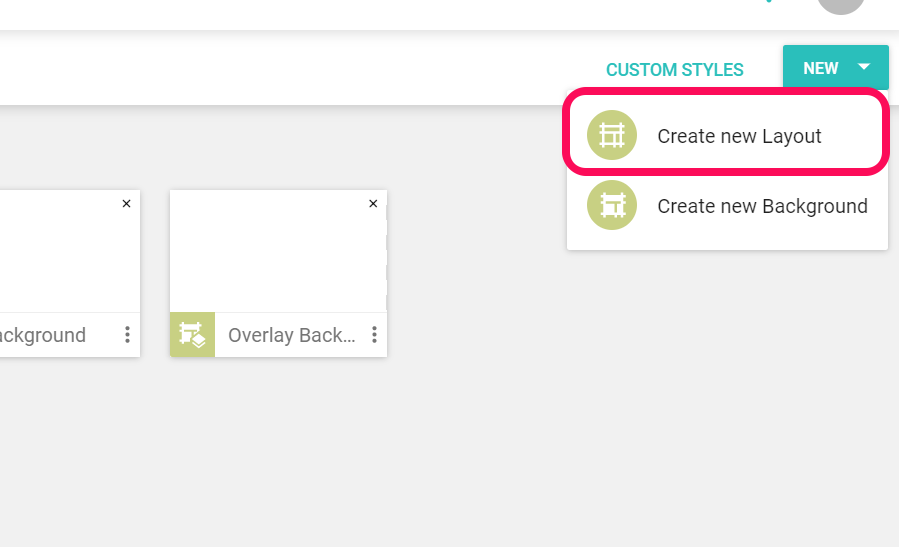
As with normal slides, a layout template is also required for overlays. Click on "New" in the template set (1) then on "Create new layout" (2) or click on the big plus symbol (3).
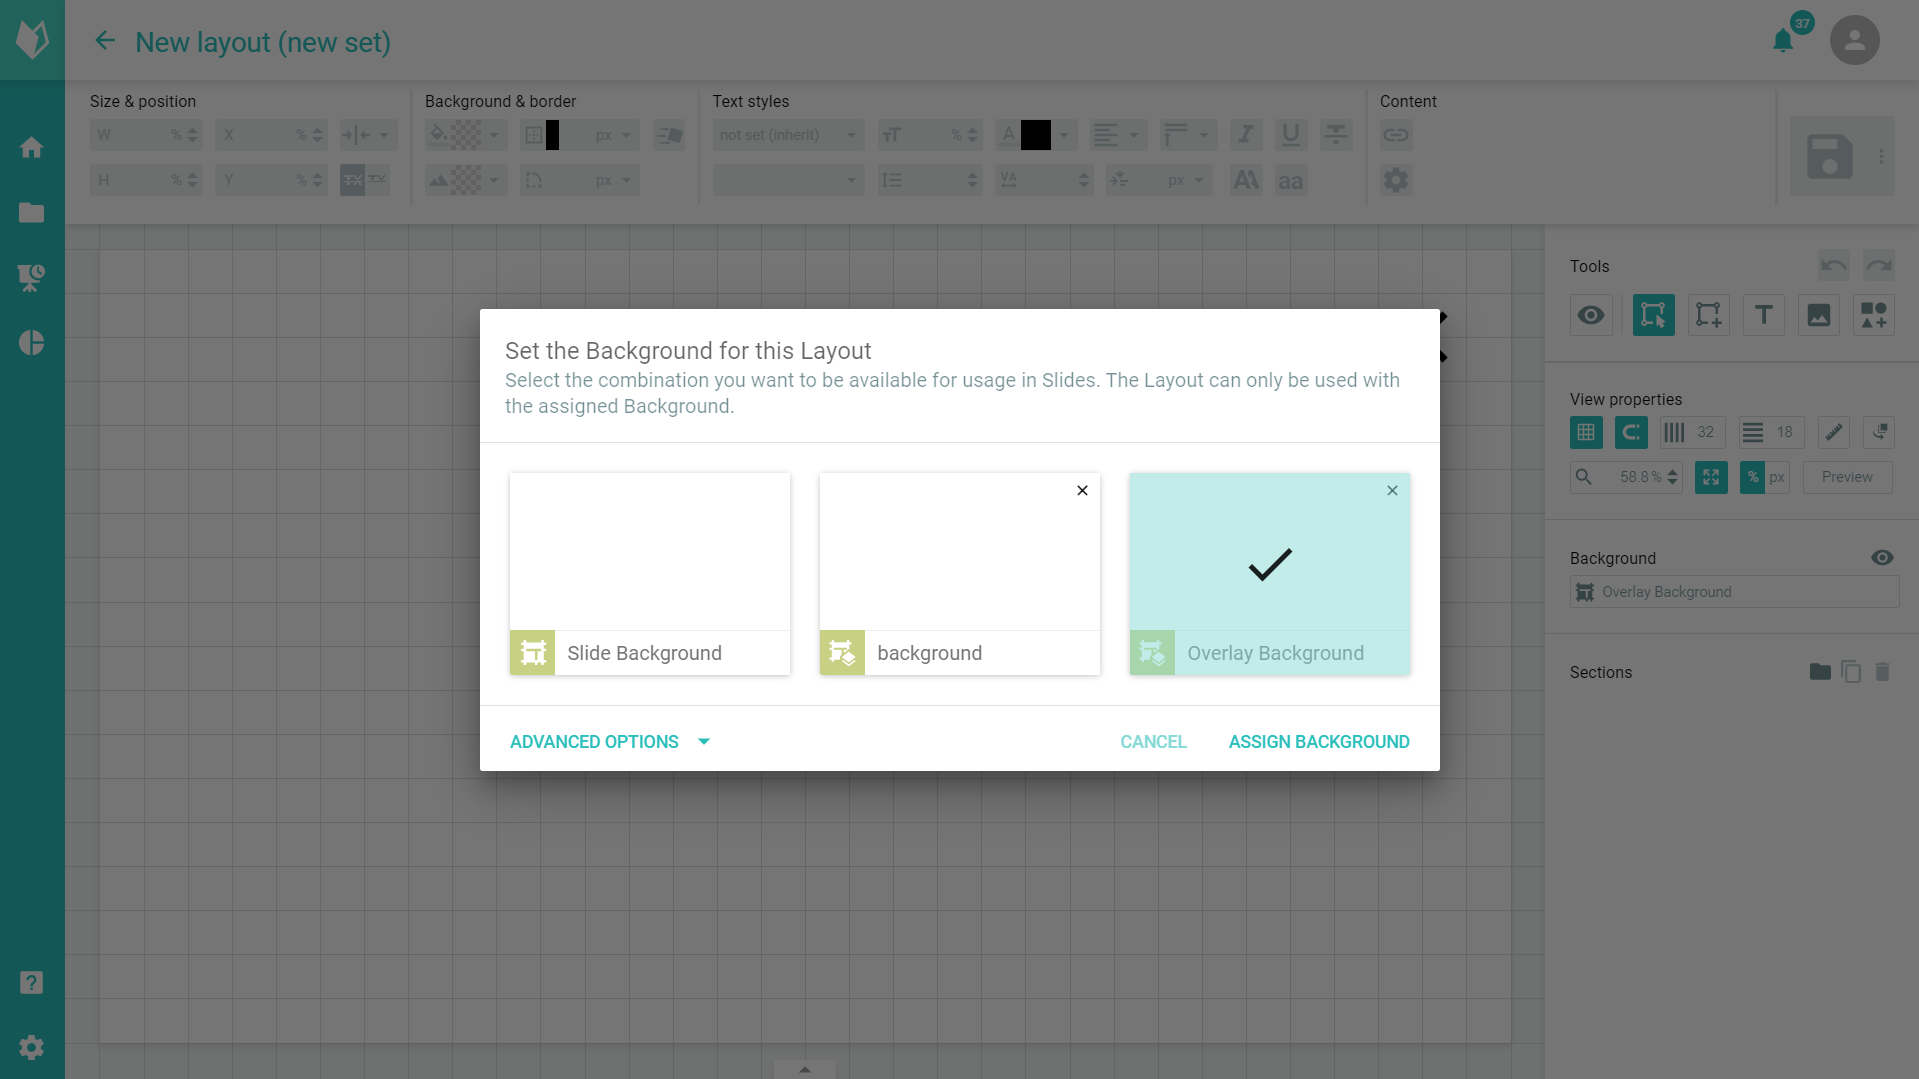
The template editor will open and a window will open where you can select your previously created background template. Then click on "Set Background". Don't worry, you can of course change this setting afterwards by right-clicking on the linked backgrounds.
presono's tip:
If you want to select multiple backgrounds for your layout, you can either hold down the Ctrl key and select multiple backgrounds, or you can click the "Advanced Options" button in the bottom left corner of the window. If you have chosen more than one background for your layout, the layout will appear several times later in the selection, each with different backgrounds!
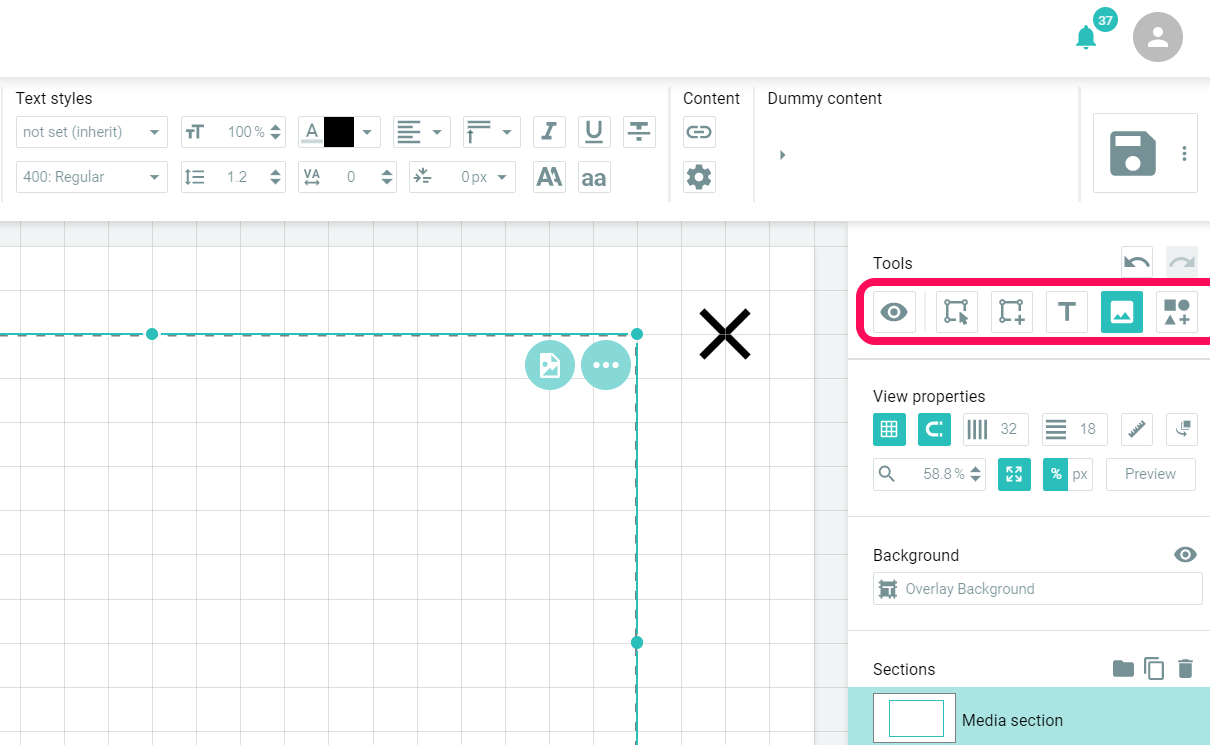
In the layout template, just like in templates for slides, you can create new areas with the tools on the right and then define what should be allowed in this area. The linked background is already displayed and so the layout areas can be set exactly. If several backgrounds have been linked, you can switch between the different backgrounds on the right to check that the layout fits. More about how to create layout templates can be found here: Create Layout Templates
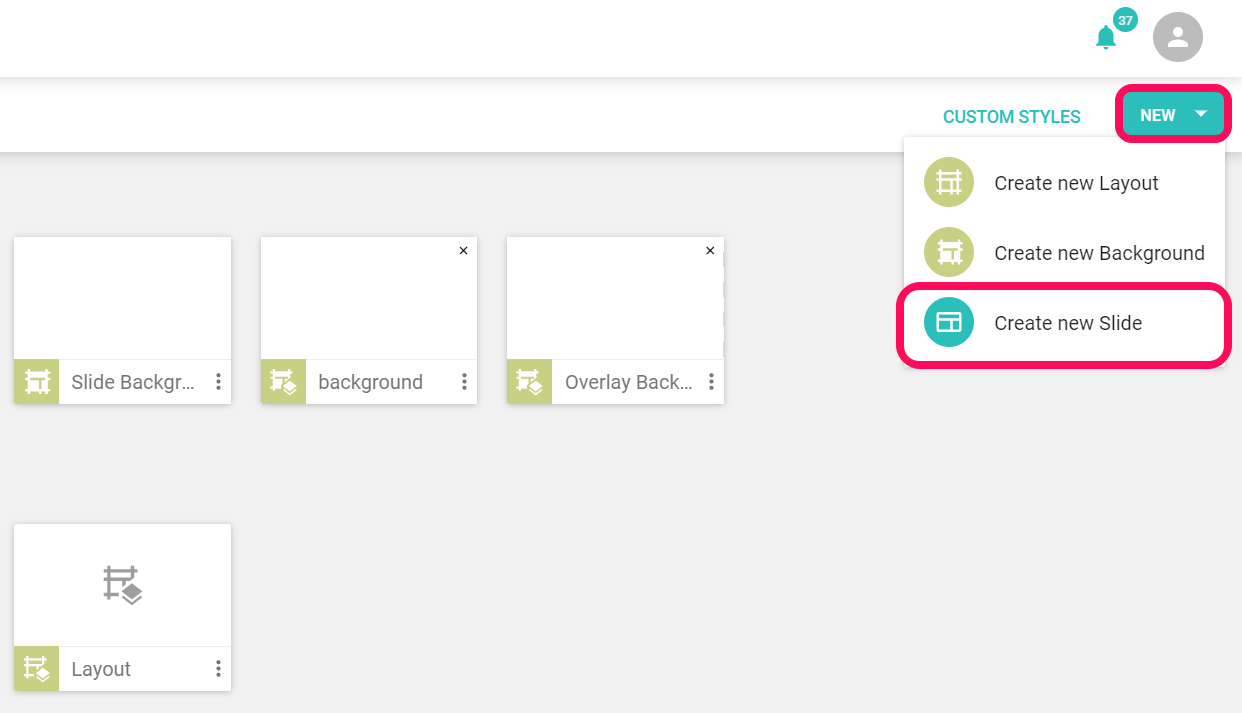
After saving you are back in the template set, here you can directly click on "New" and "Create new slide" to create your overlay.
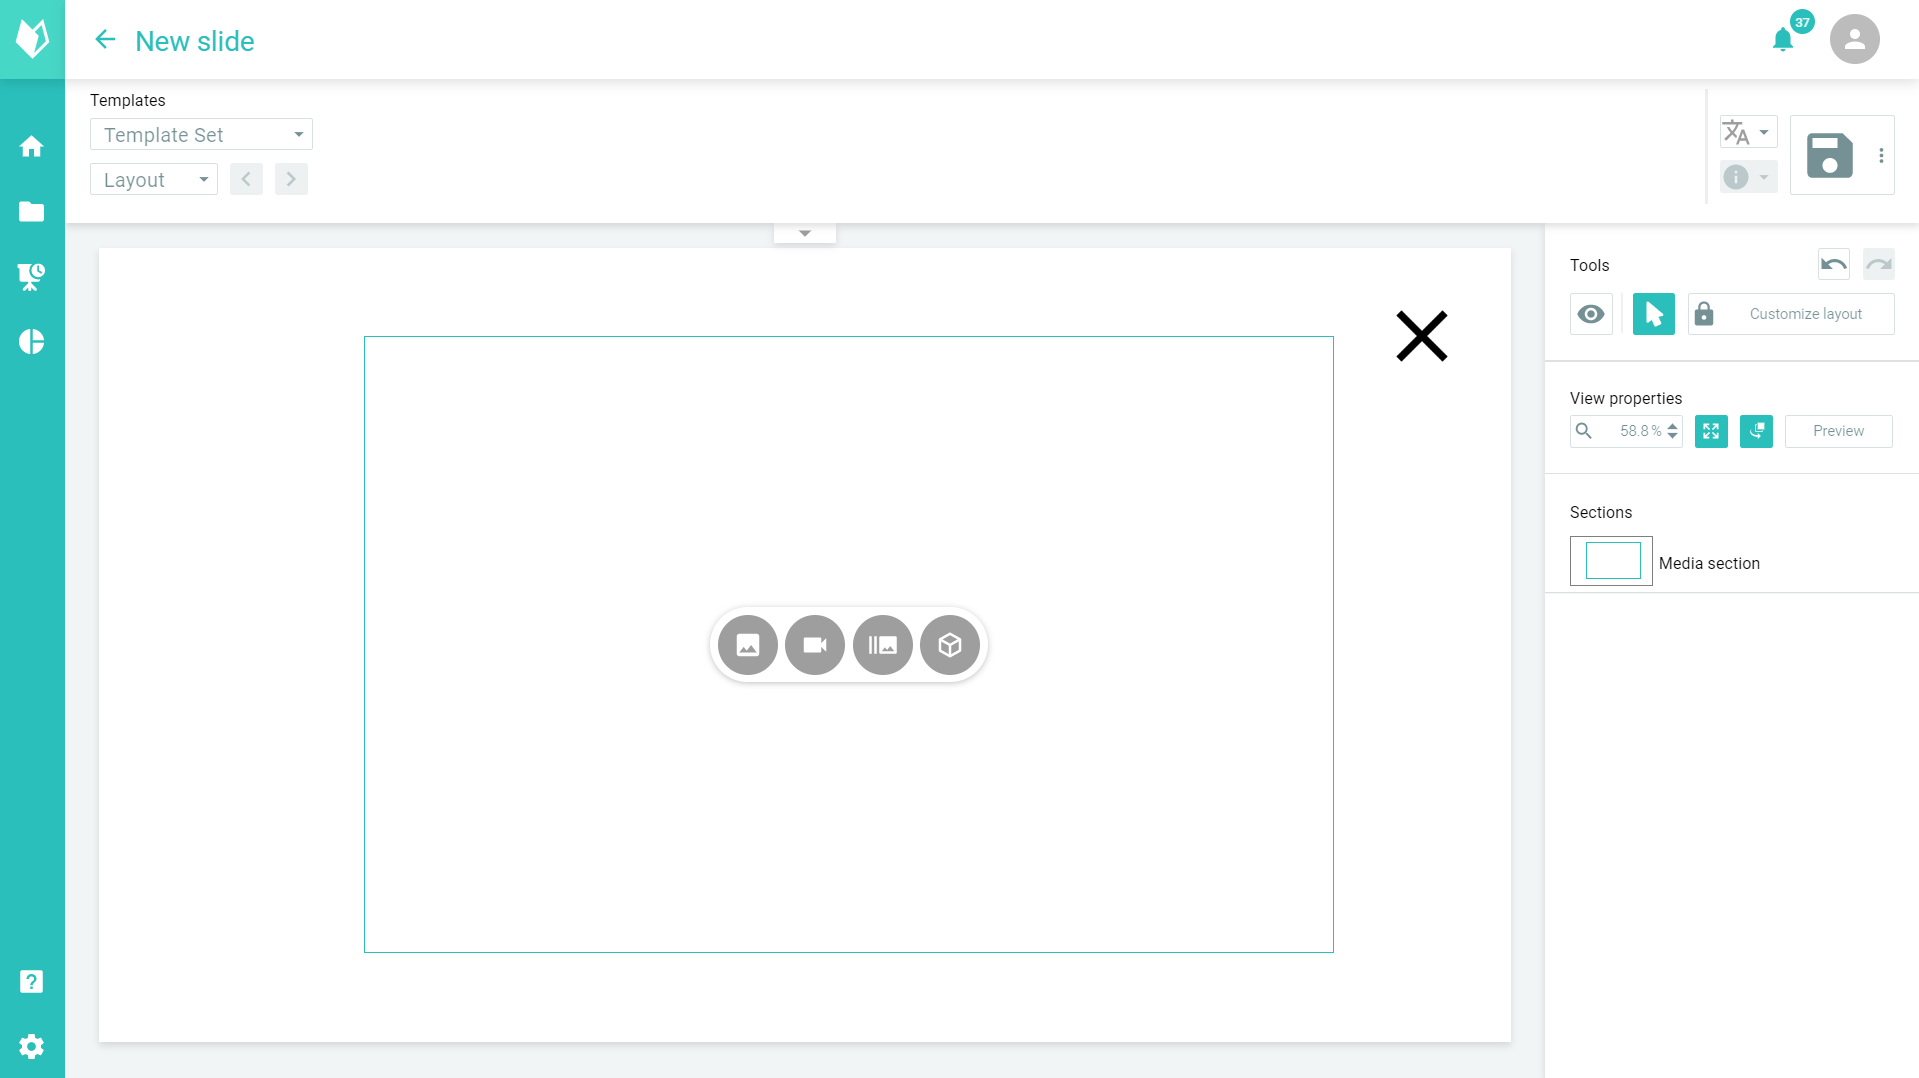
In the now open slide editor you can first select your template for the overlay and then fill it with content as usual. You can find out more here: Different contents in slides. When you are done, you can save your overlay as usual.
Overlays Linking
Overlay must be linked to slides so that you can present them.
Once you have created your overlay, the next step is to open the slide from which you want to open the overlay.
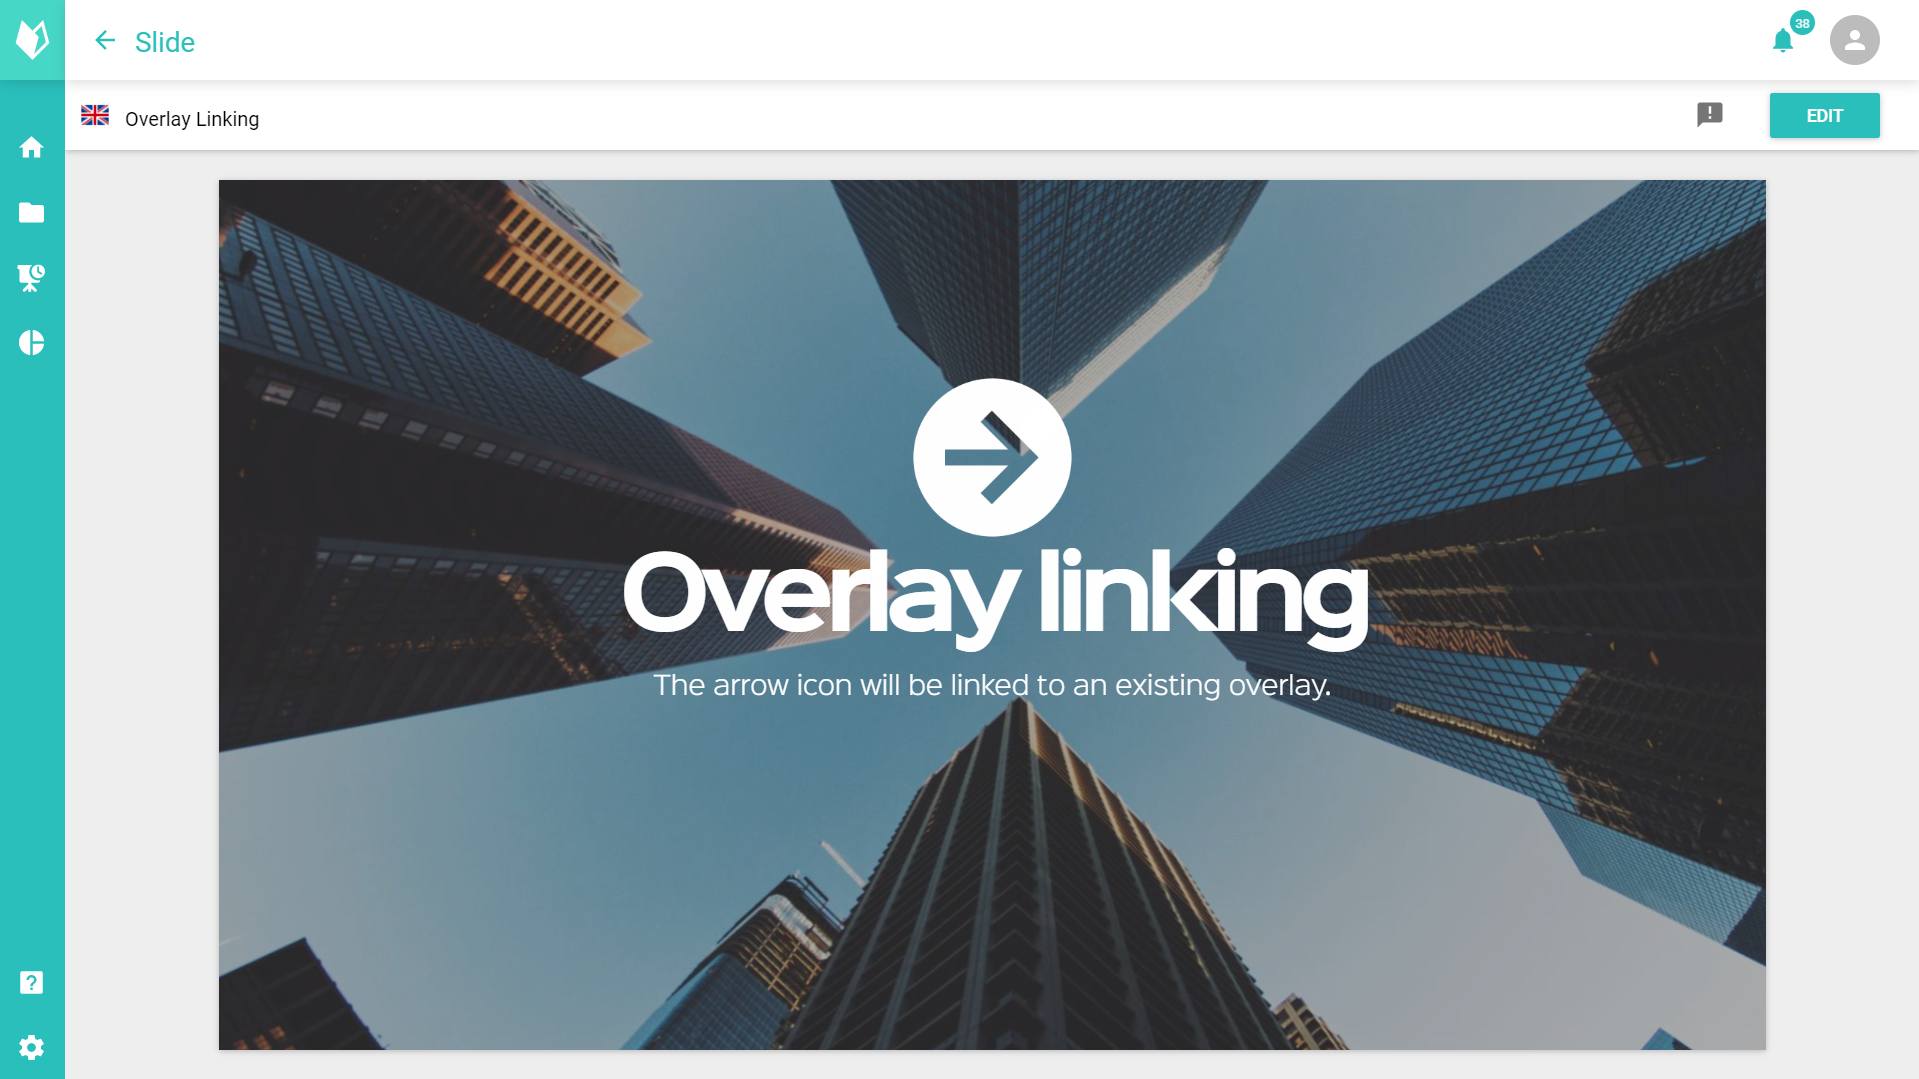
Now click on the (filled) area (1) you want to link to the overlay. Then click on the link symbol (2) in the toolbar (if this symbol is already marked before your click, this area already has a link). If you now click "Overlay" (3), the content structure will open and you can select your previously created overlay. Of course you can use the search, filters, categories and workspaces to find your overlay.
presono's tip:
You can't link to every content. Only on images, text or tables. Videos or PDFs for example are already interactive and therefore I can't use them as "buttons".
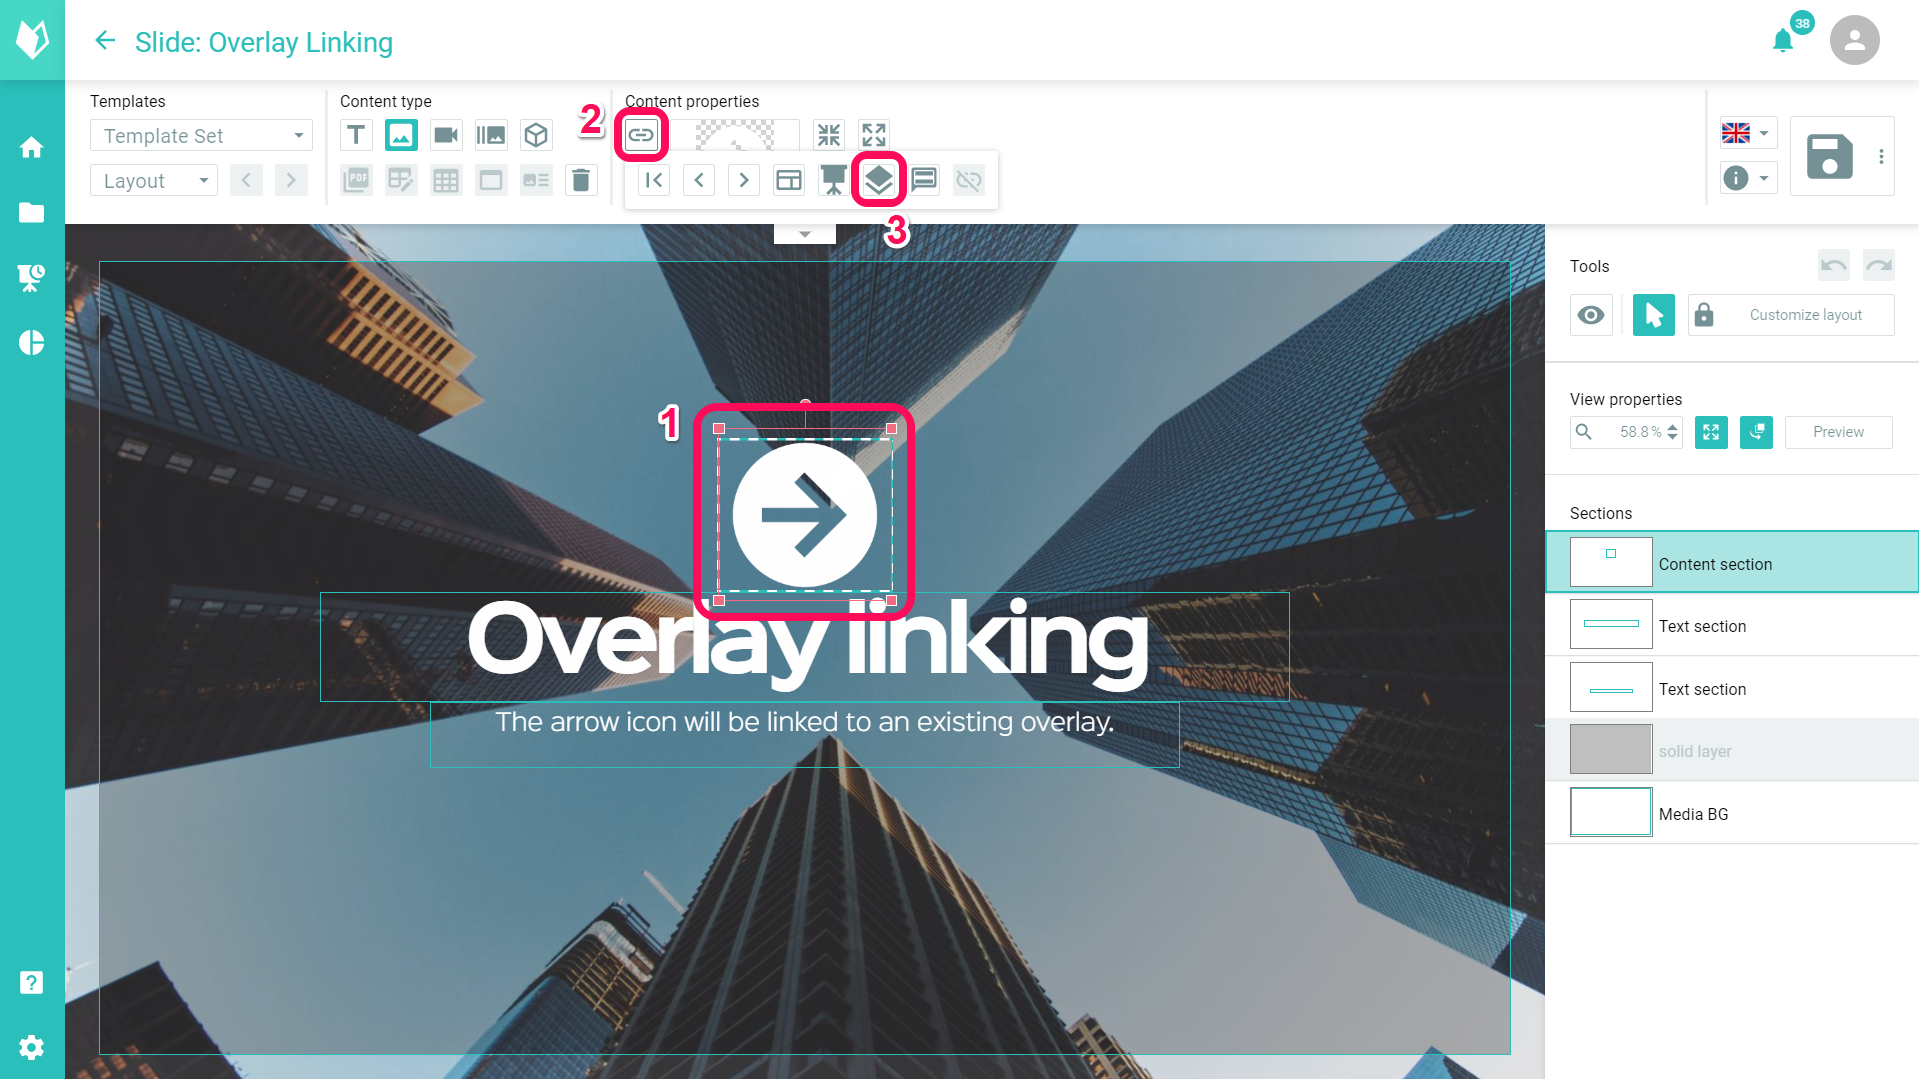
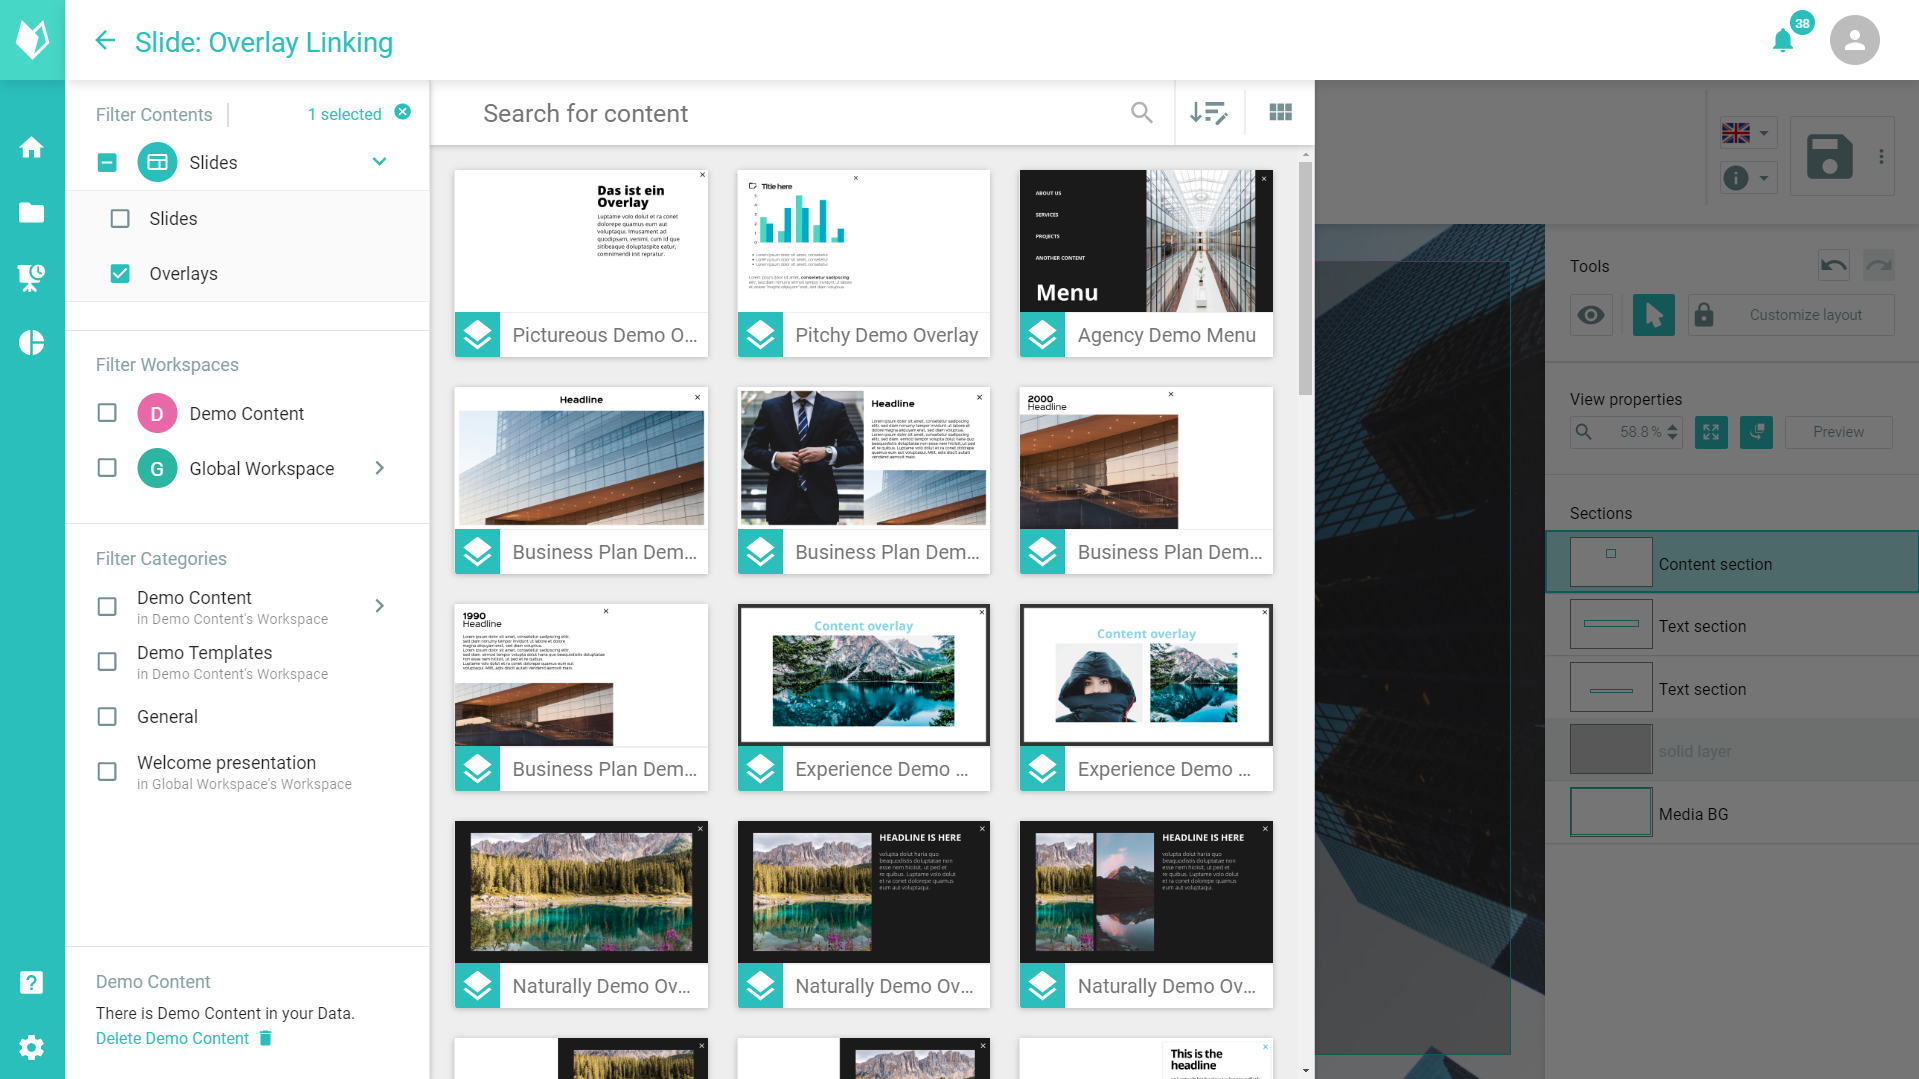
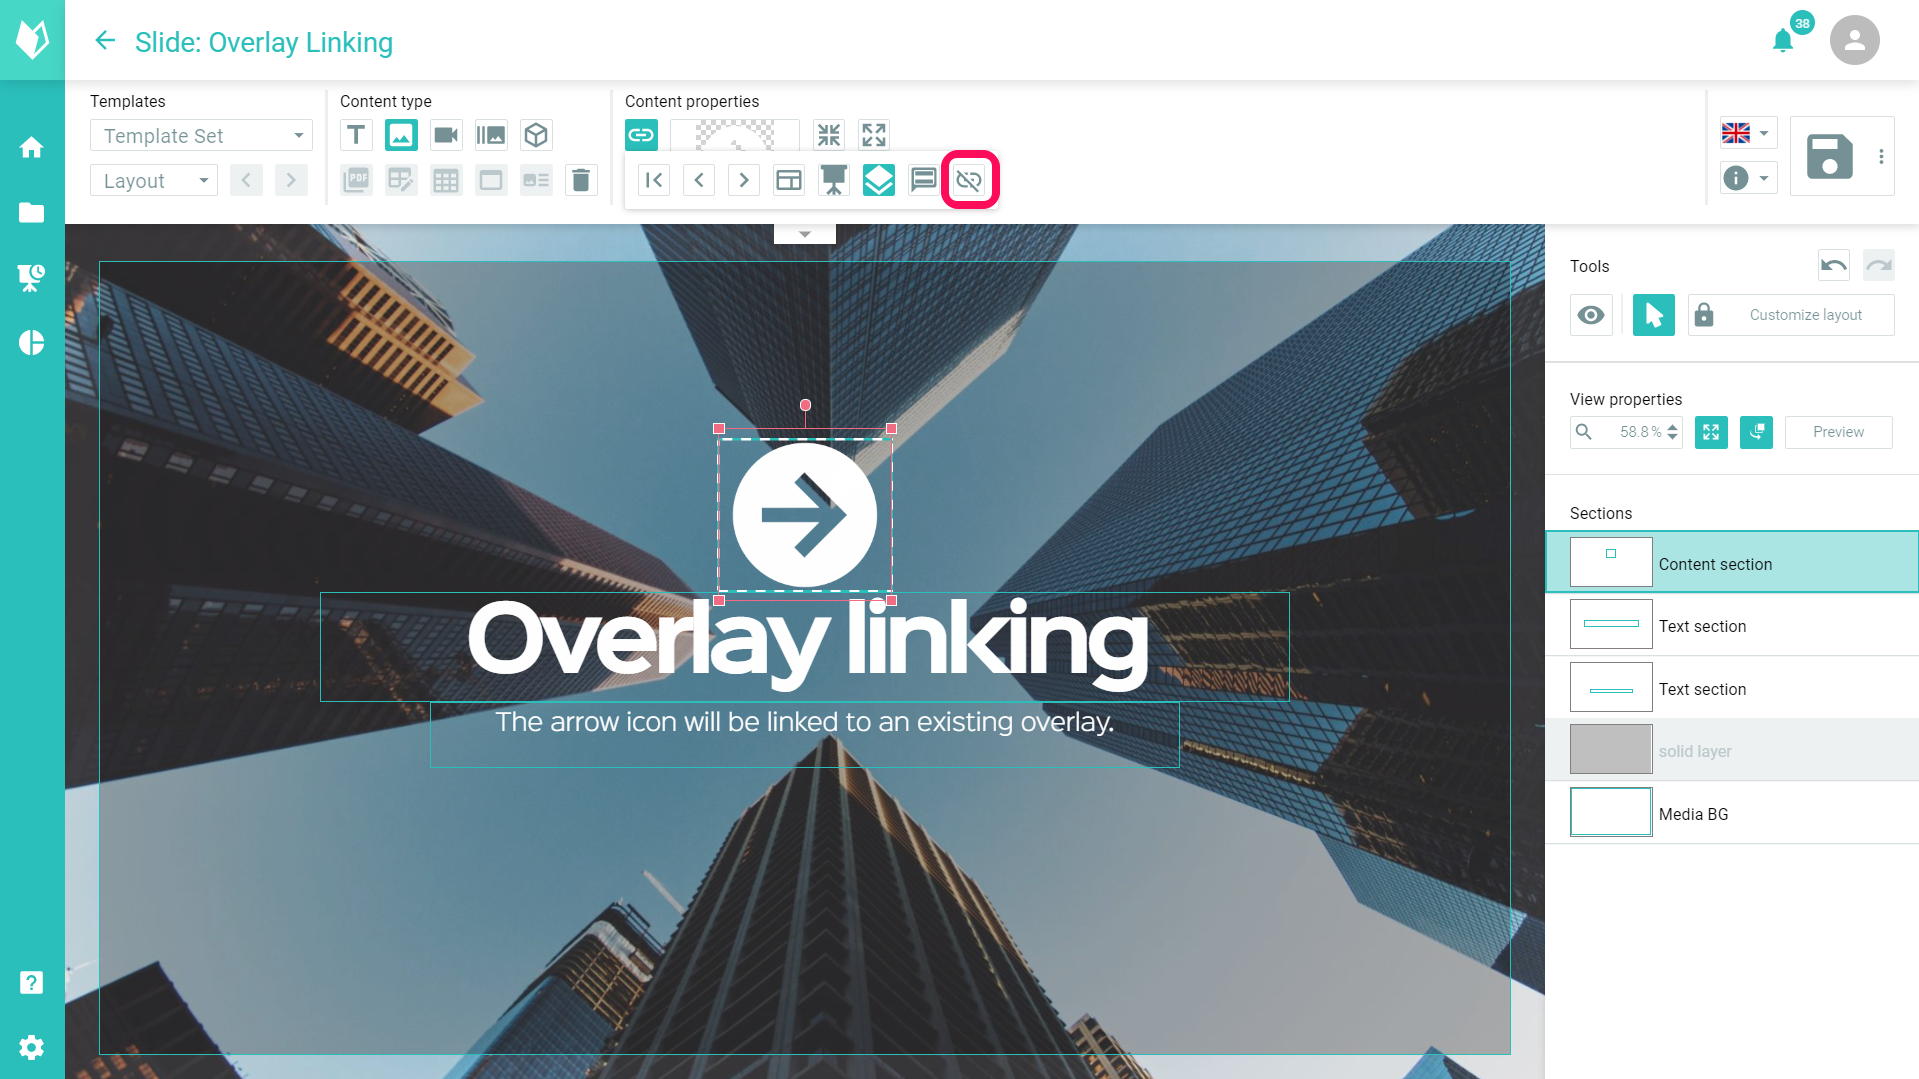
After you have made your selection, the link symbol is now clearly marked.
You can also remove the link by clicking the link icon again and then the remove icon in the dialog.
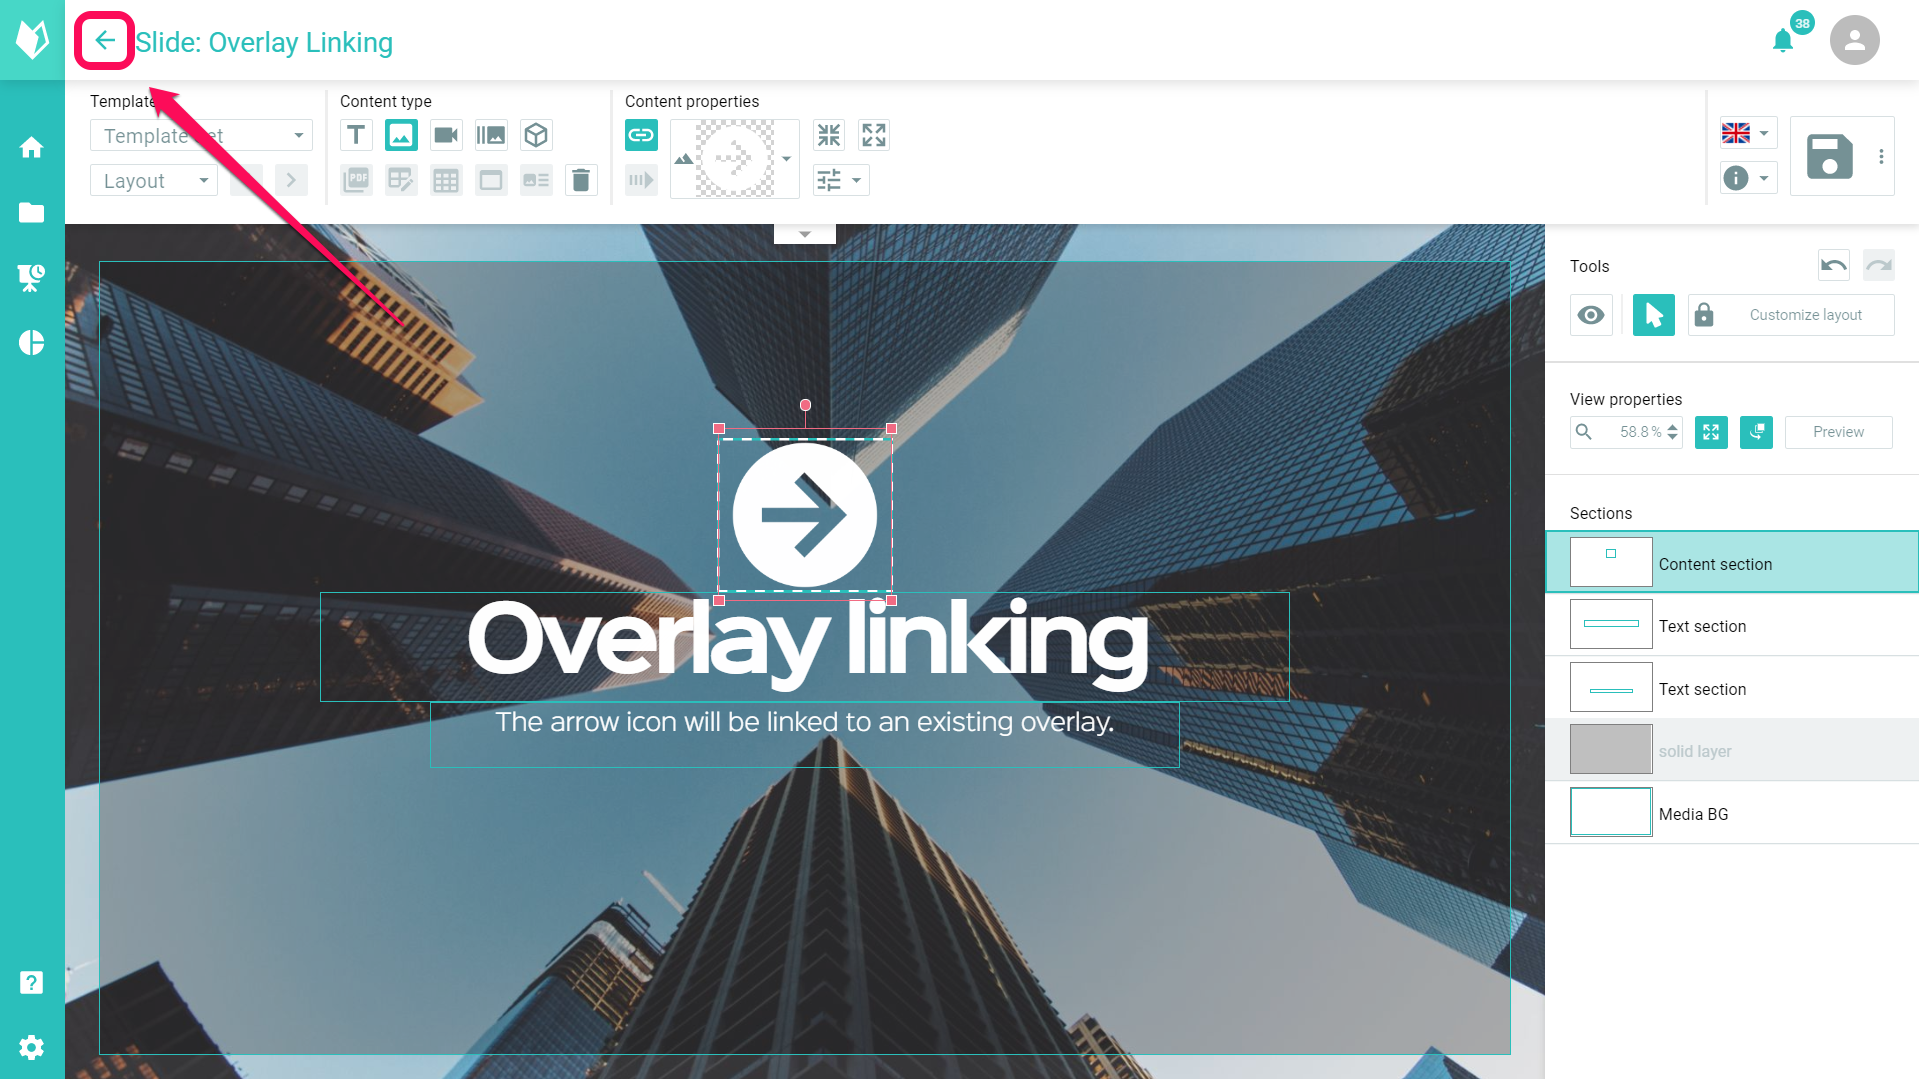
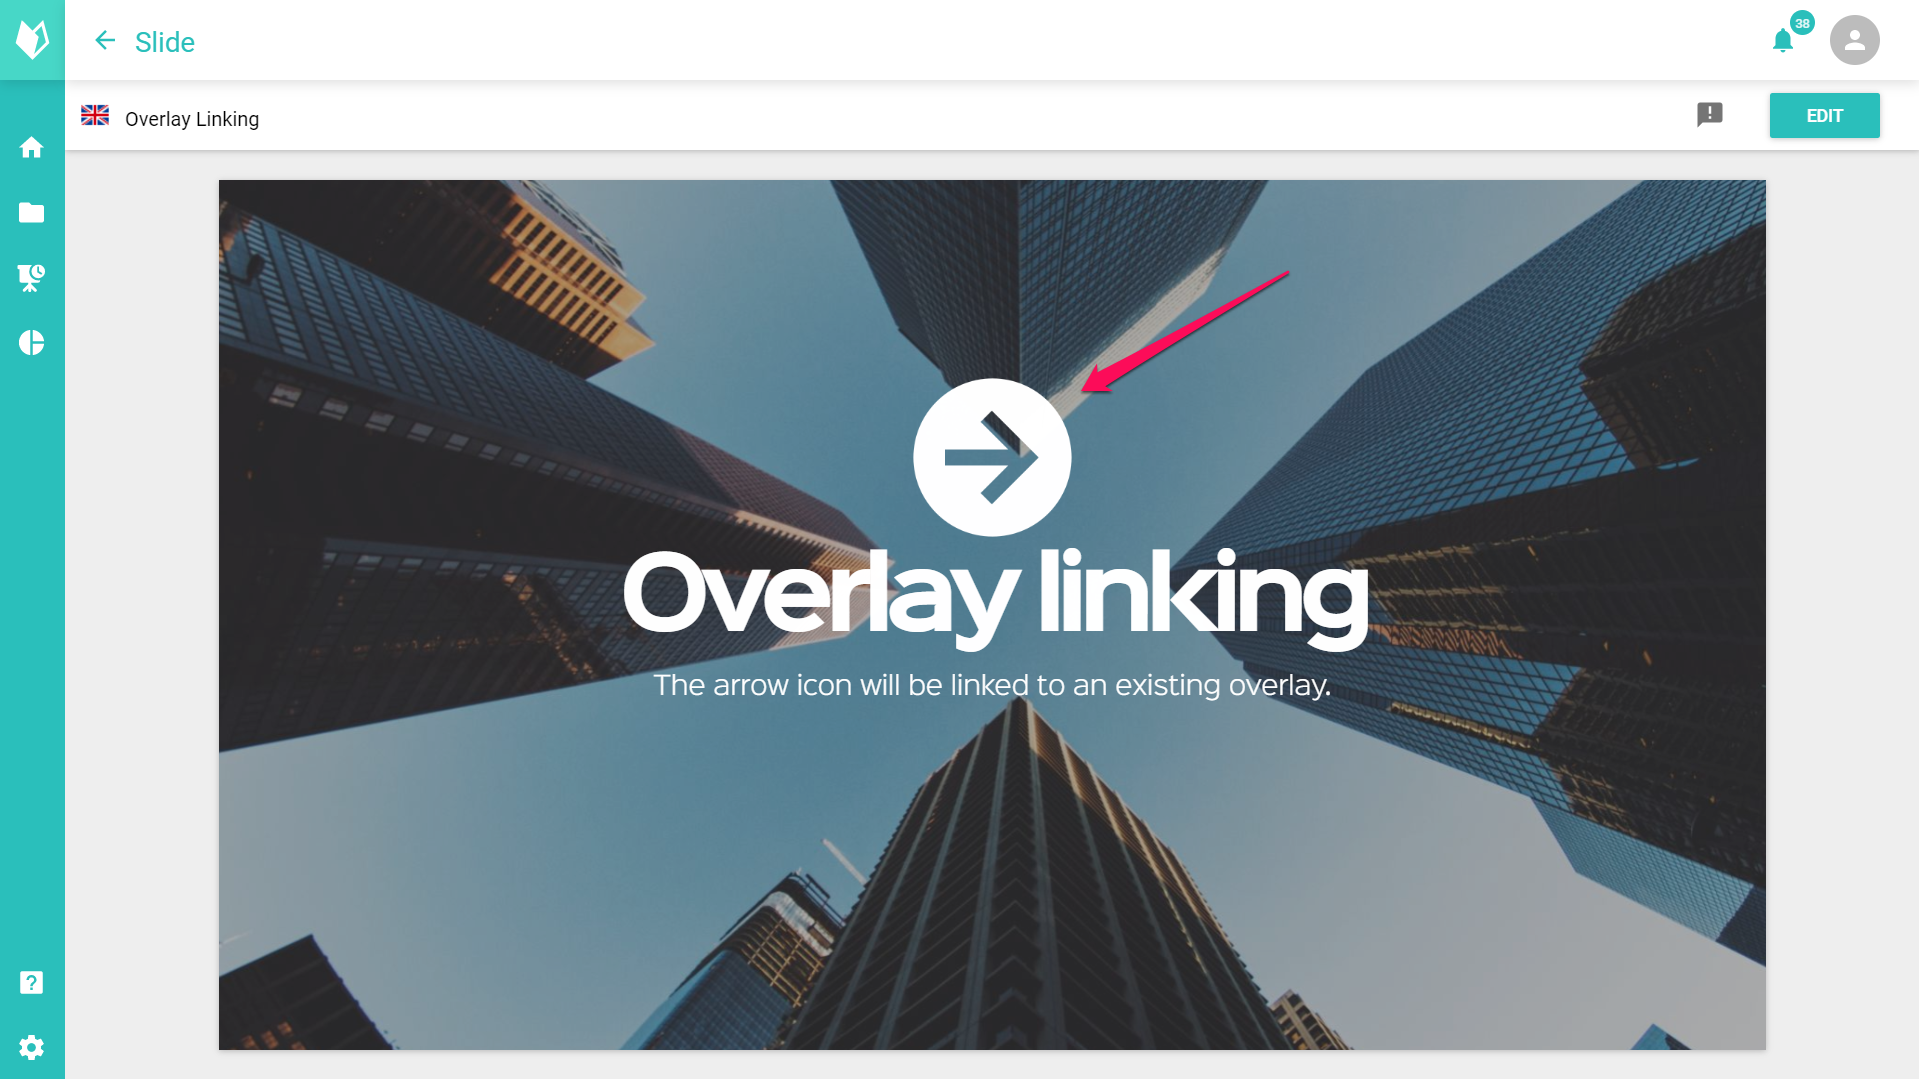
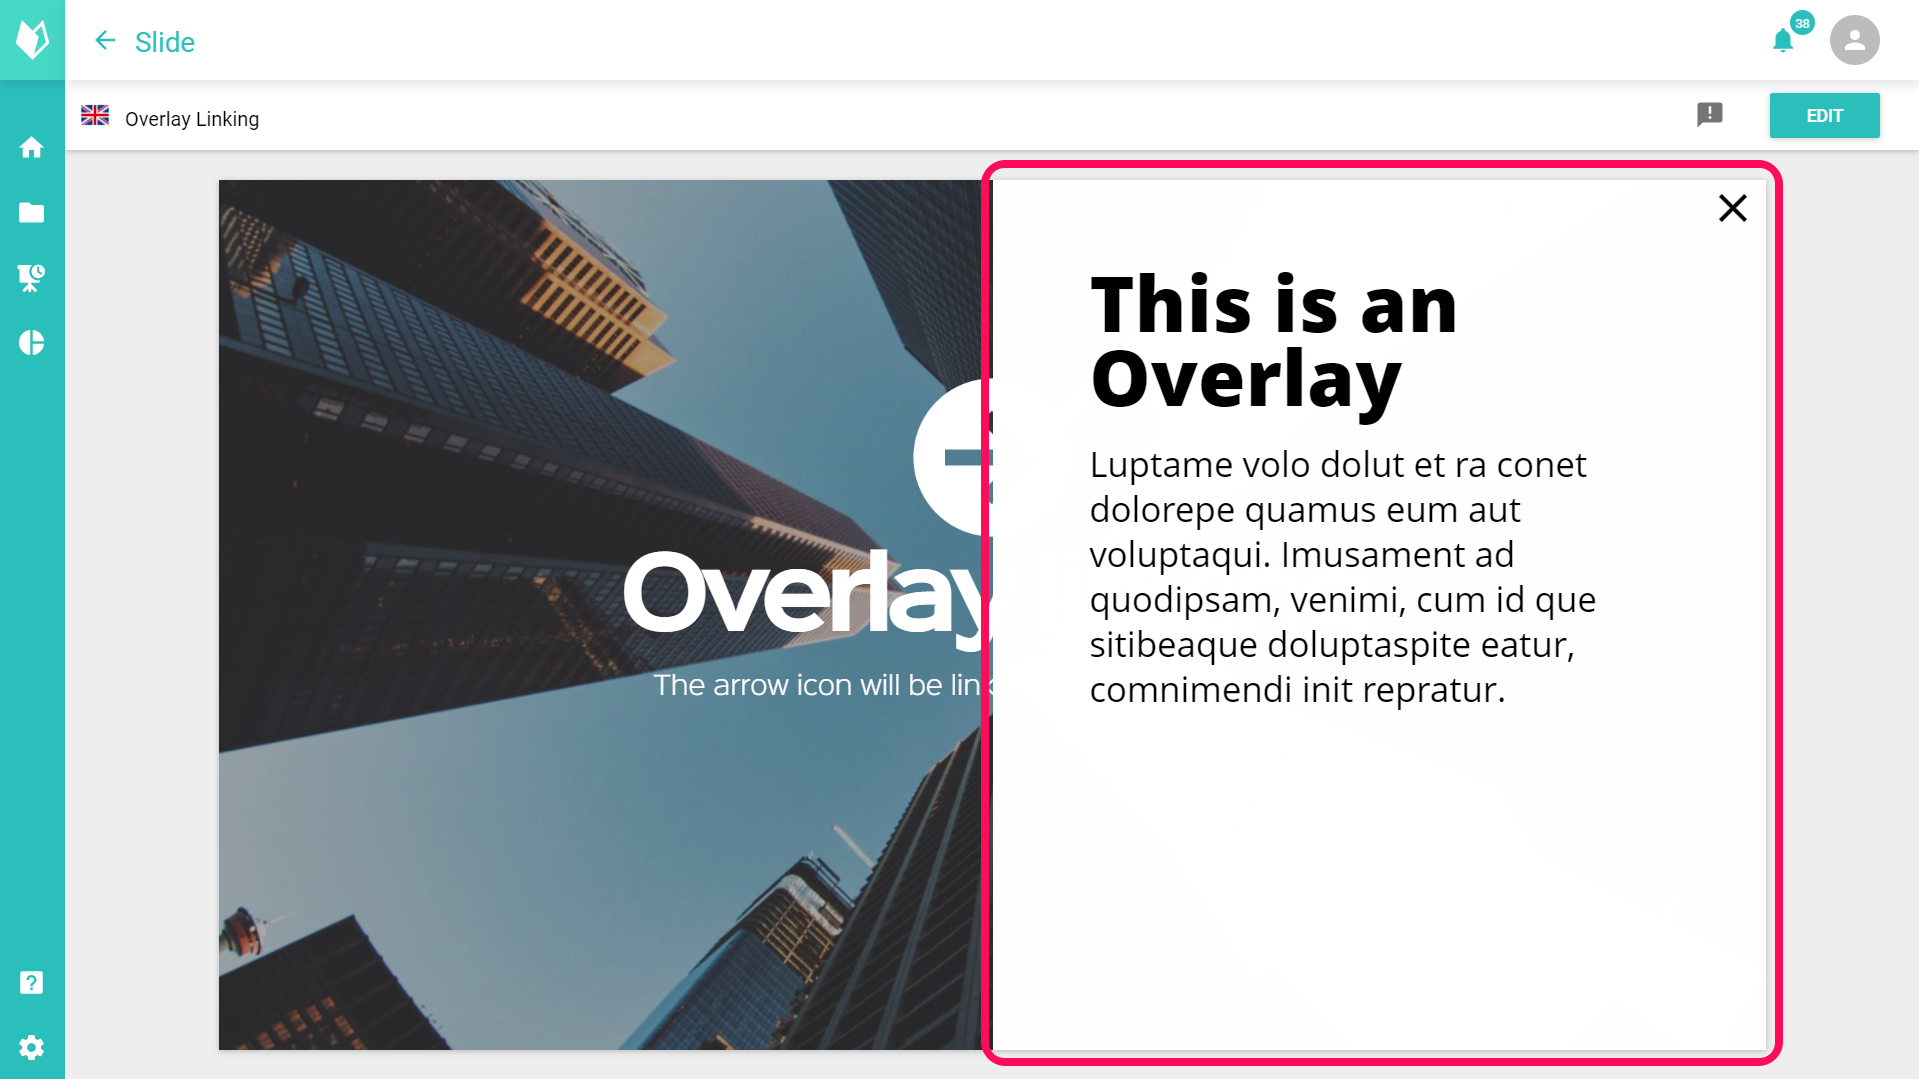
Finally, all you have to do is save your changes in this slide. If you switch back to the slide preview with the arrow in the upper left corner, you can click on the area and your overlay will open. In every presentation where you use this slide from now on, the overlay is also linked!
presono's tip:
If you want to add an interactive menu to your presentation, you can do that with an overlay as well! The menu overlay can then be linked either directly in the template (preferably in the background template) or in the slide. On the Overlay menu you can then link the individual areas or points to the respective slides or presentations and you have a menu! You can find out more here: Create Background Templates
You might also be interested in the following
Why is the link symbol in my area grayed out in the slide? I can't link my overlay.
This could be due to the template. In this area it must also be activated that a link may be placed on it. This happens in the layout template for the area under the general permissions for this area.
