Headlines:
Activation of the feature
What is a "Customized Layout"?
Customize Layout for a Slide
Special features for individual layouts
Save layout as reusable
In this article, you'll learn how to customize slides for individual use cases.
Activation of the feature
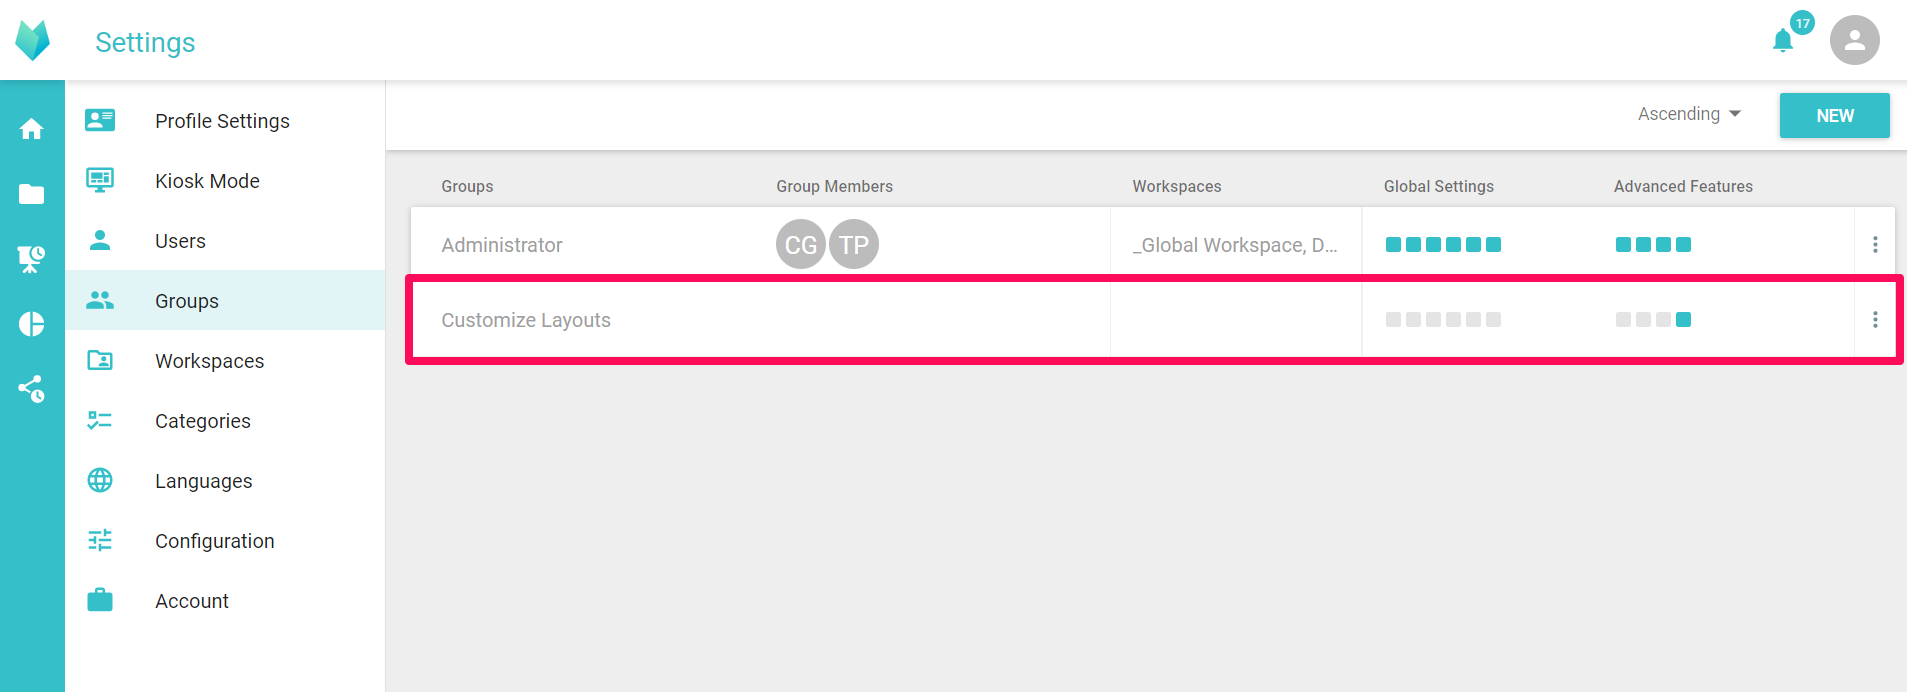
This feature is included by default, but must be enabled for user groups. To do so, go to the settings and open the corresponding user group. In the global permissions you will then find the item "Customize Layouts" on the right side. As soon as this setting has been saved, all users who are in this user group can individualize all slides that are available to them.

Tip: you can create a user group that has only this right and has no specific workspaces assigned to it, for example. This way you can easily share the feature with specific users by assigning them to this group, since the permissions in presono add up.
What is a "Customized Layout"?
If you want to customize a Slide, you have to detach from the original Layout. This is exactly what happens with Customized Layouts.
So if you want to customize a single Slide without creating a new Template, you can customize a single Slide. This can be useful, for example, for customizations you need only once and don't need again (otherwise you would need a new template to create multiple Slides).
Customize Layout for a Slide
For example, if you need an additional section for an icon or anything similar in an existing Template, you can use individual Templates. To do this, open a Slide in the Content Structure and click on "Edit".
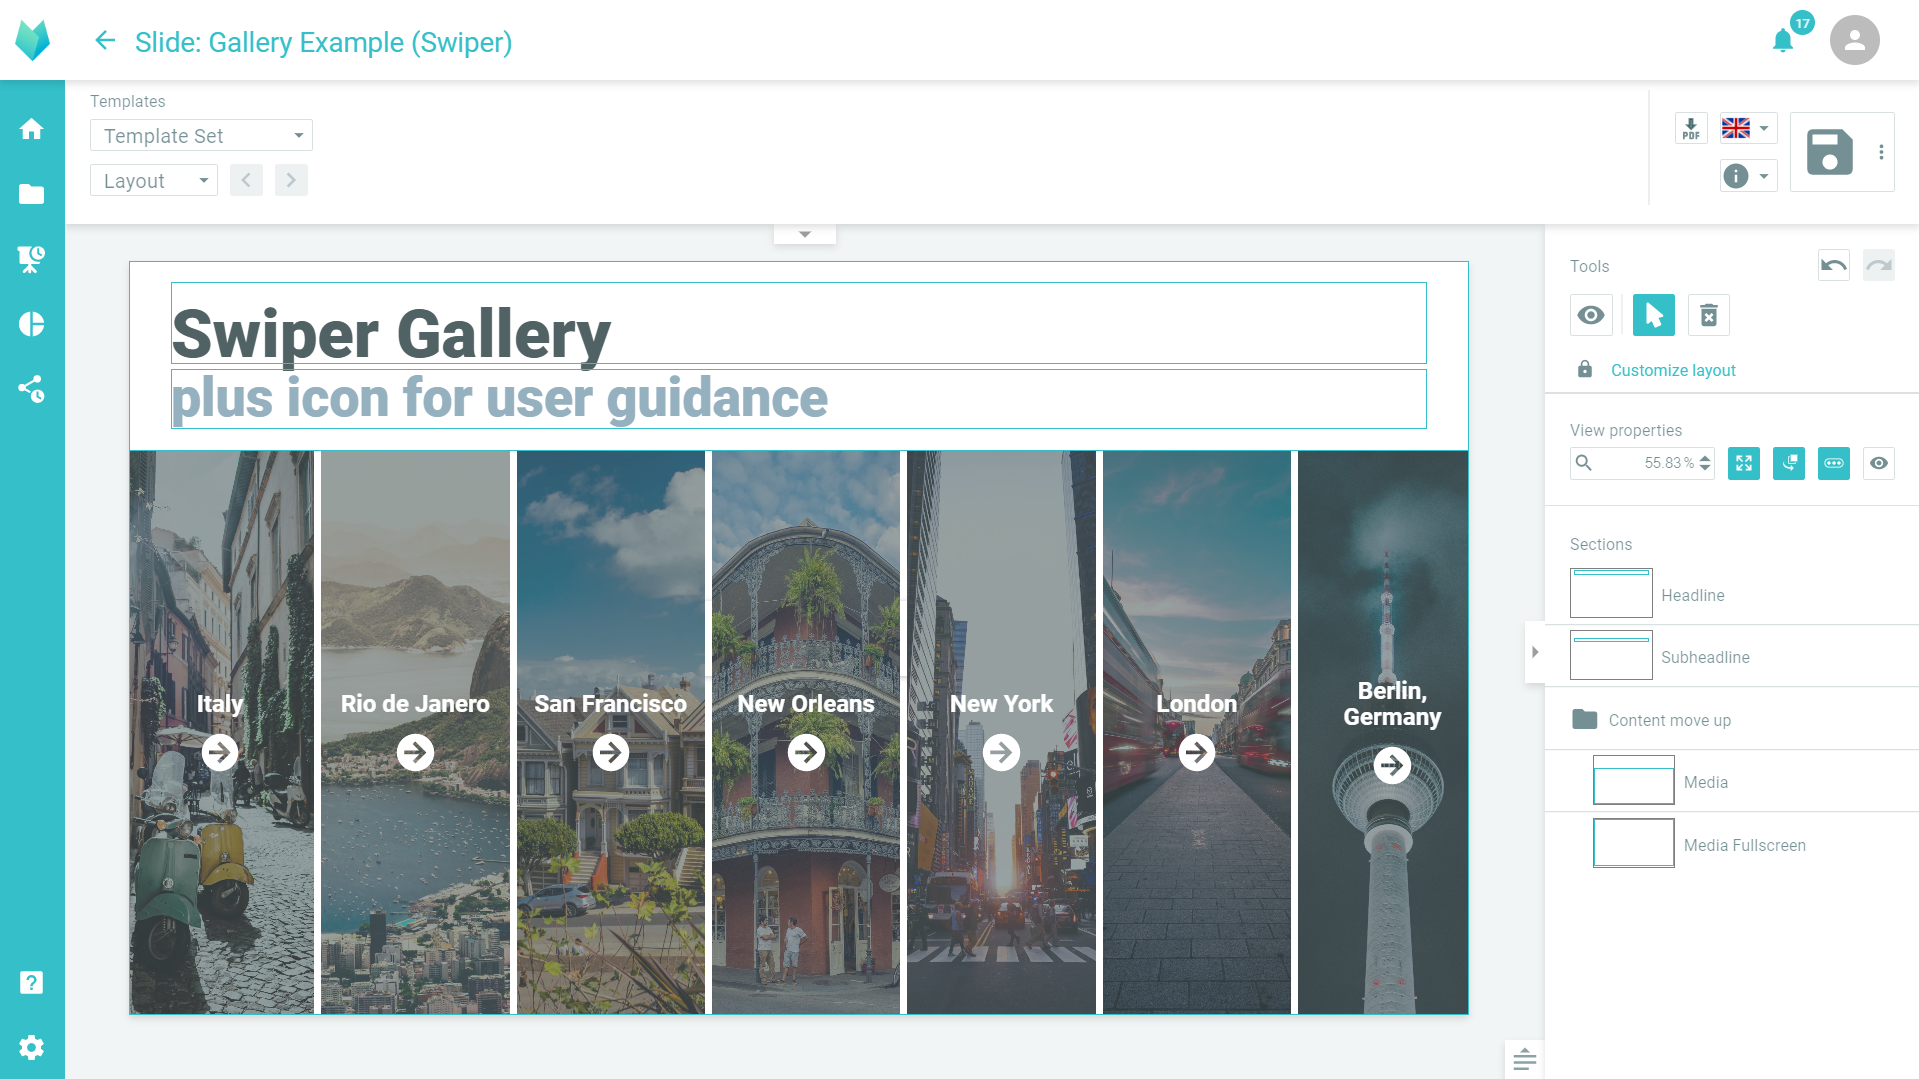
In this example, we want to add a new section at the bottom where we can place an icon. When the feature is unlocked for you, you will find the button "Customize Layout" on the right side below the tools.

A note appears that you are now detaching from the original Layout. So if someone changes something in the original Template, e.g. the font size of the headline, it will no longer affect this Slide. You are actually creating a custom Template just for this one Slide. This Template does not appear in any Template Set, so it cannot be reused for a second Slide and if you delete your Slide, the Template will be deleted as well.
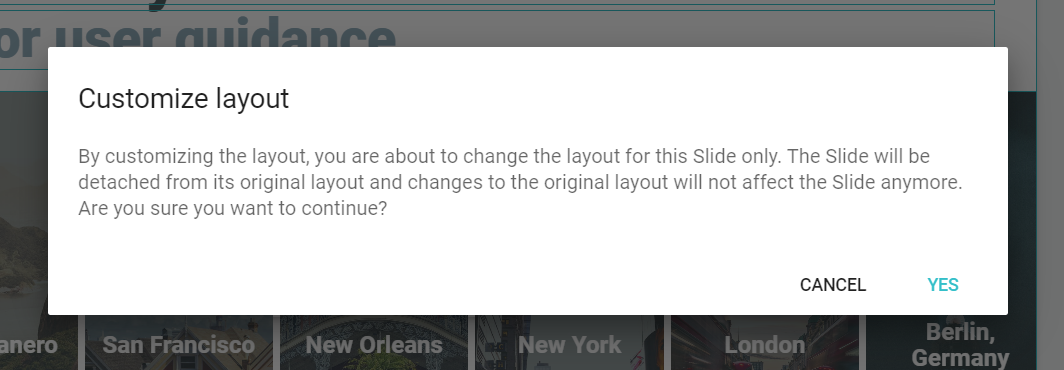
As soon as you have clicked on "Yes", you will switch to the Layout editing. You can find more about it here: Creating Layout Templates

In the upper right corner you now have the following tools:
- View: shows you the Slide as it will look in the end, without guidelines, icons, etc.
- Slide editing: with this tool you can fill the Slide as usual. Only the text options from the Layout are additionally displayed in this mode, as they are needed most frequently.
- Delete all content on the Slide: With this tool you can delete the Slide with one click.
- Edit Layout: This will switch you to the Layout editing mode. You can click on the sections, scale them, move them and edit the settings. You can also edit the section list (duplicate, group, delete, move).
- Add Section: This tool allows you to add new Sections to your Layout. Unlike regular Layouts, there is no distinction between Design, Text, Media, and Universal sections, since all content is allowed in all sections.

Also, once you're in Template edit mode, the view properties appear as they do in the Template, as do the section options.

As long as you are now in Template editing (i.e. one of the two tools on the right is selected), you can use the functions from the Layout editor as usual.
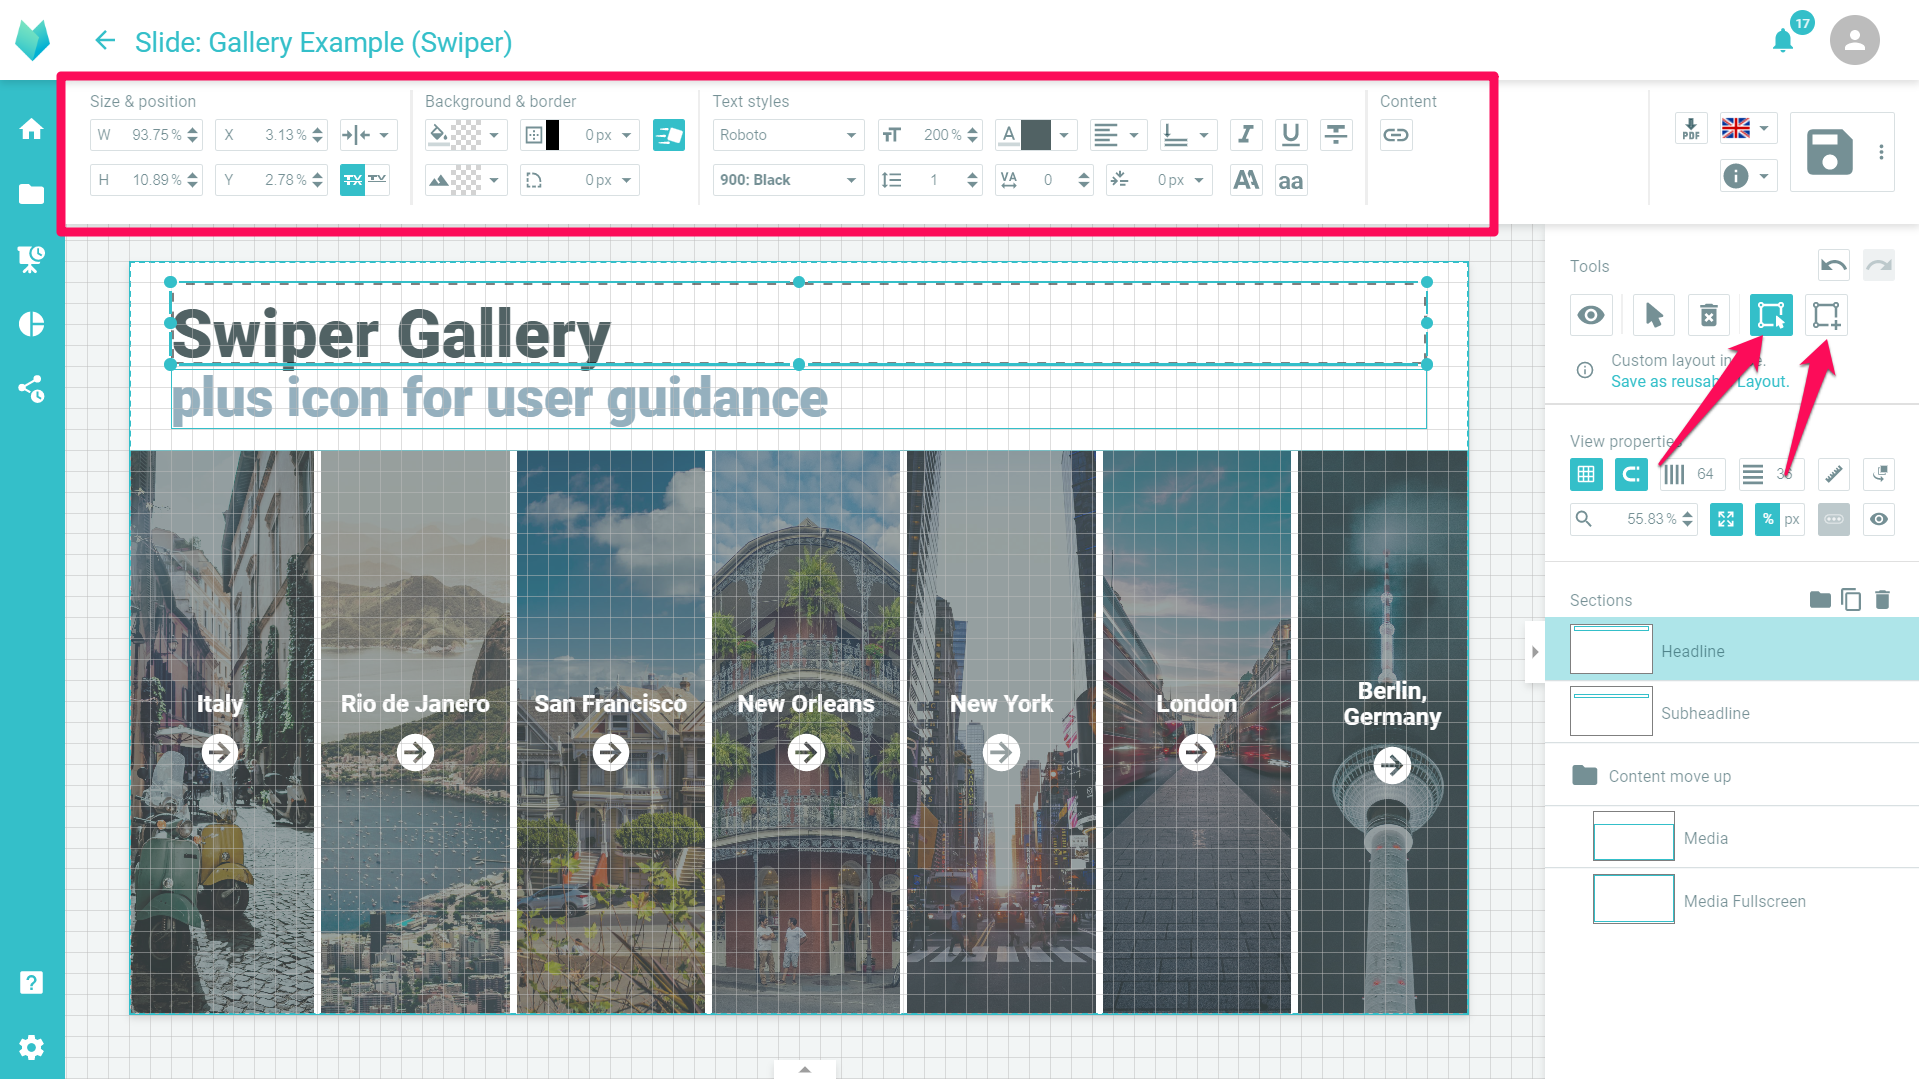
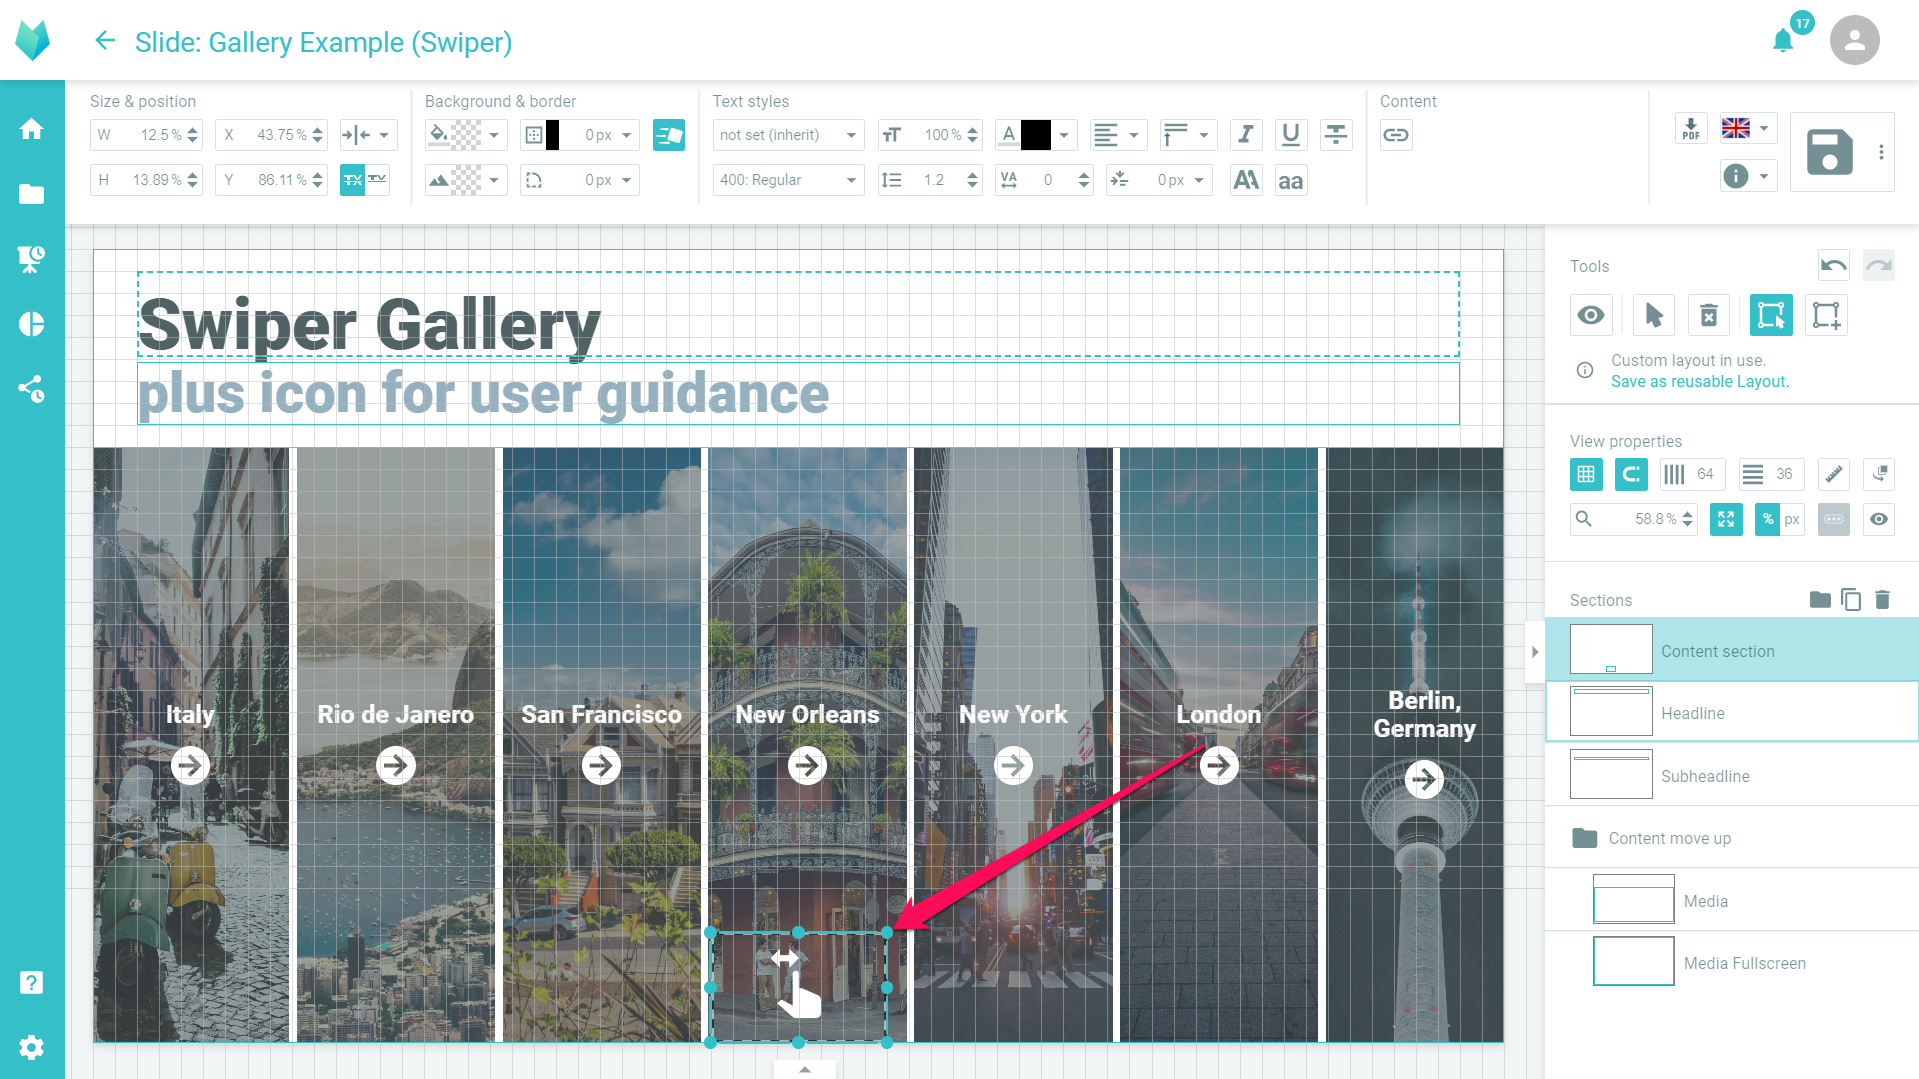
In our example, we have now added an additional icon for user guidance and animated it.
Special features for individual Layouts
There are some special features to consider with individual Layouts:
- All content is allowed in all sections
Now that you can edit the Template and the Slide practically at the same time, restricting permissions within a section are no longer necessary. Thus, all sections that exist in your Template are automatically changed to universal sections and any content can be inserted anywhere, so you don't have to switch between Slide and Template editing all the time. This also means that the gear icon in the top bar and the button with the three dots in each section are no longer available.
- Switching the Background is no longer possible:
By detaching from the original Template, the Background can no longer be exchanged.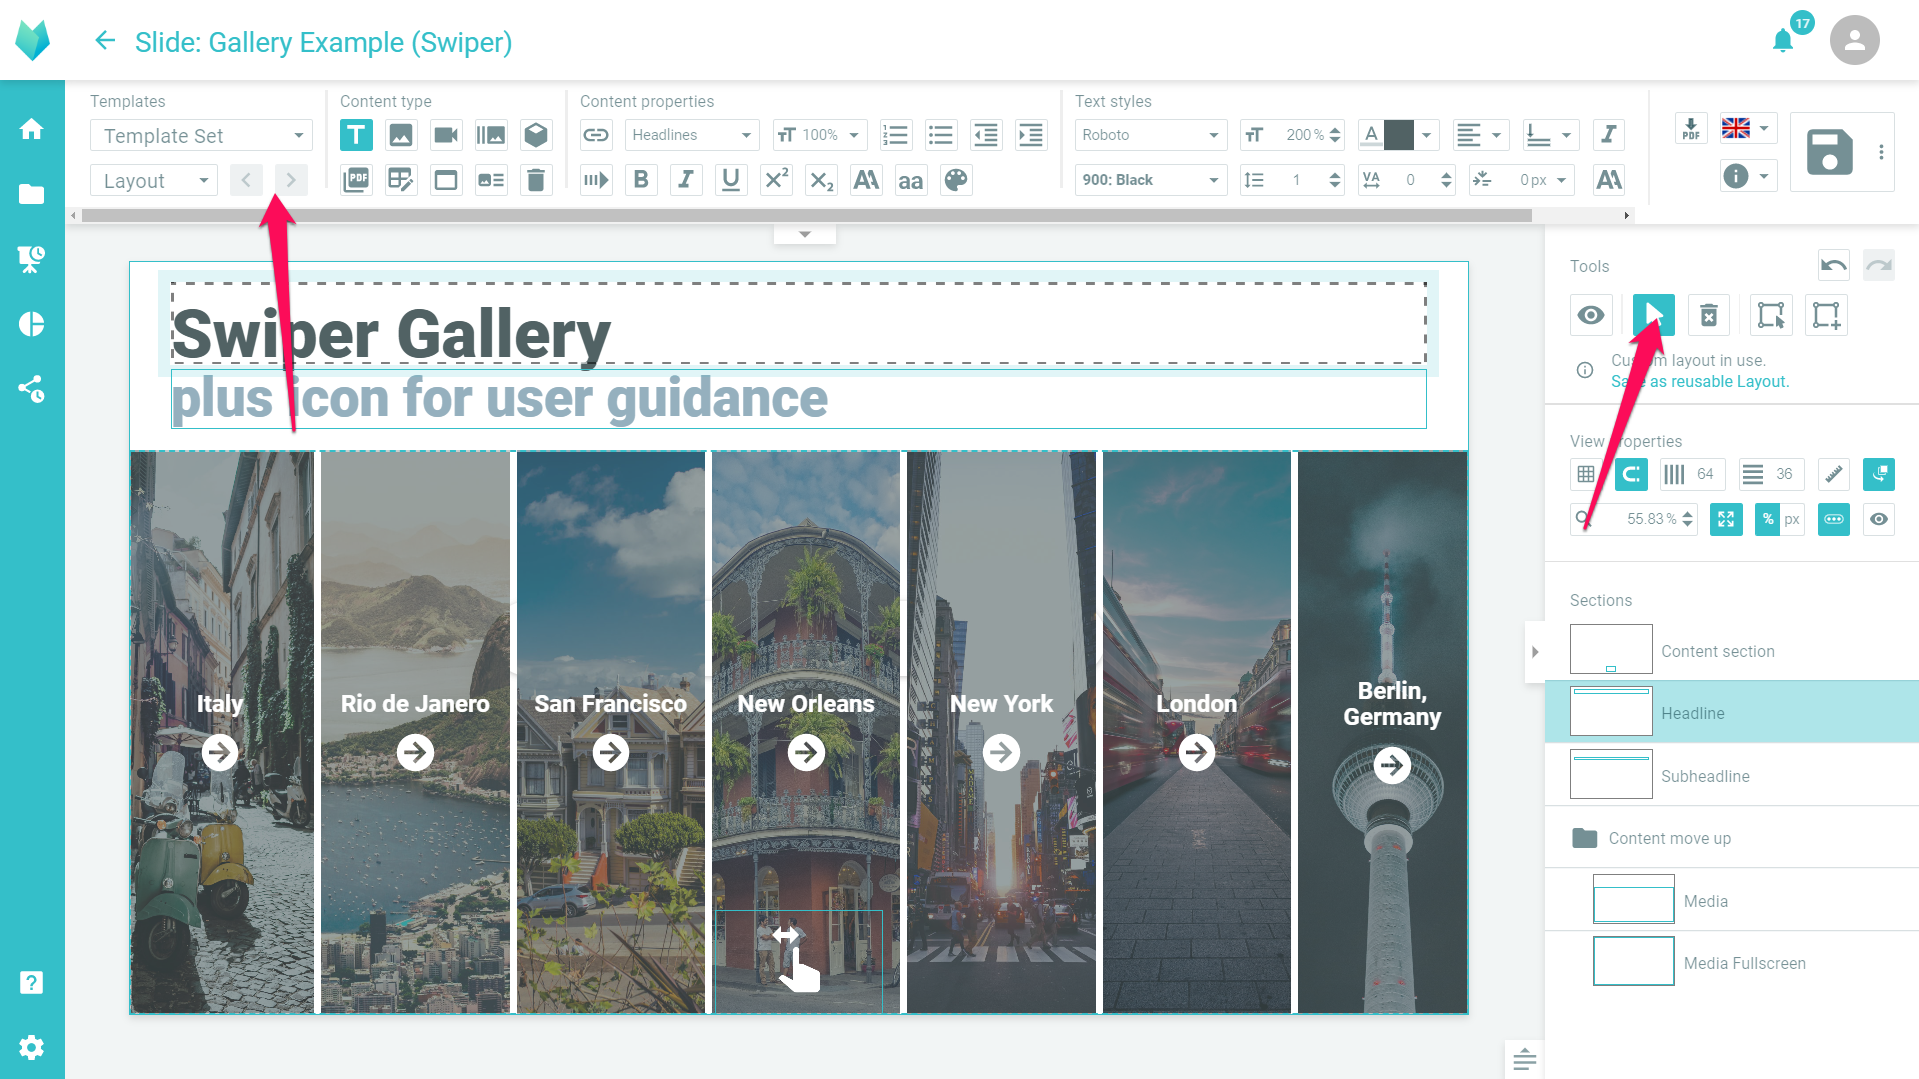
- Switch mode by double click:
You can either switch between editing the Slide and editing the Template, using the tools on the right (see above), or you can use the double-click. The only exception here is the switch from Slide to Template editing when it comes to text sections. In this case the text in the text section is selected by double-clicking on it and therefore there is a slightly wider light blue frame that you can click on instead.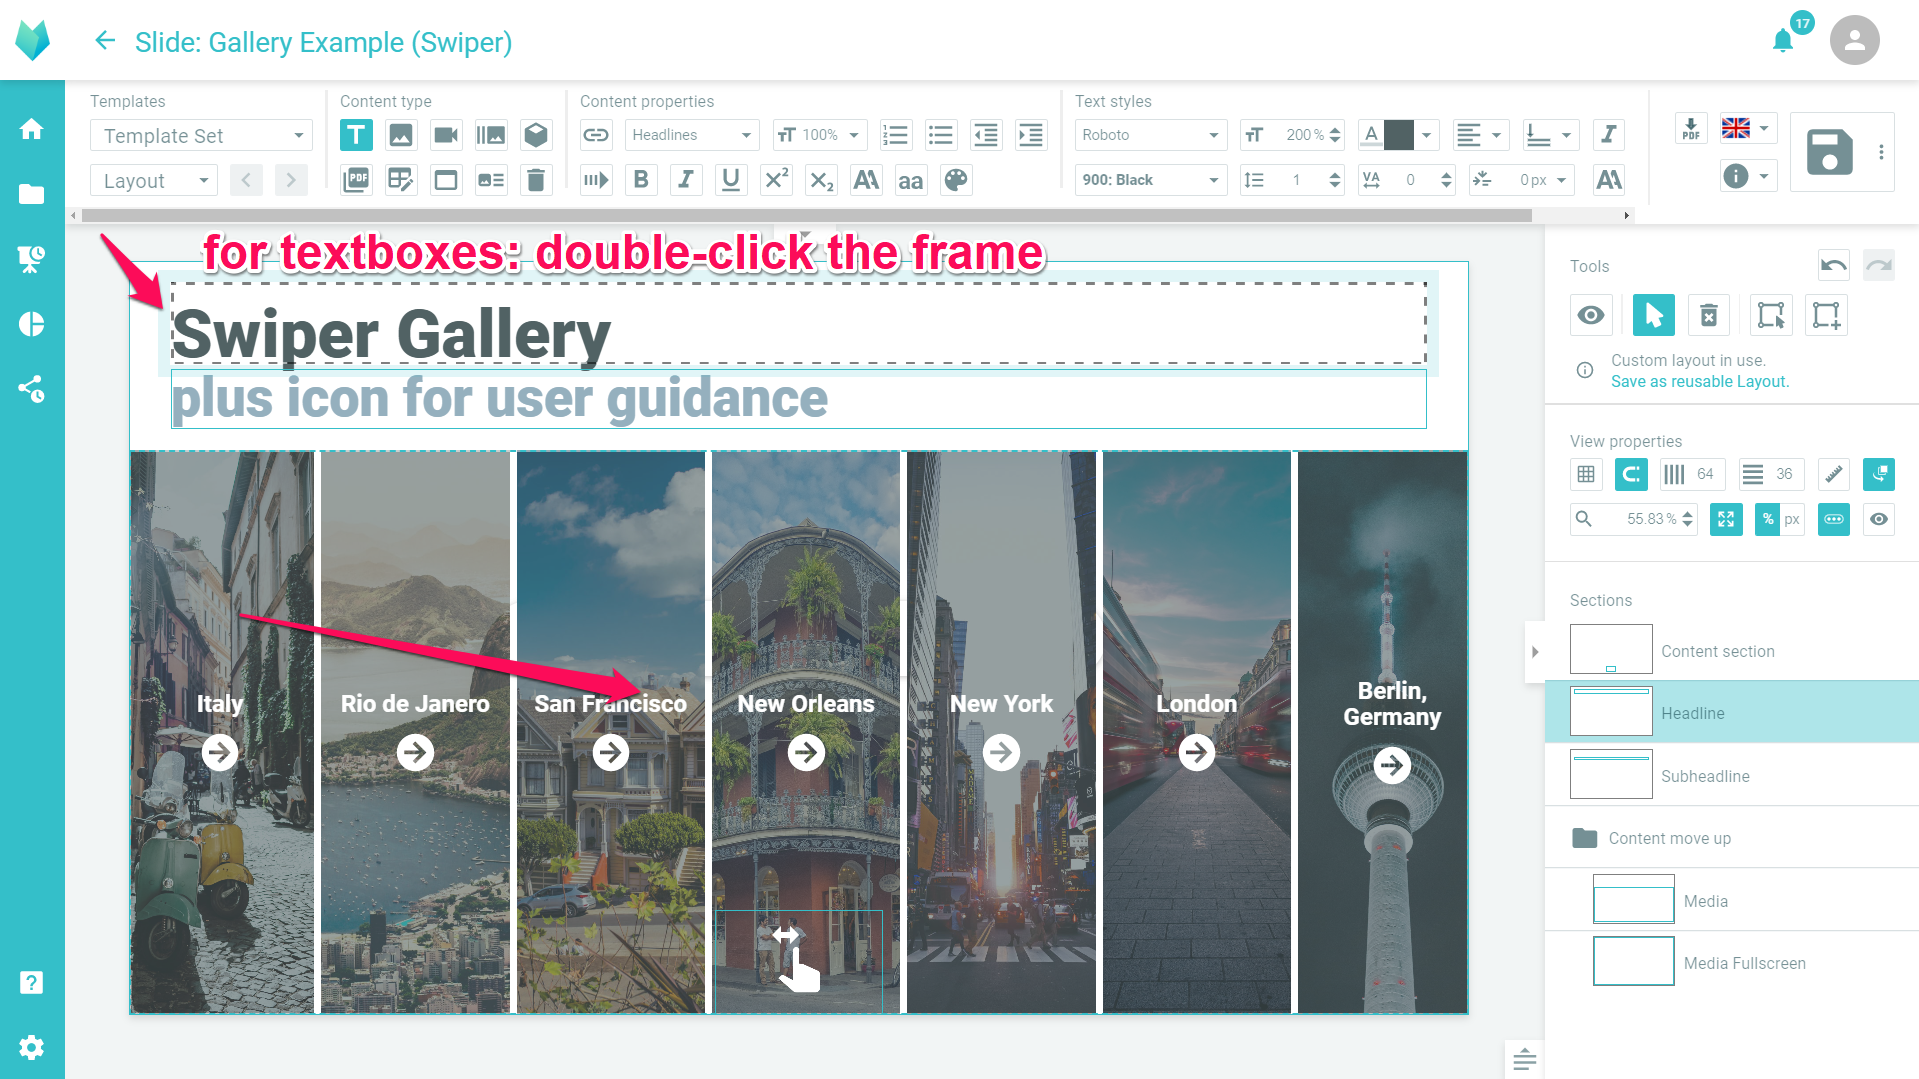
Save Layout as reusable
If for various reasons the Template is needed as a reusable Template, the Template created here can be converted. To do this, the Template creation right in the original Template Set is necessary.
Click on "Save as reusable Layout" on the right side of the tools.
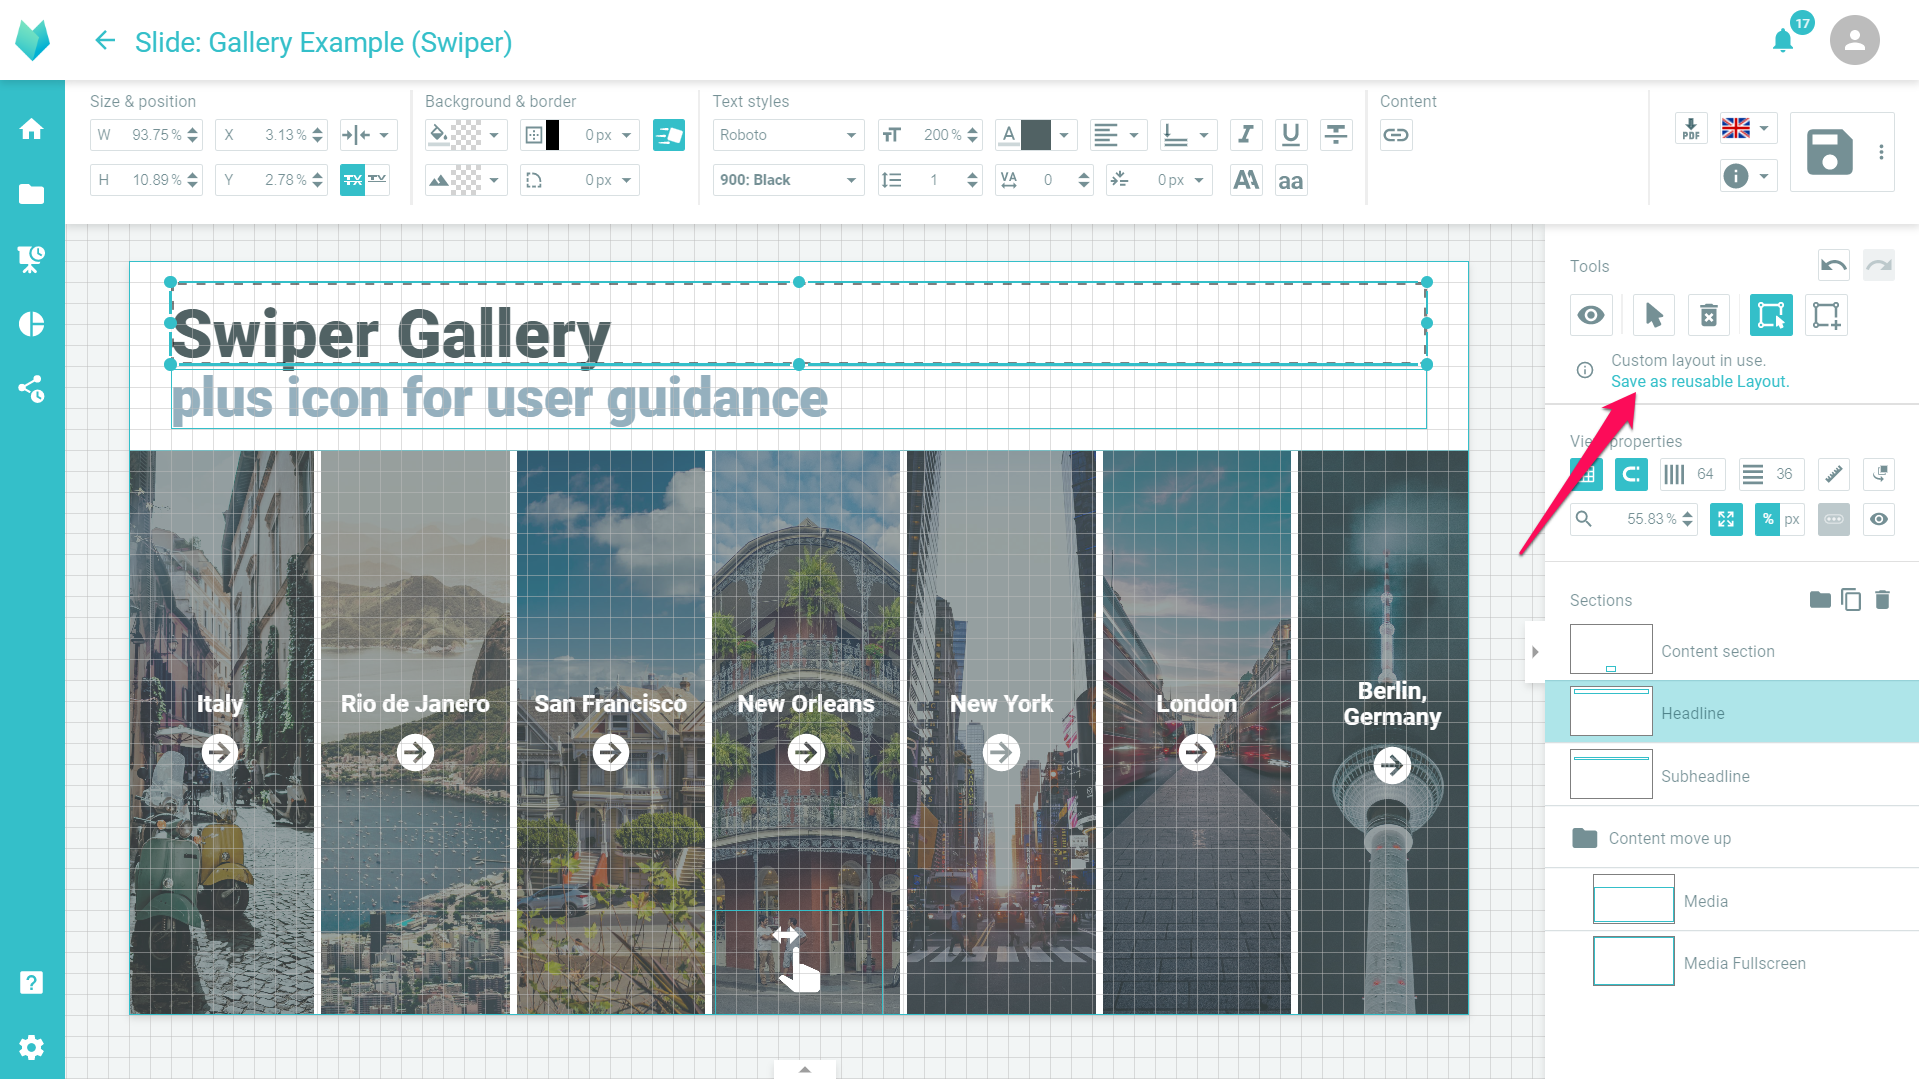

Here you can either switch to Layout editing or stay in the Slide. Your Template will then become a regular Layout and can be edited and used as usual. To use this function, however, writing permissions must be available in the corresponding Template Set.
More about Layout editing can be found here: Creating Layout Templates